
 Crochet Hats, Scarves & Wearables
*This post may contain affiliate links to support the cost of this blog. At no cost to you, I may make a small commission if you purchase through these links. Read our Privacy Policy HERE
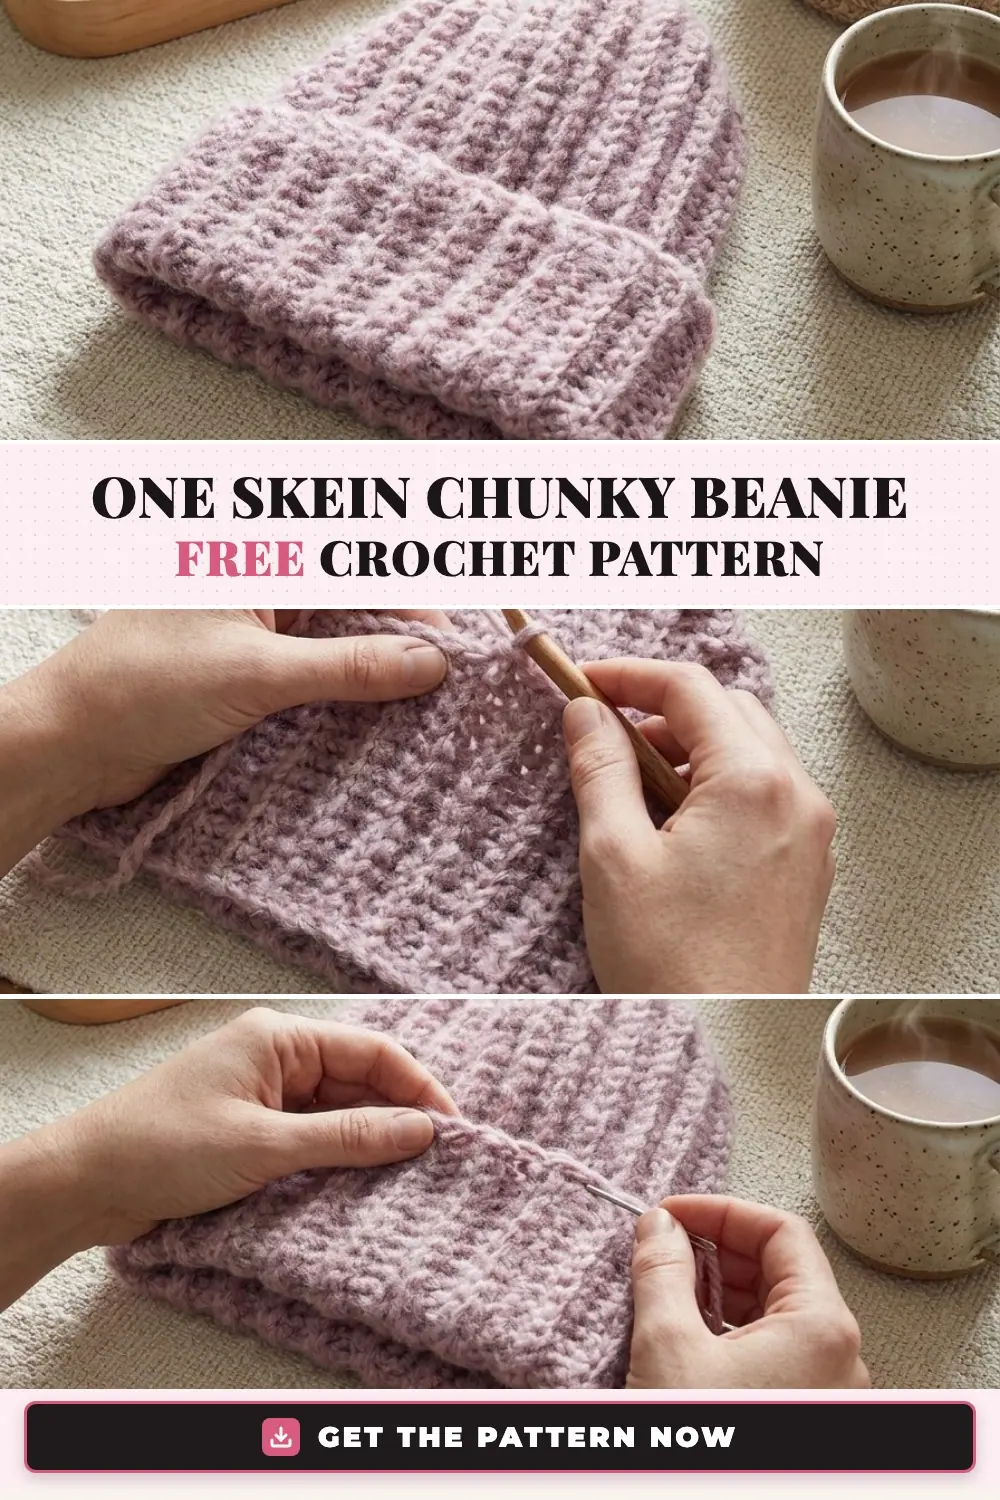
If you have ever crocheted a super-bulky winter hat as a simple rectangle and noticed an uncomfortable, bunched-up gather at the top of the crown when you cinch it closed, you are going to love how this Chunky Crochet Beanie Pattern solves that problem. Worked sideways in stretchy back-loop-only single crochet ribbing, this pattern uses effortless short-row shaping across four crown wedges so the top of the hat tapers naturally without bulky fabric gathering at the top of your head.
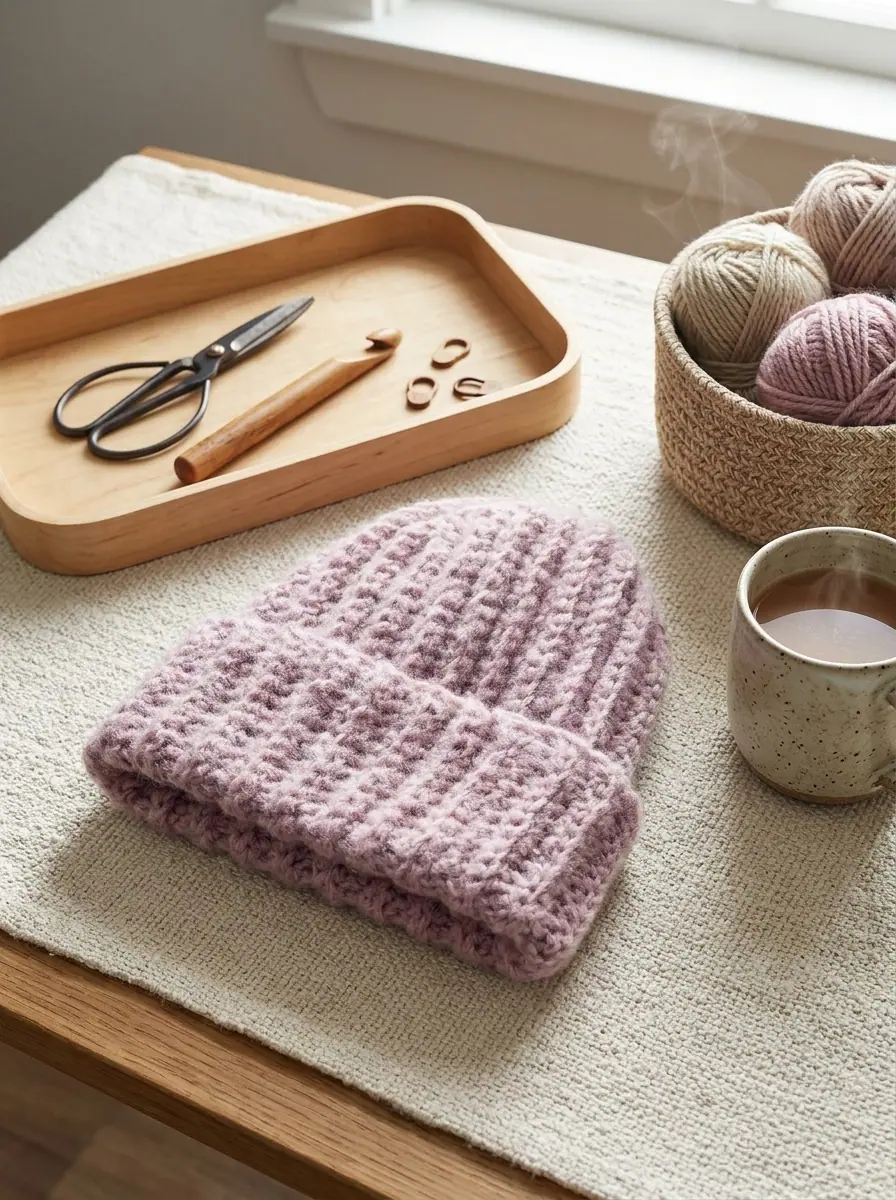
Even better, you do not need any complicated short-row wraps or stitch markers—you simply leave the last stitch unworked at the crown edge on even rows and start odd return rows with a back-loop slip stitch, creating a neat stair-step edge that you crochet right back down on Row 10 to restore all 41 stitches.
Pattern Overview
- Skill Level: Easy (Worked flat sideways in back-loop single crochet with short-row crown shaping)
- Finished Size: One size to fit Adult (with fold-up ribbed brim)
- Yarn Weight: Super Bulky #6
- Recommended Hook: Size U.S. K/10½ (6.5 mm) crochet hook, or size needed to obtain gauge
- Gauge: 11 stitches and 11 rows = 4″ [10 cm] in
scblpattern - Pattern Yield: 1 ball of Patons® Norse™ makes 1 adult-size Chunky Crochet Beanie.
Table of Contents
- Yarn and Materials Needed
- Crochet Stitches, Abbreviations, and Special Stitches (US Terms)
- Step 1: Crocheting the Sideways Short-Row Crown Wedges (Rows 1–13)
- Frequently Asked Questions
- Step 2: Seaming the Side Edge into a Tube
- Step 3: Cinching the Top of the Hat Closed
- Official Yarn Care Instructions
- Save This Crochet Pattern to Pinterest
Yarn and Materials Needed
Worked in Patons® Norse™, a lofty super-bulky roving yarn with a soft brushed halo, a single 100-gram ball is all you need to crochet the entire four-wedge beanie and seam it together. The 6.5 mm (US K/10½) hook glides through the back loops smoothly, giving the hat plenty of springy elasticity to fit comfortably over your ears.
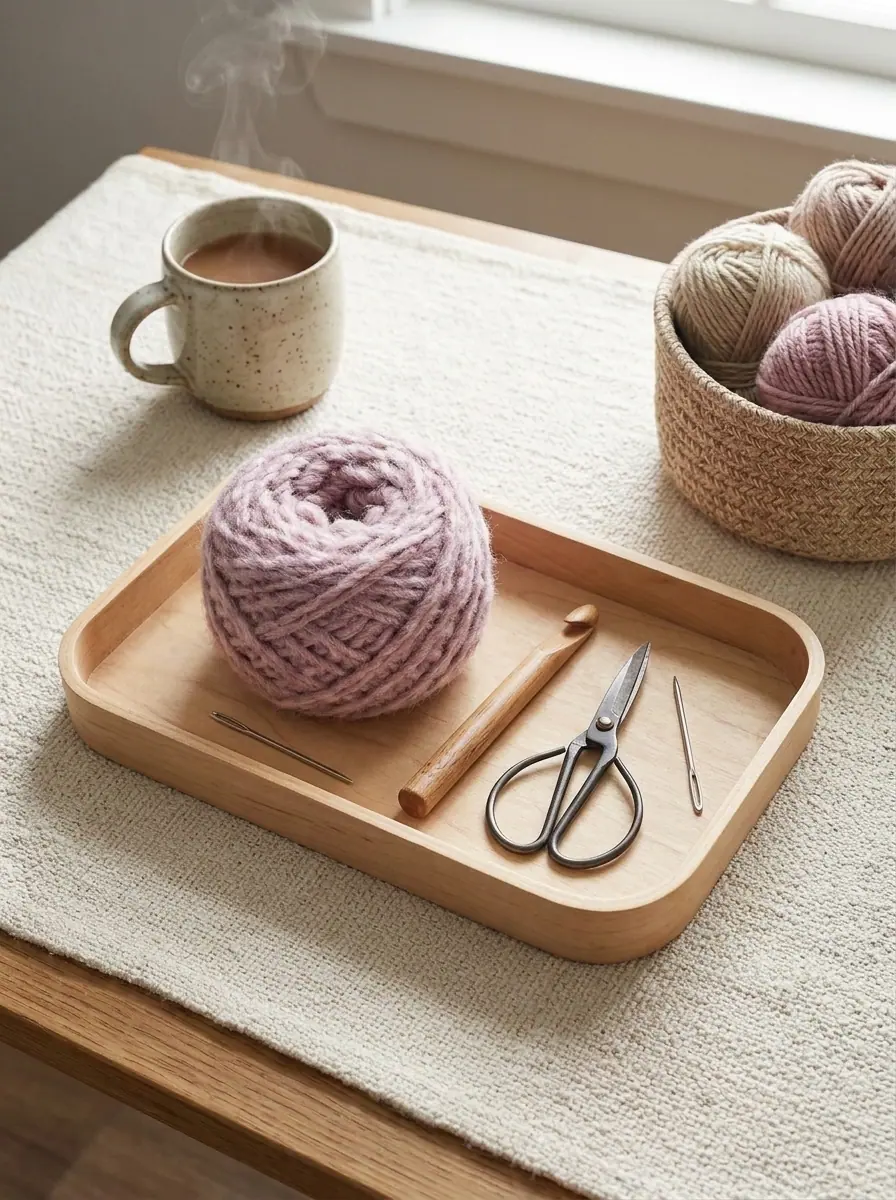
Yarn: Patons® Norse™ (3.5 oz / 100 g; 211 yds / 193 m; Super Bulky #6) — Tawny Coral (91008) — 1 ball.
Crochet Hook: Size U.S. K/10½ (6.5 mm) Susan Bates® Silvalume® crochet hook, or size needed to obtain gauge.
Notions: Blunt-tipped yarn needle (for seaming the side edge and cinching the top crown closed) and small crafting scissors.
Crochet Stitches, Abbreviations, and Special Stitches (US Terms)
This pattern is written in standard US crochet terminology. Pay special attention to the Scbl (Single crochet in back loop only) stitch used throughout the body of the hat:
| Abbreviation | Meaning & Stitch Definition |
|---|---|
| Ch | Chain(s) |
| Pat / Rep | Pattern / Repeat |
| RS | Right side |
| Sc | Single crochet |
| Scbl | Single crochet in back loop only of next stitch (insert hook under the back top loop only, yarn over, pull up a loop, yarn over, draw through both loops on hook) |
| Sl st | Slip stitch |
| St(s) / Tog | Stitch(es) / Together |
✨ FREE CROCHET EBOOK ✨
Master Gauge & Blocking
Get Our Free Crochet Ebook!
Download The Ultimate Stitch, Gauge & Blocking Guide — packed with printable stitch charts, tension secrets, and step-by-step tutorials delivered straight to your inbox.
🔒 100% Free Instant PDF Download • Unsubscribe anytime
Step 1: Crocheting the Sideways Short-Row Crown Wedges (Rows 1–13)
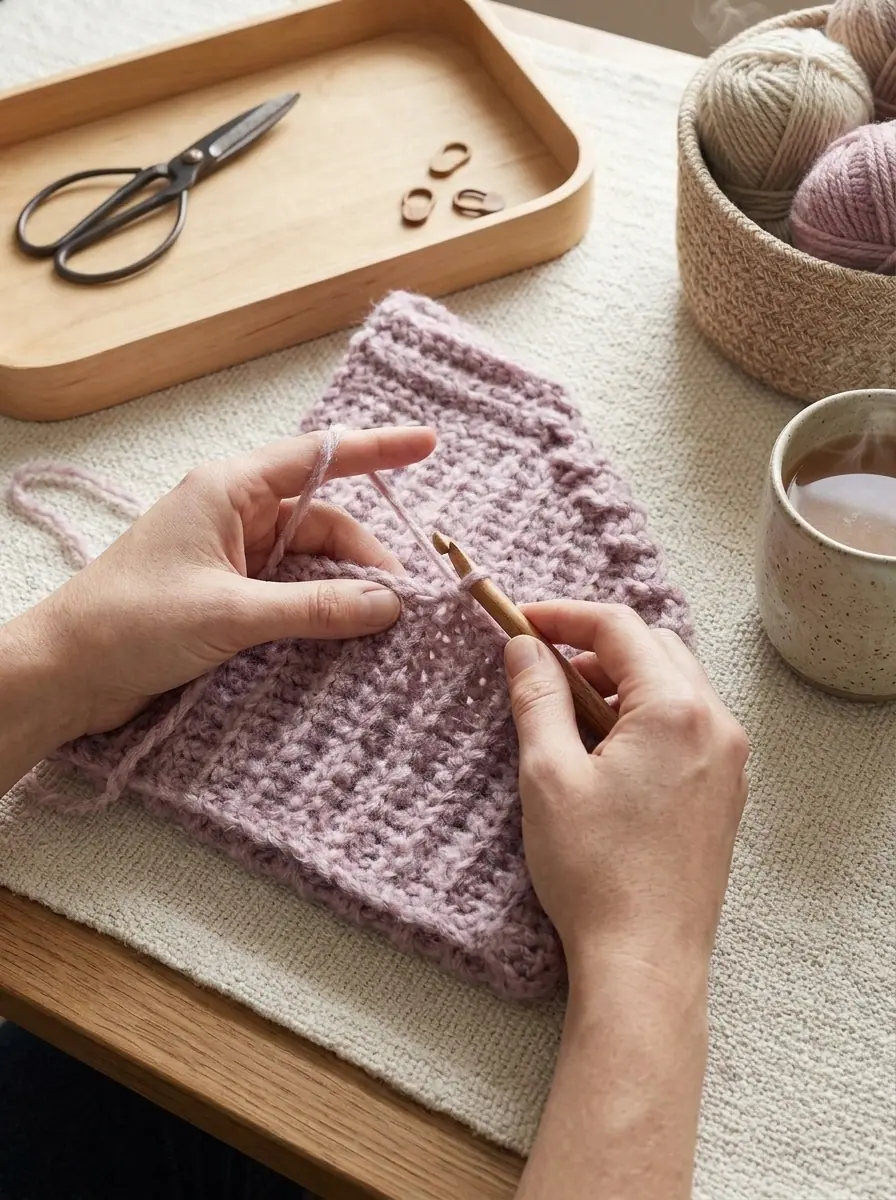
Construction Note: This hat is worked sideways from brim to crown and back again. One long edge of your work stays completely straight (forming the fold-up bottom brim), while the opposite edge steps inward over Rows 2 through 9 by 1 stitch per row (from 41 stitches down to 33 stitches) to shape a tapered crown wedge, then works all the way back down those stair-stepped stitches on Row 10 to return to 41 stitches.
Maker Tip for Row 1 & Row 10: On the printed PDF pattern, the 1st row says “1 sc in 2nd ch from hook. 1 sc in each sc to end of row”—since you are working into the starting chain, simply work
1 sc in each ch to end of chain for 41 sc total. When you reach Row 10, you will work 1 scbl across the 33 active stitches, and then continue working 1 scbl into the back loop of each of the 8 stair-stepped stitches (the 4 slip stitches and 4 unworked stitches from Rows 2–9) to bring your total back to 41 sc!
Starting Chain: Ch 42.
1st row: (Right Side — RS). Work 1 sc in 2nd ch from hook. Work 1 sc in each ch to end of chain. Turn. (41 sc)
2nd row: Ch 1. Work 1 scbl in first sc. Work 1 scbl in each sc to last sc. Leave last sc unworked. Turn. (40 sts)
3rd row: Work 1 sl st in back loop only of first sc. Work 1 scbl in next sc. Work 1 scbl in each sc to end of row. Turn. (39 sts)
4th row: Ch 1. Work 1 scbl in first sc. Work 1 scbl in each sc to last sc. Leave last st unworked. Turn. (38 sts)
5th row: Work 1 sl st in back loop only of first sc. Work 1 scbl in next sc. Work 1 scbl in each sc to end of row. Turn. (37 sts)
6th to 9th rows: Work as 4th and 5th rows twice more until 33 sts remain at the end of the 9th row:
- 6th row (as 4th row): Ch 1. 1 scbl in first sc. 1 scbl in each sc to last sc. Leave last st unworked. Turn. (36 sts)
- 7th row (as 5th row): Sl st in back loop only of first sc. 1 scbl in next sc. 1 scbl in each sc to end of row. Turn. (35 sts)
- 8th row (as 4th row): Ch 1. 1 scbl in first sc. 1 scbl in each sc to last sc. Leave last st unworked. Turn. (34 sts)
- 9th row (as 5th row): Sl st in back loop only of first sc. 1 scbl in next sc. 1 scbl in each sc to end of row. Turn. (33 sts)
10th row (Recovery Row Across Stair-Steps): Ch 1. Work 1 scbl in each st to end of row, working into the skipped sts and sl sts of the previous rows. Turn. (41 sc)
11th to 13th rows (Full-Length Rib Rows): Ch 1. Work 1 scbl in each st to end of row. Turn. (41 sc per row)
Repeat for Remaining 3 Wedges: Repeat (Rep) 2nd to 13th rows 3 times more (creating 4 tapered crown wedges in total across the sideways panel). Break yarn, leaving a long end for seaming and cinching.
✨ PATTERN HELP & TIPS ✨
Got Questions?
Frequently Asked Questions
Click on any question below to reveal the answer
Why is this beanie worked sideways in short rows?
Working sideways in back-loop half double crochet creates vertical knit-look ribbing with natural horizontal stretch, while leaving the last 4 stitches unworked on alternating wedges shapes the crown automatically without bulky gathering!
How many skeins of super bulky yarn do I need for one adult hat?
Just one skein (approximately 100–115 yards) of #6 super bulky yarn is enough to complete the entire adult beanie.
Can I add a faux fur pom-pom to the top?
Yes! Once you cinch the top crown opening shut with your yarn tail, tie or snap a removable faux fur pom-pom right over the center closure.
Would you like to save this pattern?
Enter your email below and we will send this free crochet pattern directly to your inbox so you never lose it!
Your privacy is protected. Unsubscribe with 1-click anytime.
Step 2: Seaming the Side Edge into a Tube
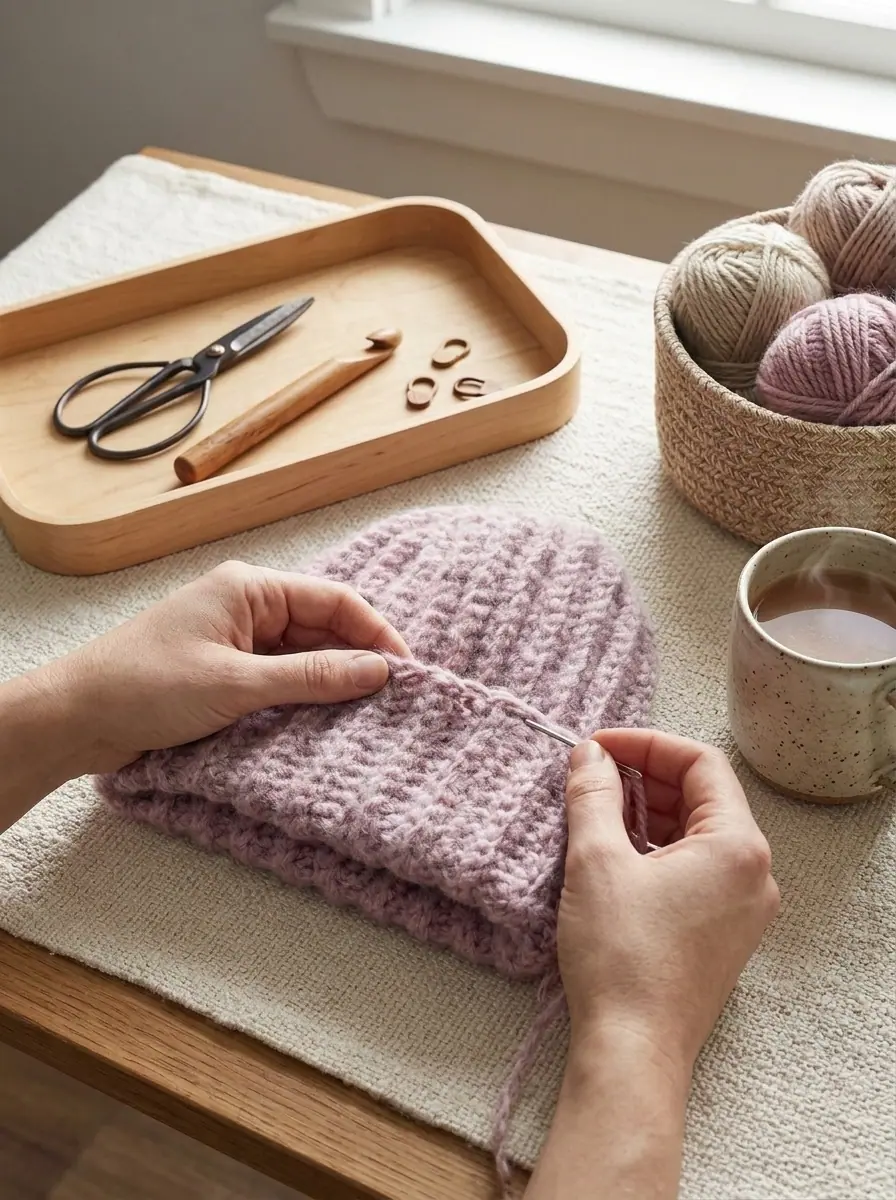
Once all four crown wedges are complete (after your final 13th row repeat), fold the ribbed panel in half so the starting foundation chain edge and the last row meet evenly.
Thread the long yarn tail onto your blunt yarn needle and sew the foundation chain and the last row together from the bottom brim all the way up to the top of the crown, creating a stretchy ribbed cylinder.
Step 3: Cinching the Top of the Hat Closed
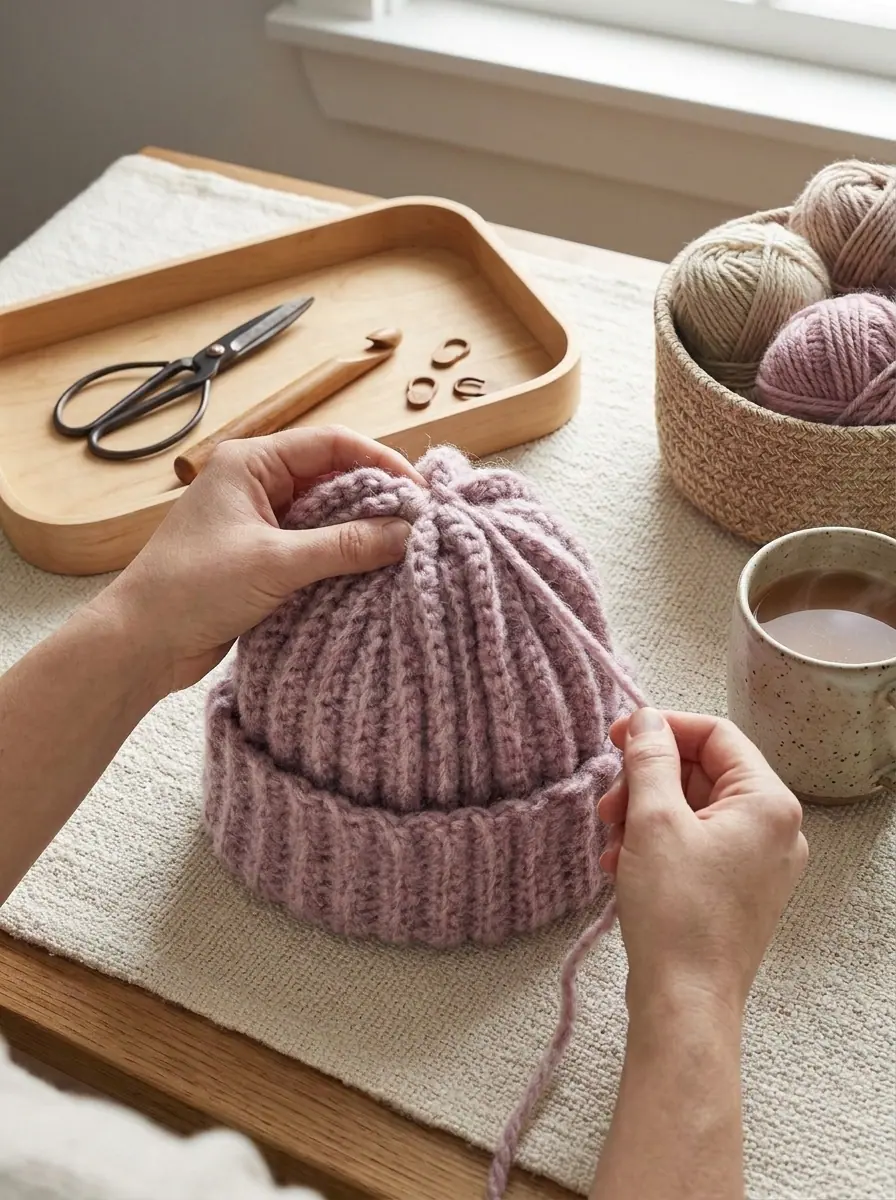
Without cutting your yarn after finishing the side seam, use that same yarn tail at the top of the hat to close the tapered crown:
- Weave Around Crown Edge: Thread your yarn needle in and out through the side of the row-end stitches around the top opening of the hat, catching the peaks and valleys of the four short-row wedges.
- Cinch Tightly: Pull the yarn tail snugly so the top of the hat gathers closed cleanly with zero excess bulk.
- Secure & Fold Brim: Stitch across the closed center two or three times on the inside of the crown to lock it shut, weave in your ends, and fold up the bottom ribbed cuff to wear!
Official Yarn Care Instructions
To preserve the lofty brushed texture and stitch definition of your Patons® Norse™ beanie, follow the official Yarnspirations care directions:
- Machine Wash Cold: Machine wash in cold water on the Gentle / Permanent Press Cycle.
- Lay Flat to Dry: Reshape the beanie and folded brim on a clean towel and lay flat to dry.
- No Bleach or Ironing: Do not bleach and do not iron or press.
Save This Crochet Pattern to Pinterest
Want to crochet a stack of these cozy one-skein winter beanies for family and friends? Pin one of the collages below to your favorite crochet board on Pinterest so you can find this free pattern anytime!
PREVIOUS PATTERN
Sturdy Chunky-Cord Crochet Storage Basket With Built-In Handles
NEXT PATTERN
Crossing Paths Cabled Lattice Oversized Crochet Super Scarf
✨ KEEP CROCHETING ✨
You May Also Love
LEAVE A COMMENT
Have a question about a stitch or want to share how your project turned out? Drop a comment below — I read and reply to every maker!