
 Crochet Home & Kitchen Decor
*This post may contain affiliate links to support the cost of this blog. At no cost to you, I may make a small commission if you purchase through these links. Read our Privacy Policy HERE
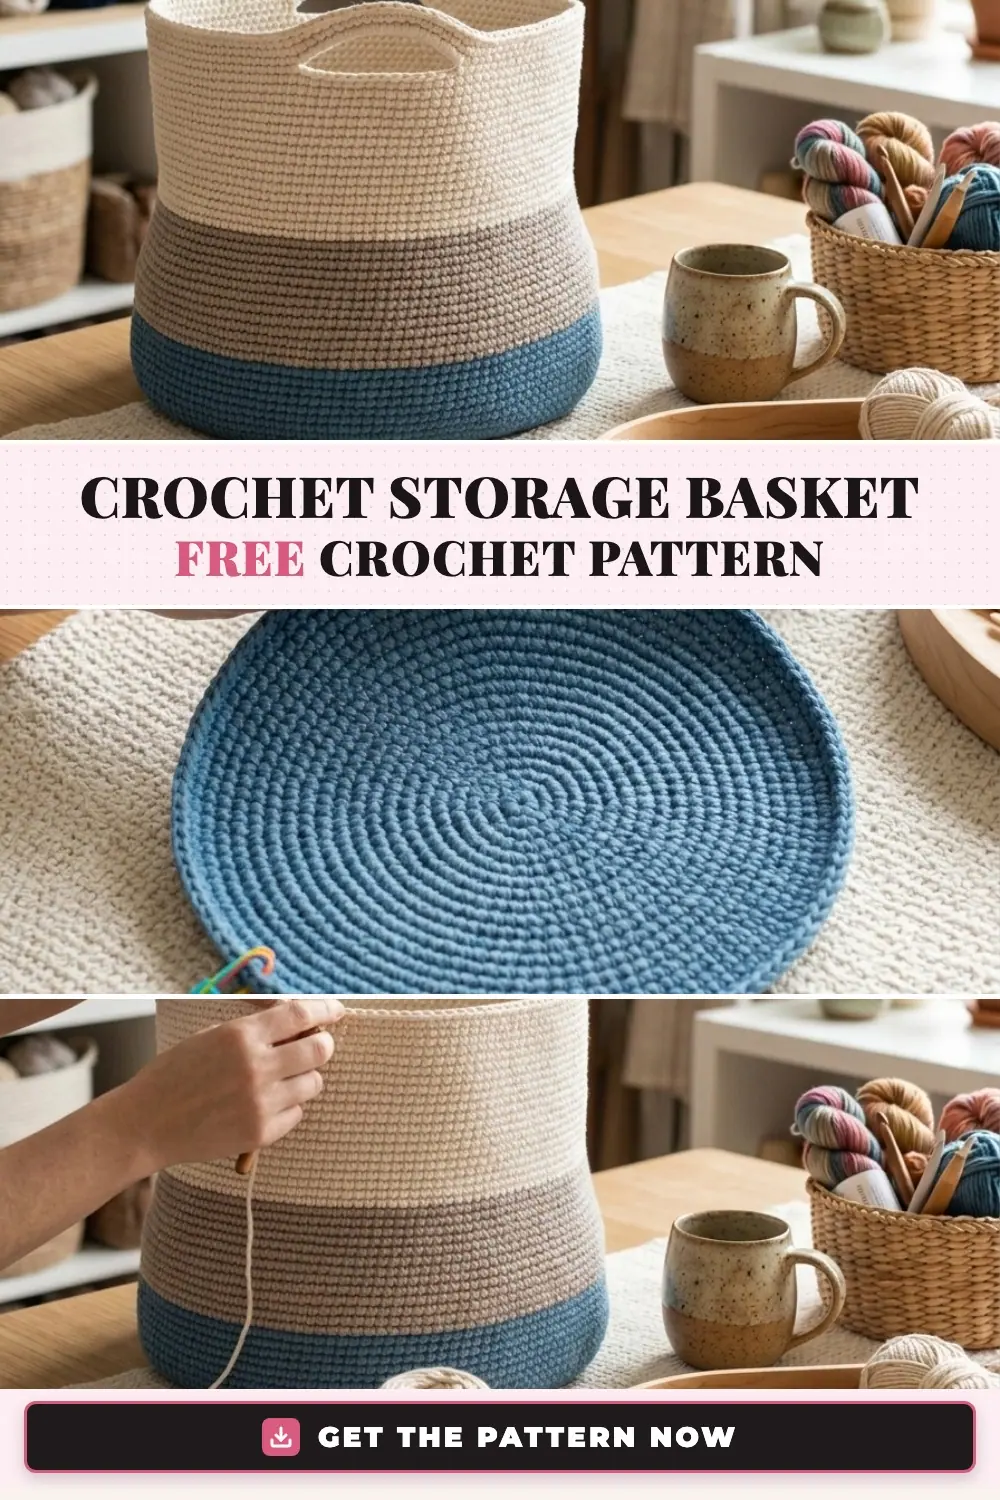
Every maker needs a sturdy, modern storage basket that can hold a mountain of yarn skeins, living-room throw blankets, or works-in-progress without flopping over. This Bernat Crochet Handy Basket Pattern combines tubular bulky cotton-nylon yarn with a tight single crochet gauge worked on a 4 mm hook to build a freestanding 10″ x 10″ color-blocked basket complete with integrated reinforced carry handles.
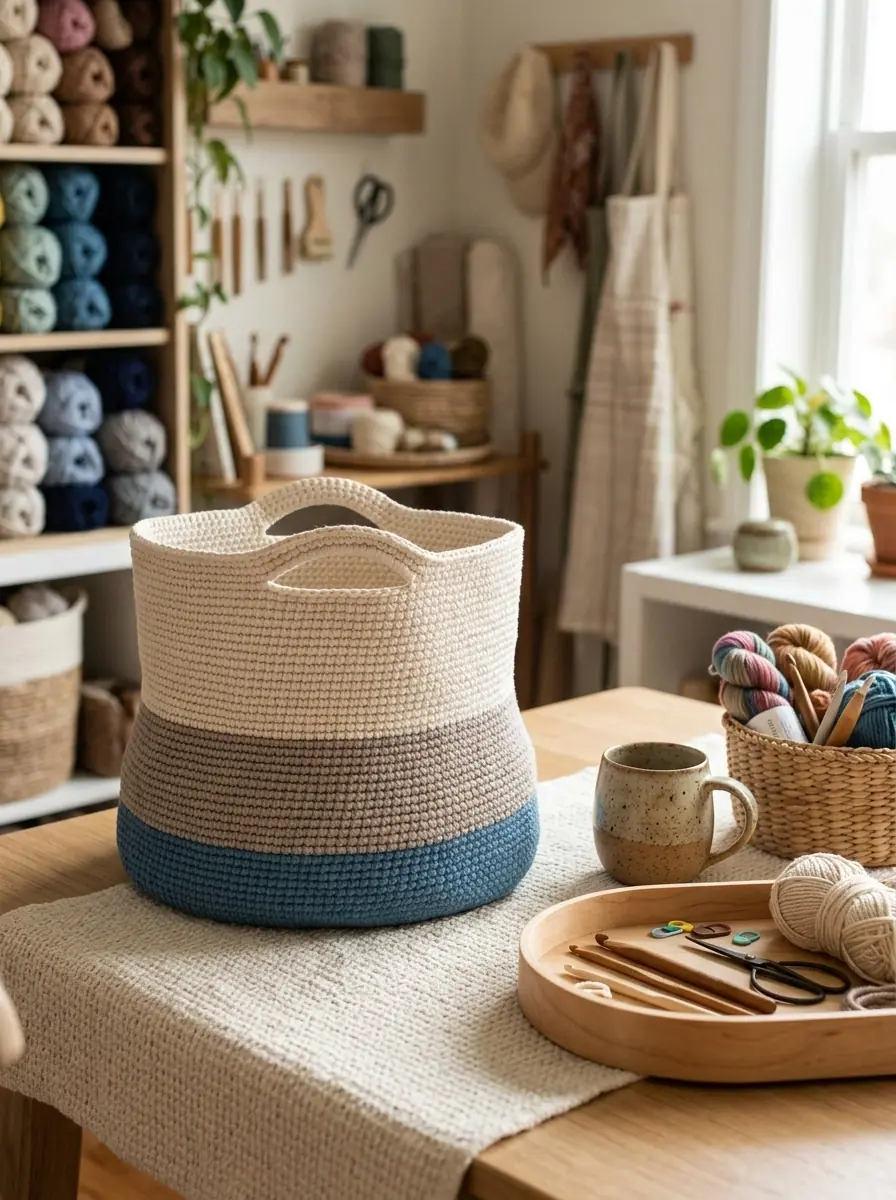
Worked seamlessly from the bottom up in joined rounds, the basket starts with a flat 18-round circular base in Steel Blue, turns the corner cleanly using a single back-loop-only ridge round, and rises smoothly through three bold horizontal color blocks (Steel Blue, Clay, and Cream) before shaping two sturdy chain-space cut-out handles right into the upper rim.
Pattern Overview
- Skill Level: Easy (Worked in joined single crochet rounds from the bottom up)
- Finished Measurements: Approx. 10″ [25.5 cm] diameter x 10″ [25.5 cm] tall
- Yarn Weight: Bulky #5 (72% Cotton, 28% Nylon Tubular Yarn)
- Recommended Hook: Size U.S. G/6 (4 mm) crochet hook, or size needed to obtain gauge
- Gauge: 17 single crochet (sc) and 19 rows = 4″ [10 cm]
- Pattern Yield: 1 ball each of Contrast A (Steel Blue), Contrast B (Clay), and Contrast C (Cream) makes 1 full-size 10″ x 10″ Handy Basket.
Table of Contents
- Yarn and Materials Needed
- Crochet Stitches and Abbreviations (US Terms)
- Part 1: Crocheting the Flat Circular Base & Turning Ridge (Rounds 1–19)
- Frequently Asked Questions
- Part 2: Crocheting the Three Color-Blocked Side Walls
- Part 3: Crocheting the Built-In Reinforced Handles
- Official Yarn Care Instructions
- Save This Crochet Pattern to Pinterest
Yarn and Materials Needed
The secret to crochet baskets that stand up tall on their own is pairing a bulky #5 tubular yarn like Bernat® Maker™ with a smaller-than-usual 4 mm (US G/6) crochet hook. That intentionally dense gauge locks the tubular cotton-nylon stitches together into a firm architectural wall while keeping the fabric soft to the touch.
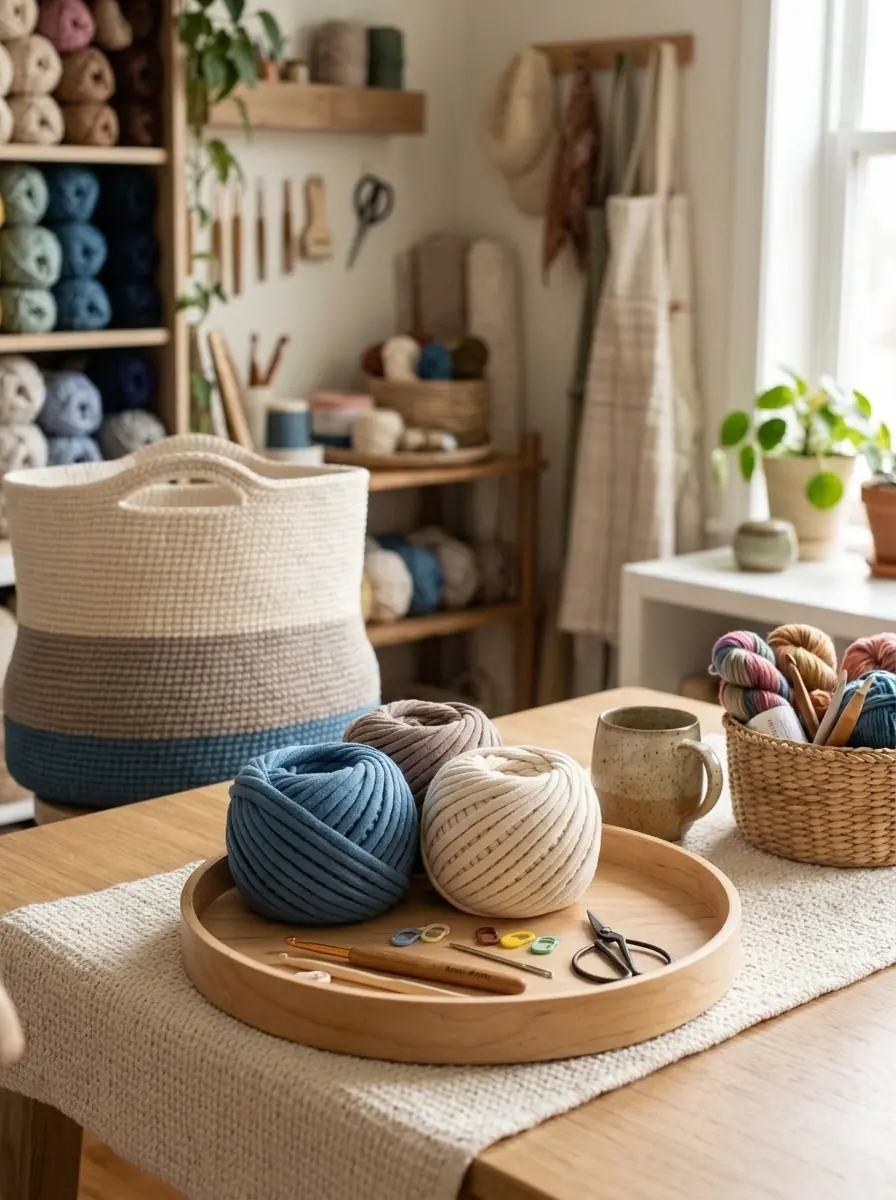
Yarn: Bernat® Maker™ (8.8 oz / 250 g; 317 yds / 290 m per ball; Bulky #5 Tubular Cotton/Nylon):
Contrast A (Base & Lower Stripe): Steel Blue (06001) — 1 ball (or approx. 220 yds / 200 m).
Contrast B (Middle Stripe): Clay (06002) — 1 ball (or approx. 115 yds / 105 m).
Contrast C (Upper Wall & Handles): Cream (06003) — 1 ball (or approx. 148 yds / 135 m).
Crochet Hook: Size U.S. G/6 (4 mm) Susan Bates® Silvalume® crochet hook, or size needed to obtain gauge.
Notions: Susan Bates® locking stitch marker (to mark the base ridge round for height measurements), blunt yarn needle, and small crafting scissors.
Crochet Stitches and Abbreviations (US Terms)
This pattern follows standard US crochet terminology. Review these abbreviations before starting the circular base:
| Abbreviation | Meaning & Stitch Definition |
|---|---|
| Approx / Cont / Rep | Approximate(ly) / Continue / Repeat |
| Ch / Sp | Chain(s) / Space |
| Inc(s) | Increase(s) — work 2 single crochets in the same stitch |
| PM | Place marker (clip a locking stitch marker onto the stitch or round indicated) |
| Rnd(s) | Round(s) |
| Sc / Sl st | Single crochet / Slip stitch |
✨ FREE CROCHET EBOOK ✨
Master Gauge & Blocking
Get Our Free Crochet Ebook!
Download The Ultimate Stitch, Gauge & Blocking Guide — packed with printable stitch charts, tension secrets, and step-by-step tutorials delivered straight to your inbox.
🔒 100% Free Instant PDF Download • Unsubscribe anytime
Part 1: Crocheting the Flat Circular Base & Turning Ridge (Rounds 1–19)
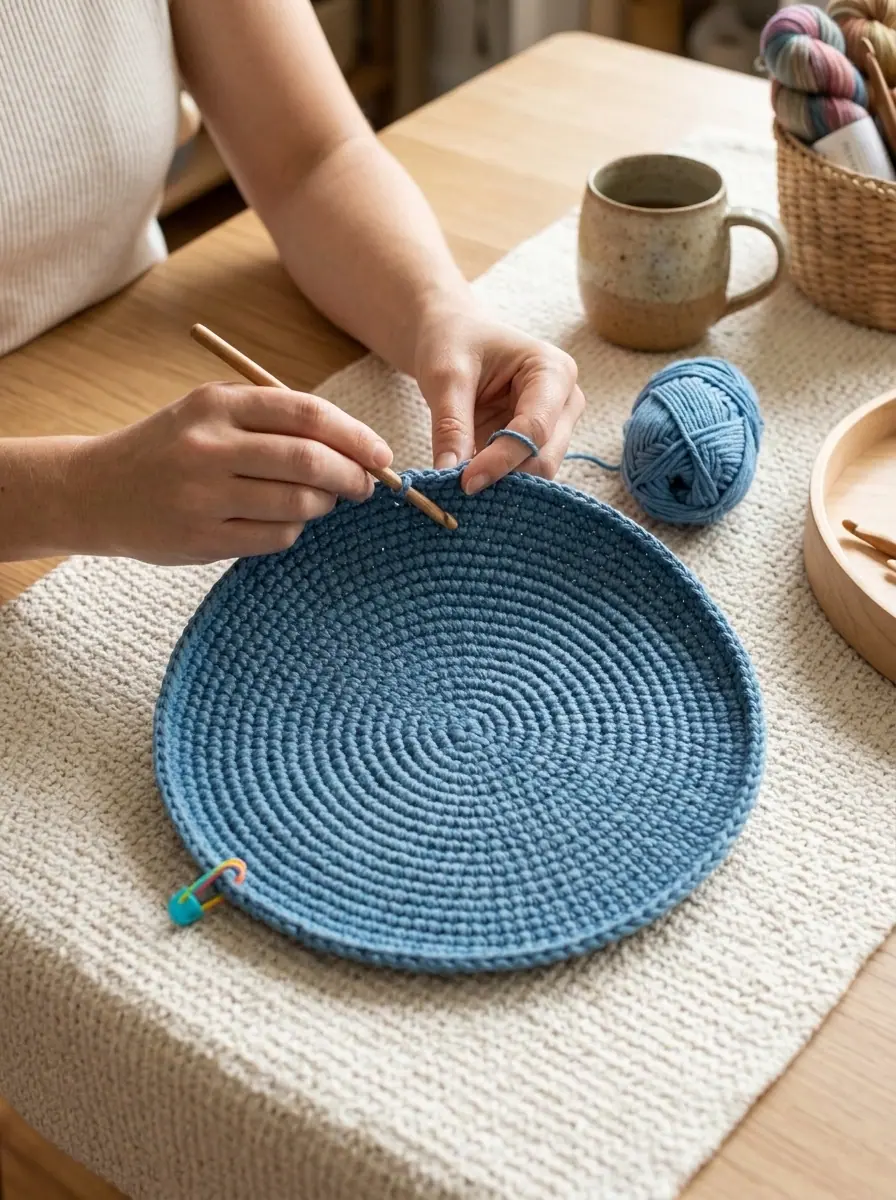
The flat 10″ [25.5 cm] circular bottom is worked in Contrast A (Steel Blue) starting with 8 single crochets in the second chain from the hook and increasing by 8 stitches on every round until you reach 144 stitches at the end of Round 18.
Pattern Note on Joined Rounds: Join all rounds with a slip stitch (
sl st) to the first single crochet of the round, and begin each new round with Ch 1 (which does not count as a stitch). Once Round 18 is complete (144 sc), Round 19 is worked in the back loops only without any increases—this creates a crisp bottom rim that helps the basket walls stand straight up. Don’t forget to place your stitch marker (PM) at the end of that back-loop round so you can measure all three color blocks accurately from that exact line!
Starting Chain: With Contrast A (Steel Blue), ch 2.
1st rnd: Work 8 sc in 2nd ch from hook. Join with sl st to first sc. (8 sc)
2nd rnd: Ch 1. Work 2 sc in each sc around. Join with sl st to first sc. (16 sc)
3rd rnd: Ch 1. [2 sc in next sc. 1 sc in next sc] — repeat […] around. Join with sl st to first sc. (24 sc)
4th rnd: Ch 1. [2 sc in next sc. 1 sc in each of next 2 sc] — repeat […] around. Join with sl st to first sc. (32 sc)
5th rnd: Ch 1. [2 sc in next sc. 1 sc in each of next 3 sc] — repeat […] around. Join with sl st to first sc. (40 sc)
6th rnd: Ch 1. [2 sc in next sc. 1 sc in each of next 4 sc] — repeat […] around. Join with sl st to first sc. (48 sc)
7th to 18th rnds (Continue Increasing Base): Continue (Cont) as established, working 8 increases (incs) on every round, evenly spaced (adding 1 more single crochet between increases on each successive round), until there are 144 sc when 18 rounds are complete:
- 7th rnd: Ch 1. [2 sc in next sc. 1 sc in each of next 5 sc] — repeat […] around. Join. (56 sc)
- 8th rnd: Ch 1. [2 sc in next sc. 1 sc in each of next 6 sc] — repeat […] around. Join. (64 sc)
- 9th rnd: Ch 1. [2 sc in next sc. 1 sc in each of next 7 sc] — repeat […] around. Join. (72 sc)
- 10th rnd: Ch 1. [2 sc in next sc. 1 sc in each of next 8 sc] — repeat […] around. Join. (80 sc)
- 11th rnd: Ch 1. [2 sc in next sc. 1 sc in each of next 9 sc] — repeat […] around. Join. (88 sc)
- 12th rnd: Ch 1. [2 sc in next sc. 1 sc in each of next 10 sc] — repeat […] around. Join. (96 sc)
- 13th rnd: Ch 1. [2 sc in next sc. 1 sc in each of next 11 sc] — repeat […] around. Join. (104 sc)
- 14th rnd: Ch 1. [2 sc in next sc. 1 sc in each of next 12 sc] — repeat […] around. Join. (112 sc)
- 15th rnd: Ch 1. [2 sc in next sc. 1 sc in each of next 13 sc] — repeat […] around. Join. (120 sc)
- 16th rnd: Ch 1. [2 sc in next sc. 1 sc in each of next 14 sc] — repeat […] around. Join. (128 sc)
- 17th rnd: Ch 1. [2 sc in next sc. 1 sc in each of next 15 sc] — repeat […] around. Join. (136 sc)
- 18th rnd: Ch 1. [2 sc in next sc. 1 sc in each of next 16 sc] — repeat […] around. Join. (144 sc)
19th rnd (Next rnd — Base Ridge): Ch 1. Working in back loops only, 1 sc in each sc around. Join with sl st to first sc. Place marker (PM) at end of last rnd. (144 sc)
✨ PATTERN HELP & TIPS ✨
Got Questions?
Frequently Asked Questions
Click on any question below to reveal the answer
How do I keep the crochet basket walls standing upright?
Working the transition round in the back loop only (BLO) creates a crisp 90-degree base ridge, and using a tubular cotton-nylon yarn with a tight single crochet gauge keeps the sides sturdy.
Can I crochet this basket with two strands of worsted yarn instead?
Yes! Holding two strands of medium #4 cotton or acrylic yarn together with an 8.0 mm (US L/11) hook closely matches the bulky tubular gauge.
How should I wash the finished storage basket?
Spot clean with a damp cloth and mild soap, or hand wash in cool water and reshape over a bowl or bucket while air drying.
Would you like to save this pattern?
Enter your email below and we will send this free crochet pattern directly to your inbox so you never lose it!
Your privacy is protected. Unsubscribe with 1-click anytime.
Part 2: Crocheting the Three Color-Blocked Side Walls
Now that your base ridge is marked, every side round is worked evenly over 144 single crochets through both loops. Measure your side height straight up from the marked 19th round:
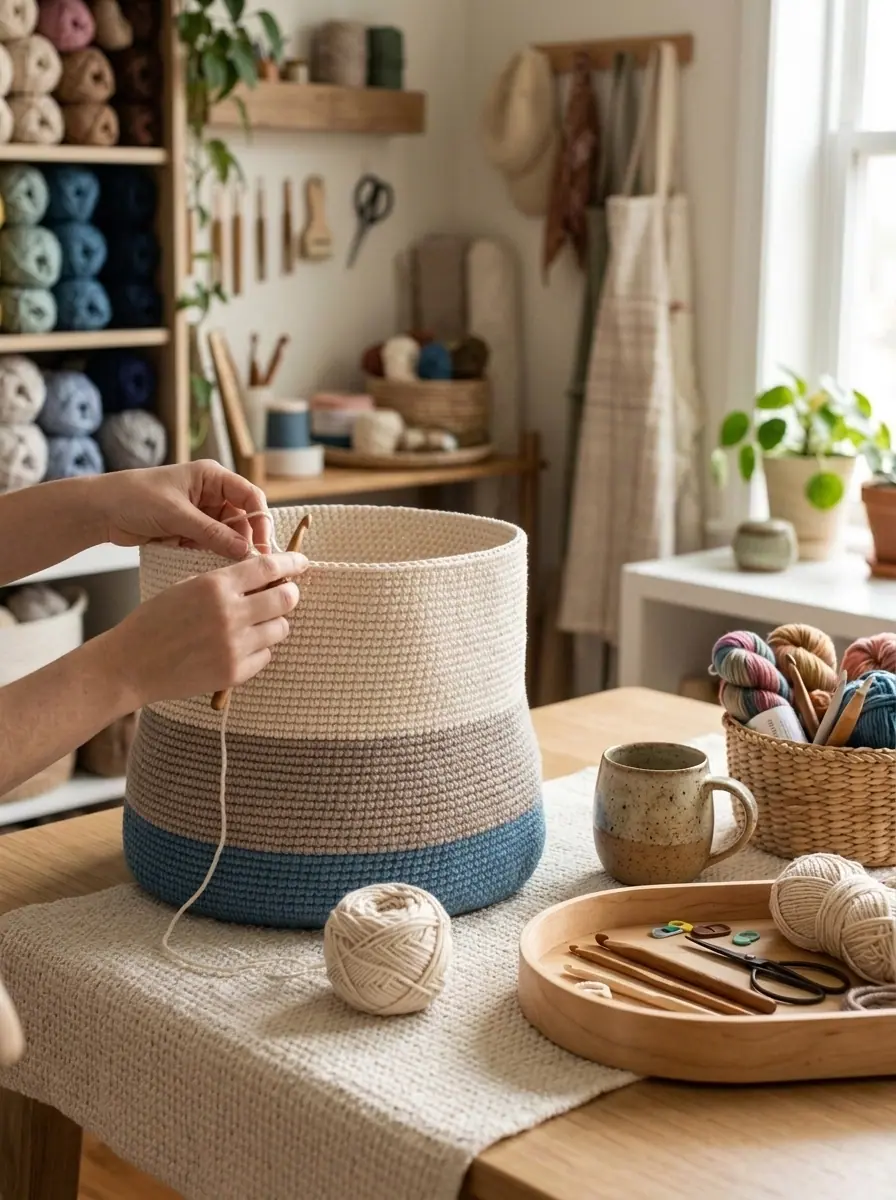
Lower Stripe in Contrast A (Steel Blue): Ch 1. Working in both loops, 1 sc in each sc around. Join with sl st to first sc. (144 sc) Repeat (Rep) last rnd until work from marked rnd measures 3″ [7.5 cm]. Join Contrast B (Clay) at end of last rnd. Break A.
Middle Stripe in Contrast B (Clay): With B, rep last rnd (Ch 1, working in both loops, 1 sc in each sc around, join with sl st to first sc) until work from marked rnd measures 6″ [15 cm]. Join Contrast C (Cream) at end of last rnd. Break B.
Upper Wall in Contrast C (Cream): With C, rep last rnd until work from marked rnd measures 9½” [24 cm]. Do not fasten off—you will now shape the built-in handles in Contrast C.
Part 3: Crocheting the Built-In Reinforced Handles
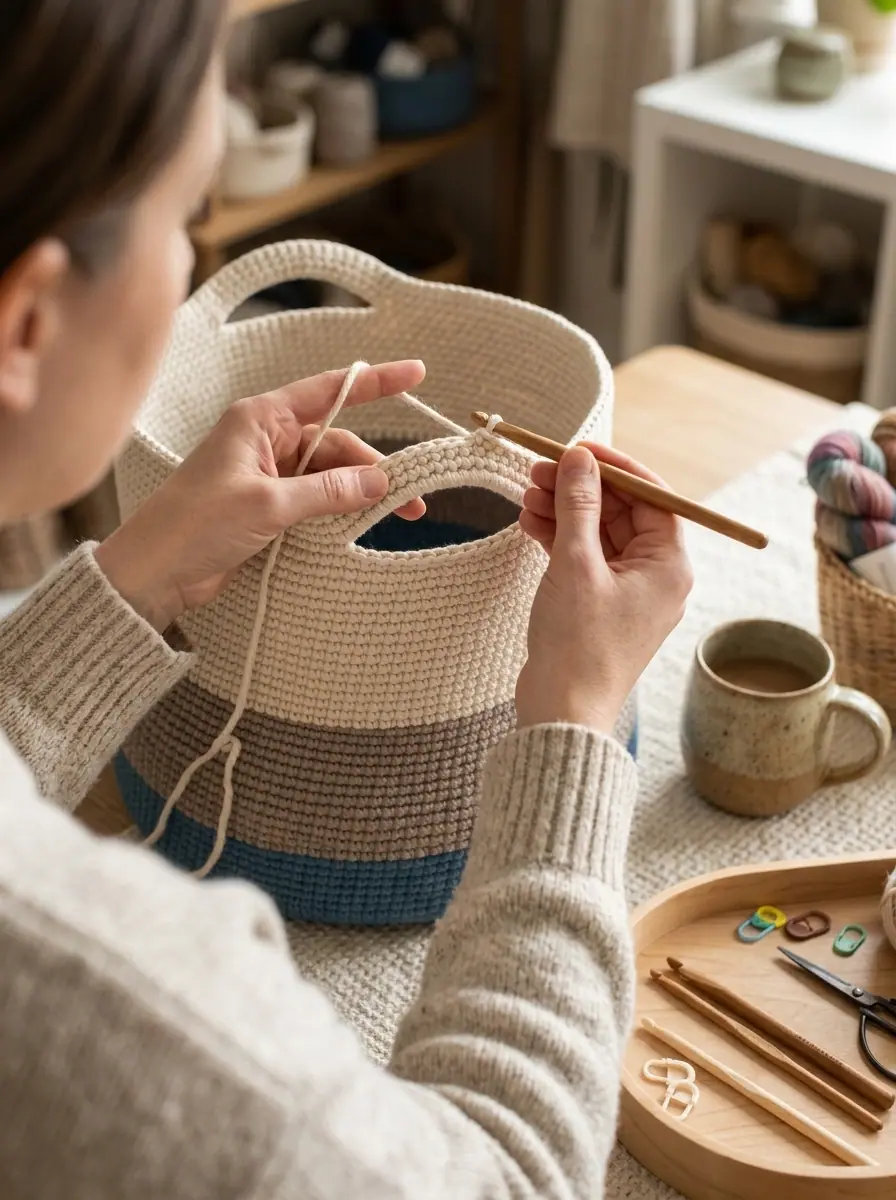
To finish the top rim of the basket, you will create two symmetrical handle cut-outs on opposite sides by chaining 14 and skipping 14 stitches, then working 17 single crochets directly into each chain-14 space on the following round to make the handles thick, rounded, and comfortable to carry.
Helpful Note on Handle Chain Spaces: On the handle-reinforcing round below, you will work 17 sc into both of the
ch-14 spaces you created on the previous round (note that the printed PDF chart contains a tiny typographical label calling the second chain space ch-12 sp, even though both handle openings are chained with Ch 14 and filled with 17 sc).
Handle Opening Rnd (Next rnd): Continuing with Contrast C (Cream), ch 1. Work 1 sc in each of next 29 sc. Ch 14. Skip next 14 sc. Work 1 sc in each of next 58 sc. Ch 14. Skip next 14 sc. Work 1 sc in each of next 29 sc. Join with sl st to first sc. (116 sc + two ch-14 handle spaces)
Reinforcing Handles Rnd (Next rnd): Ch 1. Work 1 sc in each of next 29 sc. Work 17 sc in next ch-14 sp. Work 1 sc in each of next 58 sc. Work 17 sc in next ch-14 sp. Work 1 sc in each of next 29 sc. Join with sl st to first sc. (150 sc total around rim)
Final Rim Rnds (Next 2 rnds): Ch 1. Work 1 sc in each sc around. Join with sl st to first sc. (150 sc) Fasten off at the end of the 2nd rnd, and weave in all yarn ends securely on the inside of the basket.
Official Yarn Care Instructions
Because Bernat® Maker™ is crafted from a durable 72% cotton / 28% nylon tubular blend, your finished basket is easy to keep fresh following the official Yarnspirations care guidelines:
- Machine Washable: Machine wash in cold water on the Delicate Cycle.
- Lay Flat to Dry: Reshape the circular base and upright walls while damp and lay flat to dry.
- No Bleach or Ironing: Do not bleach and do not iron or press.
Save This Crochet Pattern to Pinterest
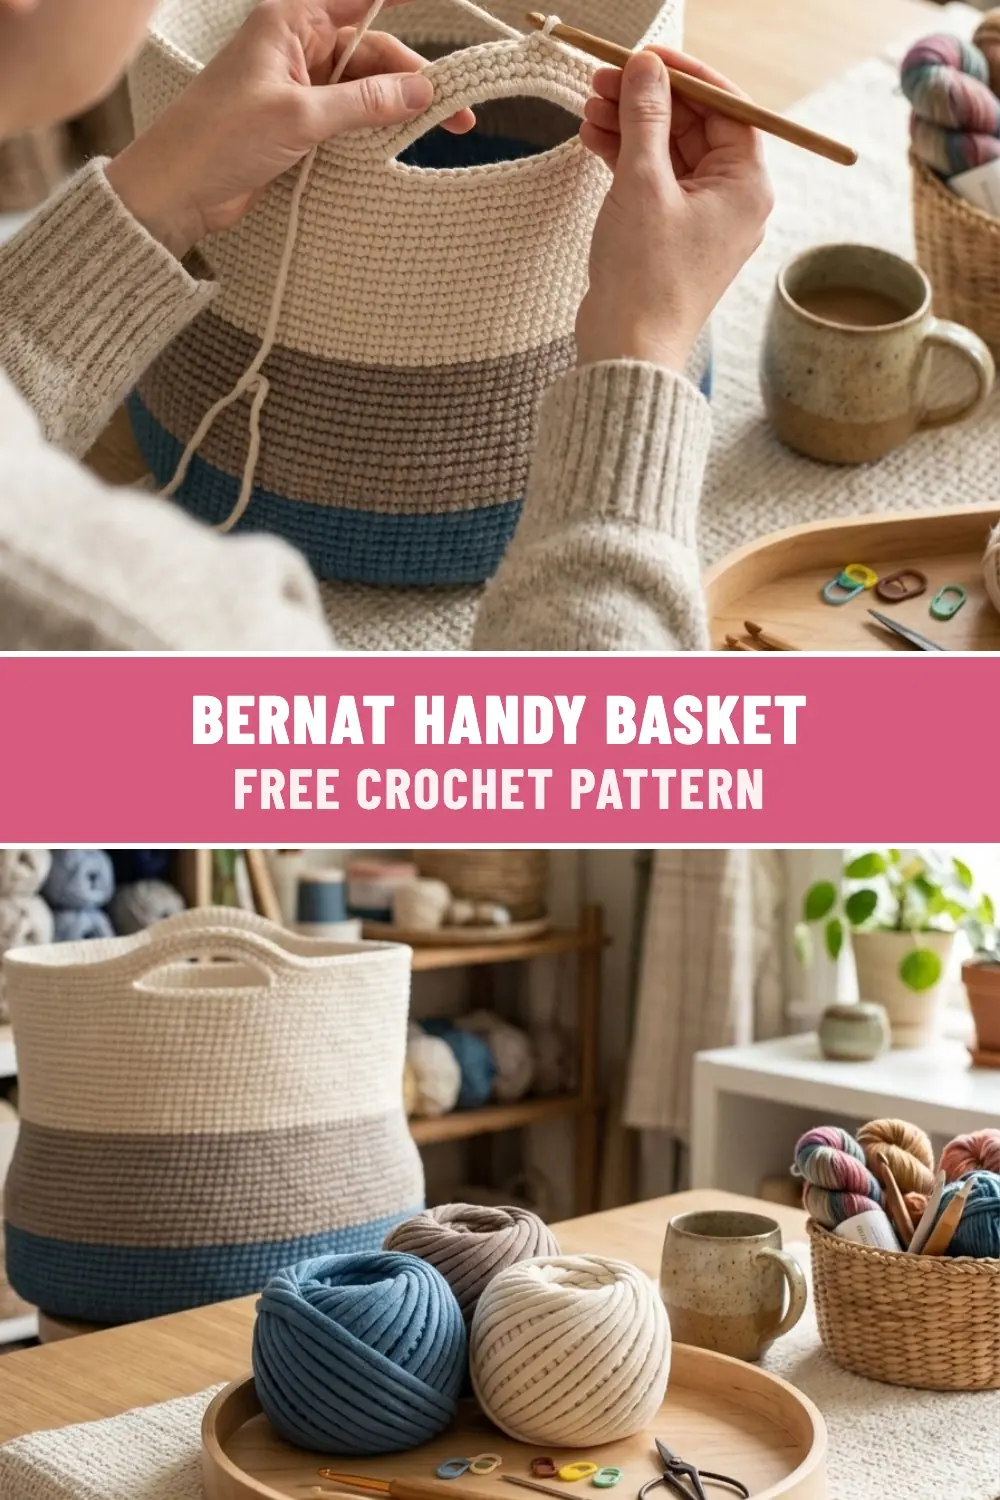
Ready to organize your yarn stash or craft room in style? Save one of the Pinterest pins below to your crochet home decor board so you can come back to this free pattern anytime!
PREVIOUS PATTERN
Ribbed Twist-Front Crochet Ear Warmer and Winter Headband
NEXT PATTERN
Ribbed Brim Chunky Winter Crochet Beanie With Pom-Pom Top
✨ KEEP CROCHETING ✨
You May Also Love
LEAVE A COMMENT
Have a question about a stitch or want to share how your project turned out? Drop a comment below — I read and reply to every maker!