
 Seasonal & Holiday Crochet
*This post may contain affiliate links to support the cost of this blog. At no cost to you, I may make a small commission if you purchase through these links. Read our Privacy Policy HERE
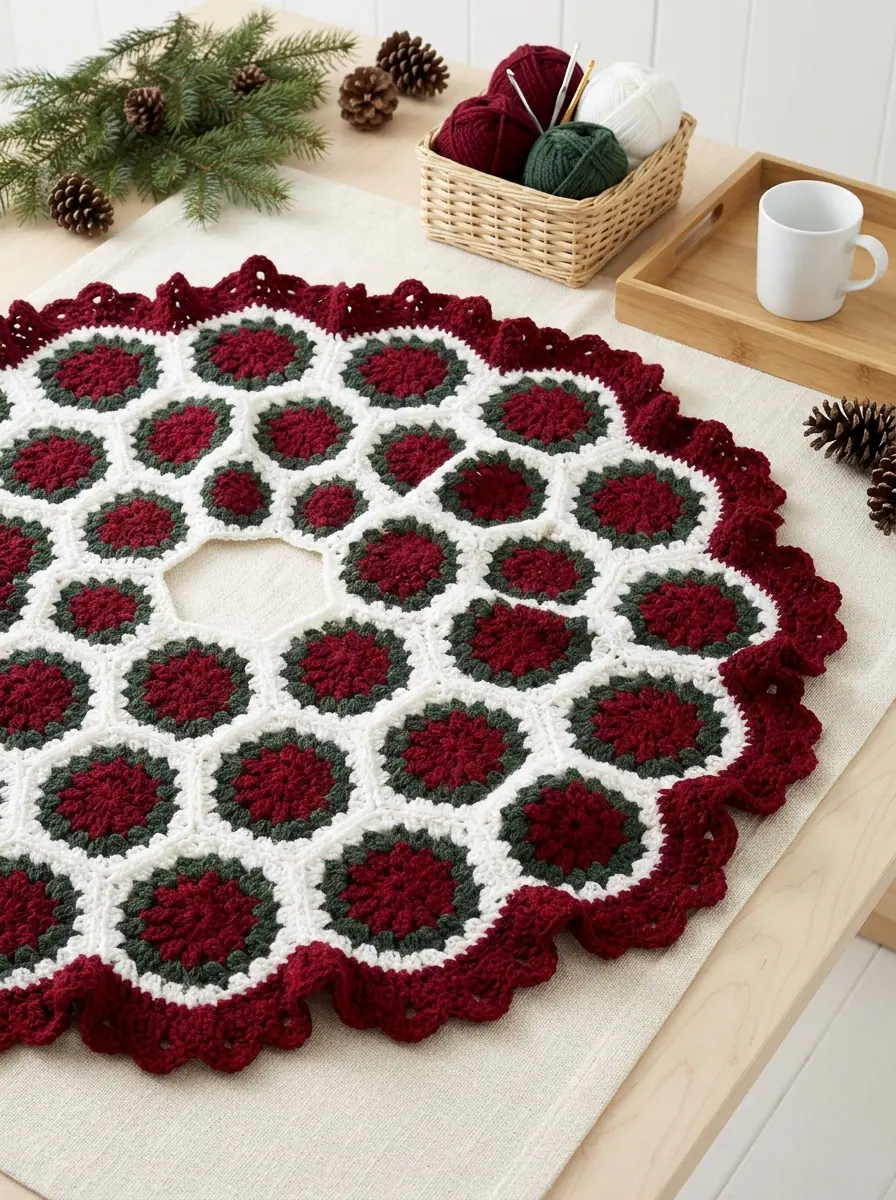
Dressing the base of the holiday tree in handmade heirloom lace transforms the entire living room into a warm, nostalgic celebration. This Victorian Hexagon Motif Crochet Christmas Tree Skirt With Ruffle Border combines thirty-six poinsettia-inspired granny hexagons—worked in rich Christmas burgundy red, deep pine sage green, and crisp snow white—into a generous 42-inch (107 cm) circular skirt edged with a dramatic five-row scalloped fan ruffle. Because each 6-inch (15 cm) hexagon takes less than twenty minutes to stitch on a 5.5 mm (US I-9) hook, you can carry a small stack of motifs in your project bag throughout the season and join them into a showstopping holiday centerpiece.
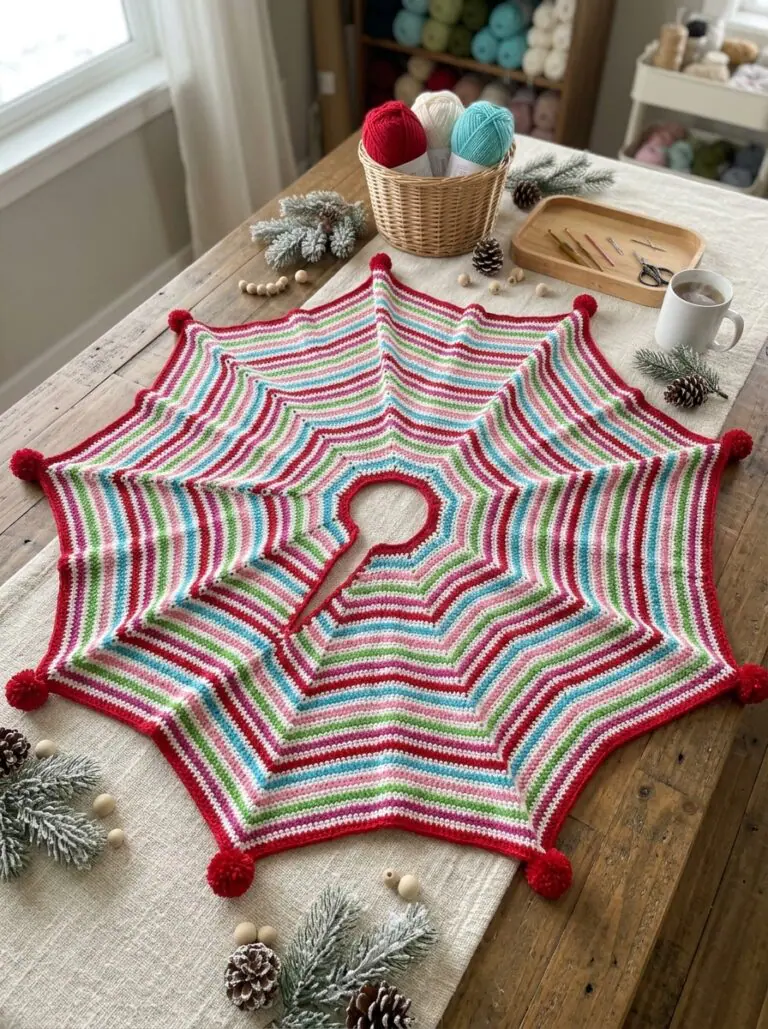
If you have been building a handmade holiday collection alongside our circular pinstripe crochet Christmas tree skirt and our twisted double-coil spiral crochet Christmas wreath ornament, this modular hexagon tree skirt offers an approachable way to enjoy motif colorwork without managing heavy fabric on your lap until the final border rounds.
Project Overview
- Skill Level: Easy (3-round cluster flower center, granny hexagon framing round, whipstitch motif assembly, and chain-arch fan ruffle)
- Finished Diameter: 42 inches (107 cm) across from ruffle tip to ruffle tip
- Individual Motif Size: 6 inches (15 cm) flat across from point to point
- Total Motifs Required: 36 identical 4-round hexagons arranged in concentric rings with an open side slit
- Recommended Hook: 5.5 mm (US I-9) crochet hook
- Yarn Weight: Medium Weight (#4 Worsted) 100% acrylic yarn in Rich Christmas Burgundy Red (A), Crisp Snow Soft White (B), and Deep Pine Sage Green (C)
Table of Contents
1Home2Seasonal & Holiday Crochet3Victorian Hexagon Motif Crochet Christmas Tree Skirt With Ruffle Border
Why You Will Love Stitching This Modular Hexagon Tree Skirt
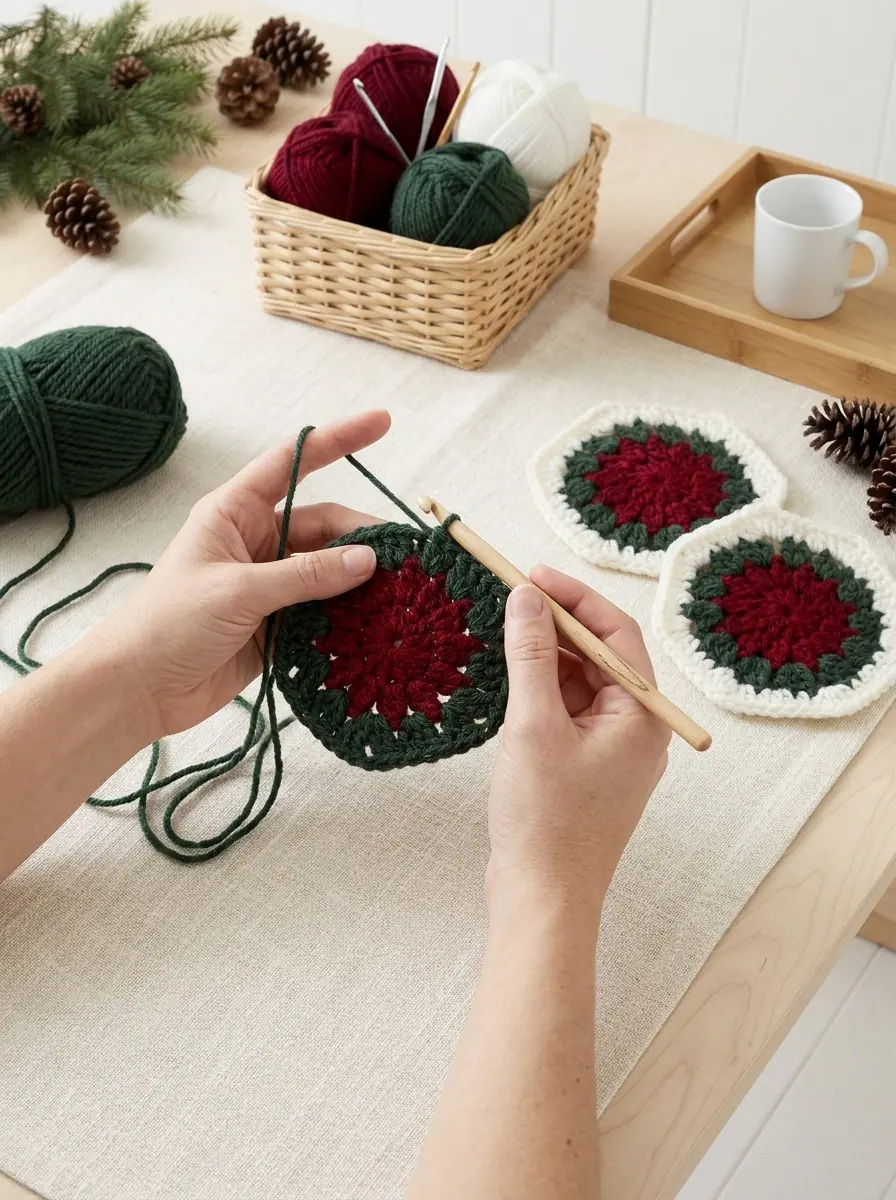
Working a full-sized 42-inch tree skirt in one continuous piece can feel bulky by the final outer rounds, especially in a warm living room. By dividing the body into thirty-six identical 6-inch hexagons, eighty percent of your stitching happens on palm-sized motifs that weigh less than half an ounce each. Every motif blossoms from the center out: Rounds 1 and 2 form a twelve-petal poinsettia flower in rich Christmas burgundy red using three-double-crochet clusters (dc3tog), Round 3 surrounds those petals with eighteen deep pine sage green foliage clusters, and Round 4 squares the circle into a crisp six-sided snow-white granny frame.
Once the thirty-six motifs are seamed together into an open C-ring layout, five short shaping rows in snow white neaten the inner neck opening around the tree trunk, while five airy rows of burgundy chain arches and treble-like fan shells ripple around the outer perimeter and up both sides of the back opening. You can pair the leftover burgundy and snow-white yarn with our ridged wedge crochet Christmas tree bottle topper or hang matching stuffed six-point amigurumi crochet snowflake ornaments on the lower branches right above the skirt.
Materials & Tools You Will Need
Complete Supply Checklist
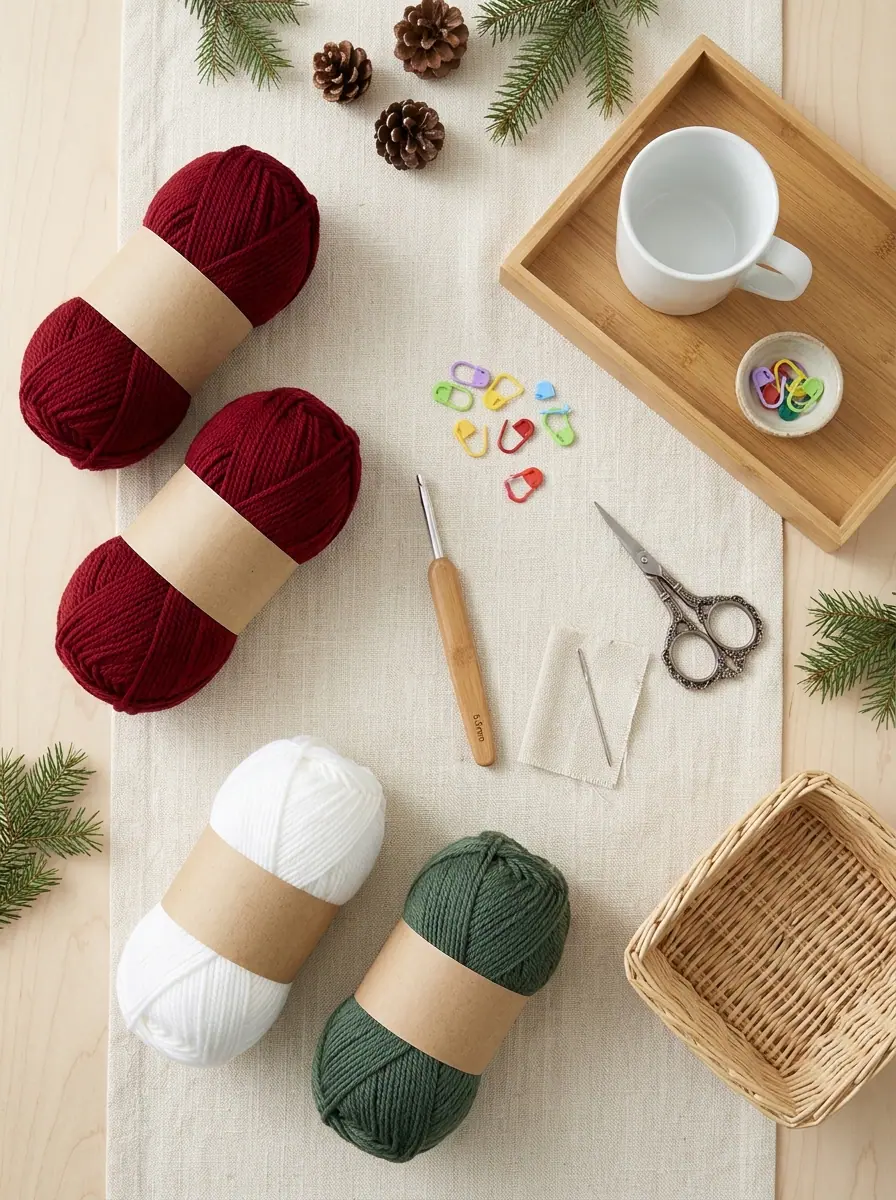
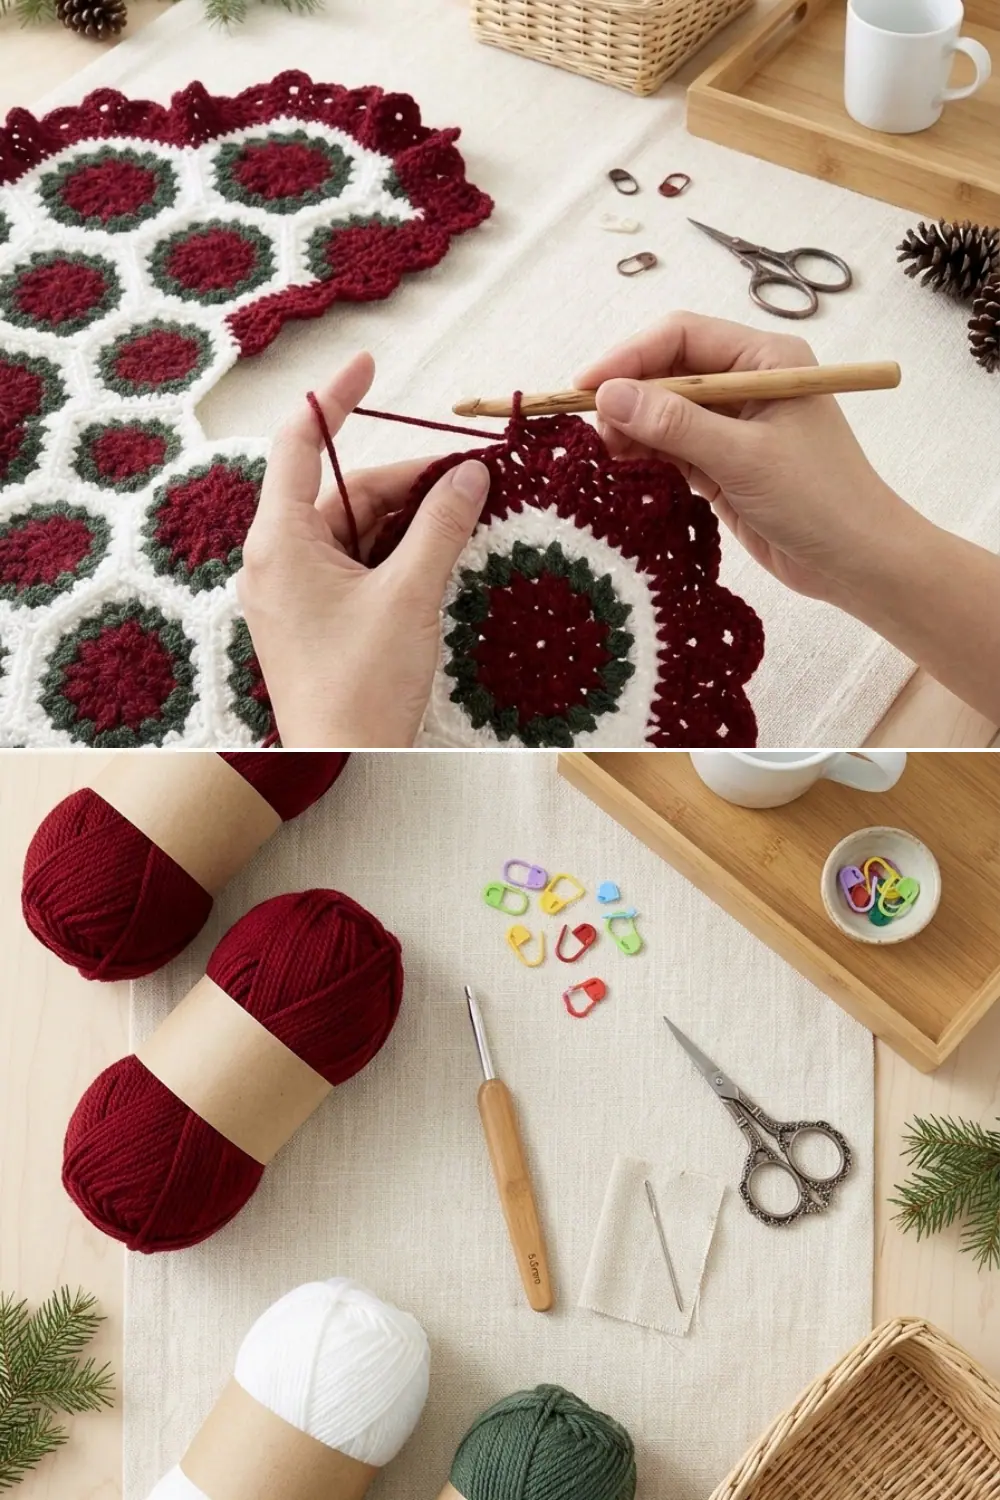
- Yarn: Medium Weight (#4 Worsted) 100% acrylic yarn (7 oz / 198 g, 364 yds / 333 m per skein):
- Color A (Rich Christmas Burgundy Red): 2 skeins (approximately 680 yds / 622 m used for Rounds 1–2 of all 36 hexagons plus the 5-row outer scalloped ruffle border)
- Color B (Crisp Snow Soft White): 1 skein (approximately 350 yds / 320 m used for Round 4 of all 36 hexagons, motif seaming, and the 5-row center neck border)
- Color C (Deep Pine Sage Green): 1 skein (approximately 290 yds / 265 m used for Round 3 foliage clusters on all 36 hexagons)
- Crochet Hook: 5.5 mm (US I-9) ergonomic crochet hook (or size needed to obtain exact 6-inch hexagon gauge)
- Notions: Blunt-tipped metal tapestry needle for whipstitching motifs and weaving in color-change tails, locking stitch markers for holding hexagon corners aligned during assembly, tape measure, and sharp embroidery scissors
Gauge, Finished Dimensions & Sizing Notes
Before batch-crocheting all thirty-six motifs, complete one test hexagon through Round 4, fasten off, and measure it on a flat surface:
- Official Motif Gauge: 1 completed 4-round hexagon = 6 inches (15 cm) across when measured through the center from corner ch-2 space to opposite corner ch-2 space (approximately 5.25 inches / 13.5 cm from flat side to flat side).
- Finished Tree Skirt Diameter: 42 inches (107 cm) across after adding the 5-row Center Neck edging and the 5-row Burgundy Ruffle border.
- Adjusting Hook Size: If your finished motif measures 6.5 inches across, switch down to a 5.0 mm (US H-8) hook so you do not run short of Color B or Color C yarn. If your motif measures only 5.5 inches across, move up to a 6.0 mm (US J-10) hook so your finished skirt reaches the full 42-inch span.
Stitch Abbreviations & Special Cluster Stitches (US Terms)
- A, B, C: Yarn Colors A (Rich Christmas Burgundy Red), B (Crisp Snow Soft White), and C (Deep Pine Sage Green)
- ch: chain
- sl st: slip stitch
- sc: single crochet
- dc: double crochet
- st(s): stitch(es)
- sp(s): space(s)
- yo: yarn over
- RS / WS: Right Side / Wrong Side
- dc2tog (Double Crochet 2 Together):
[Yo and draw up a loop in stitch or space indicated, yo and draw through 2 loops]twice, yo and draw through all 3 loops on hook. - dc3tog (Double Crochet 3 Together — Cluster):
[Yo and draw up a loop in stitch or space indicated, yo and draw through 2 loops]3 times, yo and draw through all 4 loops on hook. - sc2tog (Single Crochet 2 Together):
[Draw up a loop in next stitch]twice, yo and draw through all 3 loops on hook. - sc3tog (Single Crochet 3 Together):
[Draw up a loop in next stitch]3 times, yo and draw through all 4 loops on hook.
Maker Tip — Weaving Tails as You Go: Because each hexagon uses three yarn colors across four rounds, crochet directly over the starting yarn tail for 3 or 4 stitches whenever you join a new shade in a ch-3 space. When fastening off at the end of Round 2 and Round 3, pull the tail down into the next ch-3 space so Round 3 and Round 4 trap it automatically—cutting your final weaving time by more than half!
Step-by-Step Crochet Instructions
Part 1: Poinsettia Hexagon Motifs (Make 36 Identical Hexagons)
Rounds 1 & 2 — Burgundy Poinsettia Center (Color A)
Foundation Ring: Using a 5.5 mm (US I-9) hook and Color A (Rich Christmas Burgundy Red), ch 5; join with a sl st in first ch to form a center ring.
Round 1 (RS — 6 Burgundy Clusters): Ch 3, work dc2tog in ring (beginning ch 3 + dc2tog counts as first dc3tog cluster), [ch 3, work dc3tog in ring] 5 times, ch 3; join with a sl st in top of beginning dc2tog. (6 dc3tog clusters and 6 ch-3 spaces)
Round 2 (12 Burgundy Petals): In next ch-3 sp work (sl st, ch 3, dc2tog, ch 3, dc3tog), ch 3, [(dc3tog, ch 3, dc3tog, ch 3) all in next ch-3 sp] 5 times; join with a sl st in top of beginning dc2tog. Fasten off Color A. (12 dc3tog clusters and 12 ch-3 spaces)
Round 3 — Deep Pine Foliage Ring (Color C)
Round 3 (18 Pine Clusters — 6 Corners Formed): With RS facing, join Color C (Deep Pine Sage Green) with a sl st in any ch-3 sp of Round 2; ch 3, work dc2tog in same ch-3 sp as joining, ch 3, work (dc3tog, ch 3, dc3tog) all in next ch-3 sp (corner made), ch 3, work dc3tog in next ch-3 sp (side cluster made), ch 3; repeat from around, ending last repeat at ; join with a sl st in top of beginning dc2tog. Fasten off Color C. (18 dc3tog clusters and 18 ch-3 spaces: six 2-cluster corners separated by six single-cluster sides)
Round 4 — Crisp Snow White Hexagon Frame (Color B)
Round 4 (White Granny Hexagon Edging): With RS facing, join Color B (Crisp Snow Soft White) with a sl st in any ch-3 sp immediately before a 2-cluster corner; ch 3, work 2 dc in same ch-3 sp as joining, work (3 dc, ch 2, 3 dc) all in next corner ch-3 sp , [work 3 dc in next side ch-3 sp] twice; repeat from around, ending last repeat at , work 3 dc in final ch-3 sp; join with a sl st in top of beginning ch-3. Fasten off Color B, leaving a 14-inch tail on half of the motifs for seaming. (Each of the 6 sides has four 3-dc groups = 12 dc per side, separated by six corner ch-2 spaces; 72 dc total per hexagon)
Part 2: Arranging & Seaming the 36 Hexagons
Concentric 3-Ring Layout With Open Tree-Trunk Slit
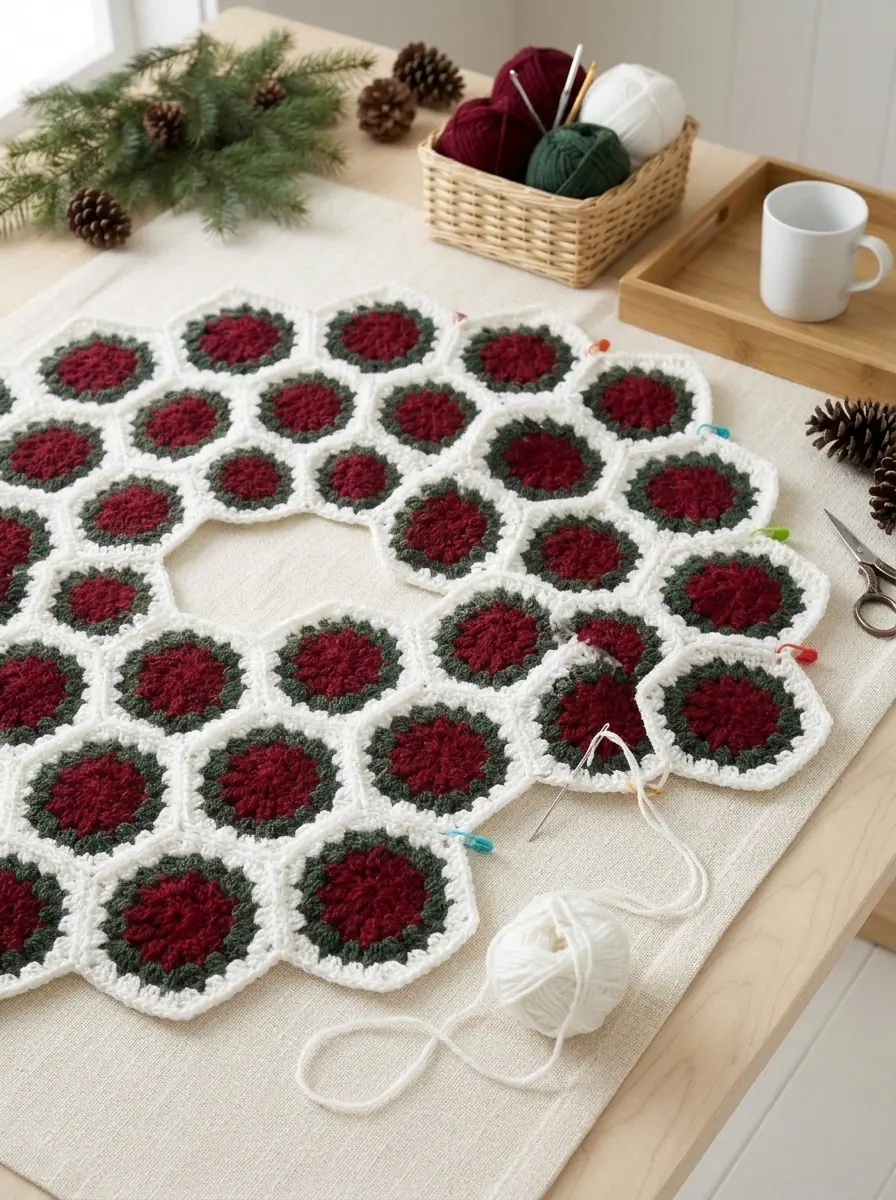
Lay all 36 completed hexagons Right Side up on a flat floor or dining table in three concentric rings with an open slit between the first and last column so the skirt wraps easily around the tree stand:
- Inner Ring (Ring 1 — 6 Hexagons): Arrange 6 hexagons in a C-shape around the center opening, joining 5 inner side seams so the two end hexagons remain unjoined to form the back slit. Each of the 6 inner hexagons has one free flat edge (12 dc flanked by ch-2 corner spaces) facing the center tree trunk.
- Middle Ring (Ring 2 — 12 Hexagons): Fit 12 hexagons into the outer valleys and points of Ring 1 (two middle hexagons per inner hexagon), leaving the back slit open between the first and twelfth hexagon.
- Outer Ring (Ring 3 — 18 Hexagons): Fit 18 hexagons around the outer perimeter of Ring 2 (three outer hexagons per section), creating a scalloped star-point outer edge and keeping the back slit open from the center hole to the outer rim.
Using a tapestry needle threaded with Color B (Crisp Snow Soft White), whipstitch the touching flat sides together stitch-for-stitch through the back loops (12 dc to 12 dc, plus 1 stitch in each matching ch-2 corner space) so the seams lie completely flat on the Right Side.
Part 3: Center Neck Shaping Edging (Color B — Crisp Snow White)
Rows 1 to 5 — Smoothing the Inner Trunk Opening
Row 1 (RS): With RS facing, join Color B (Crisp Snow Soft White) in the first ch-2 corner space of the first of the 6 hexagons at the center neck opening; ch 3, work dc2tog over same ch-2 sp and next dc, dc in next 11 dc, work dc3tog over (next ch-2 sp, seam, and next ch-2 sp) , dc in next 12 dc; repeat from across the 6 inner hexagon edges to last hexagon, ending last repeat at ; dc in next 11 dc, work dc2tog over next dc and final ch-2 sp; turn. (5 valley dc3tog decreases smooth the inner hexagon points into a curve)
Rows 2 and 3: Ch 3, skip first st, work dc2tog over next 2 dc, dc in each dc to 1 dc before next dc3tog , work dc3tog over (next dc, dc3tog, and next dc); repeat from to last 2 sts, ending last repeat at ; work dc2tog over next dc and last dc2tog; turn.
Row 4: Ch 1, work sc2tog over first 2 sts, sc in each dc to 1 st before next dc3tog , work sc3tog over (next dc, dc3tog, and next dc); repeat from to last 2 sts, ending last repeat at ; work sc2tog over next dc and last dc2tog; turn.
Row 5: Ch 1, work sc2tog over first 2 sts, sc in each sc to 1 st before next sc3tog , work sc3tog over (next sc, sc3tog, and next sc); repeat from to last 2 sts, ending last repeat at ; work sc2tog over next sc and last sc2tog. Fasten off Color B and weave in ends.
Part 4: Victorian Scalloped Ruffle Border (Color A — Burgundy Red)
Rows 1 to 5 — Lace Mesh Arches & Scalloped Fan Shells
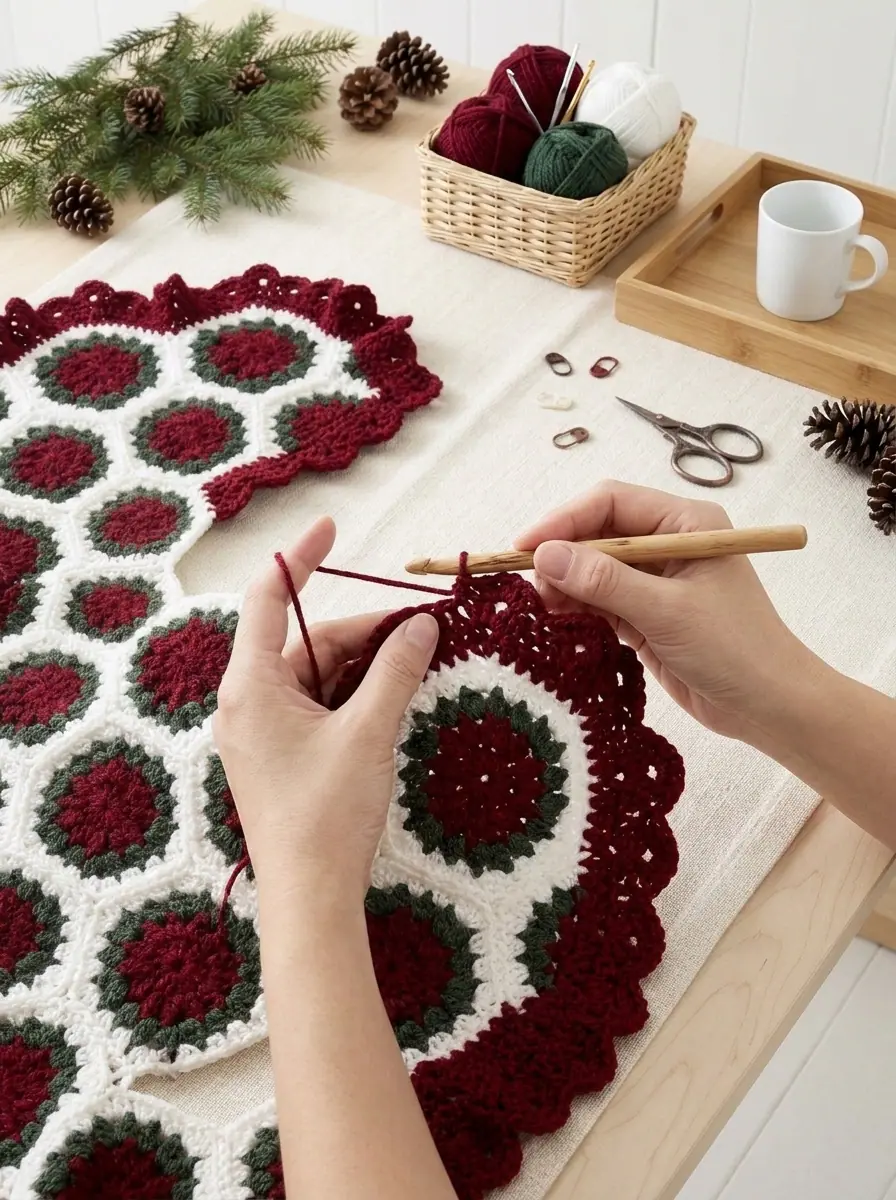
Row 1 (RS — Foundation Border): With RS facing, join Color A (Rich Christmas Burgundy Red) with a sl st in the first ch-2 space at the bottom outer corner of the back slit opening; ch 1, sc in same ch-2 sp, sc in each st along hexagon edge to ch-2 sp before seam, sc in ch-2 sp , skip seam, sc in next ch-2 sp; repeat from all the way around the outer zigzag perimeter (and along the slit edges as desired), ending last repeat at ; turn.
Row 2 (First Ch-3 Mesh Row): Ch 3, skip 1 sc, sc in next sc; repeat from across entire border; turn.
Row 3 (Second Ch-3 Mesh Row): Ch 3, sc in next ch-3 sp; repeat from across entire border; turn.
Row 4 (Expanding Ch-5 Arch Row): Ch 5, sc in next ch-3 sp; repeat from across entire border; turn.
Row 5 (RS — Victorian Scalloped Fan Shells): Ch 1, sc in first ch-5 sp, work (dc, [ch 1, dc] 4 times) all in next ch-5 sp (5-spoke lacy fan shell made), sc in next ch-5 sp; repeat from across entire border to end. Fasten off Color A and weave in all remaining ends.
Yarn Care, Washing & Post-Holiday Storage
- Machine Washing: Because 100% worsted acrylic yarn is colorfast and durable, wash your finished tree skirt in cool or warm water (30°C / 85°F) on the gentle cycle inside a large mesh laundry bag so the scalloped ch-5 fan ruffle never snags on the agitator.
- Tumble Drying & Steam Shaping: Tumble dry on low heat and remove promptly, then spread the 42-inch circle flat on a carpeted floor or bed and finger-fluff the burgundy ruffle shells into even waves.
- Ironing Warning: Do not iron or press acrylic crochet fabric directly with a hot iron, which will flatten the lofty
dc3togpoinsettia clusters permanently.
✨ PATTERN HELP & TIPS ✨
Got Questions?
Frequently Asked Questions
Click on any question below to reveal the answer
How do I keep the rich burgundy red yarn from bleeding onto the snow white border when washing?
Modern 100% acrylic worsted yarns are solution-dyed for high colorfastness, but tossing a single color-catcher sheet into the first cold-water gentle wash guarantees that the crisp snow white Round 4 frames stay bright season after season.
Can I join the hexagons with a single crochet join-as-you-go method instead of whipstitching?
Yes! If you prefer crocheting your seams, work Round 4 of the first motif completely, then on subsequent motifs replace the middle chains of each corner ch-2 space and slip-stitch between the 3-dc granny groups into the adjacent motif on the Wrong Side so the seam remains flat on the Right Side.
How can I make the tree skirt larger for a wide 8-foot or 9-foot Christmas tree?
Each ring of hexagons adds approximately 11 inches to the radius. You can either switch to a 6.5 mm (US K-10.5) hook so each hexagon measures 6.75 inches across (bringing the finished diameter to 48 inches), or add an extra round of white granny clusters to each motif before seaming.
Can I add ribbon ties along the open back slit?
Absolutely. Crochet six 30-chain cords in Color A (Rich Christmas Burgundy Red) and tack three pairs along the two vertical edges of the back slit so you can tie dainty bows behind the tree trunk once the skirt is in place.
PREVIOUS PATTERN
Twisted Double-Coil Spiral Crochet Christmas Wreath Ornament With Bow
NEXT PATTERN
Striped Chevron Ripple Crochet Christmas Tree Garland

✨ KEEP CROCHETING ✨
You May Also Love
LEAVE A COMMENT
Have a question about a stitch or want to share how your project turned out? Drop a comment below — I read and reply to every maker!