
 Seasonal & Holiday Crochet
*This post may contain affiliate links to support the cost of this blog. At no cost to you, I may make a small commission if you purchase through these links. Read our Privacy Policy HERE
Draping a handmade crochet garland across a glowing evergreen tree or over a holiday fireplace mantel instantly adds classic winter warmth and nostalgic texture to your seasonal decor. This Striped Chevron Ripple Crochet Christmas Tree Garland works up in just three fast rows of classic double crochet ripples, pairing crisp snow white outer borders with a bold Christmas burgundy red center stripe. Because each 52-inch strand uses a simple 10-peak ripple rhythm of double crochet increases and double crochet two-together decreases, you can easily stitch a matching pair of festive garlands in a single cozy evening.
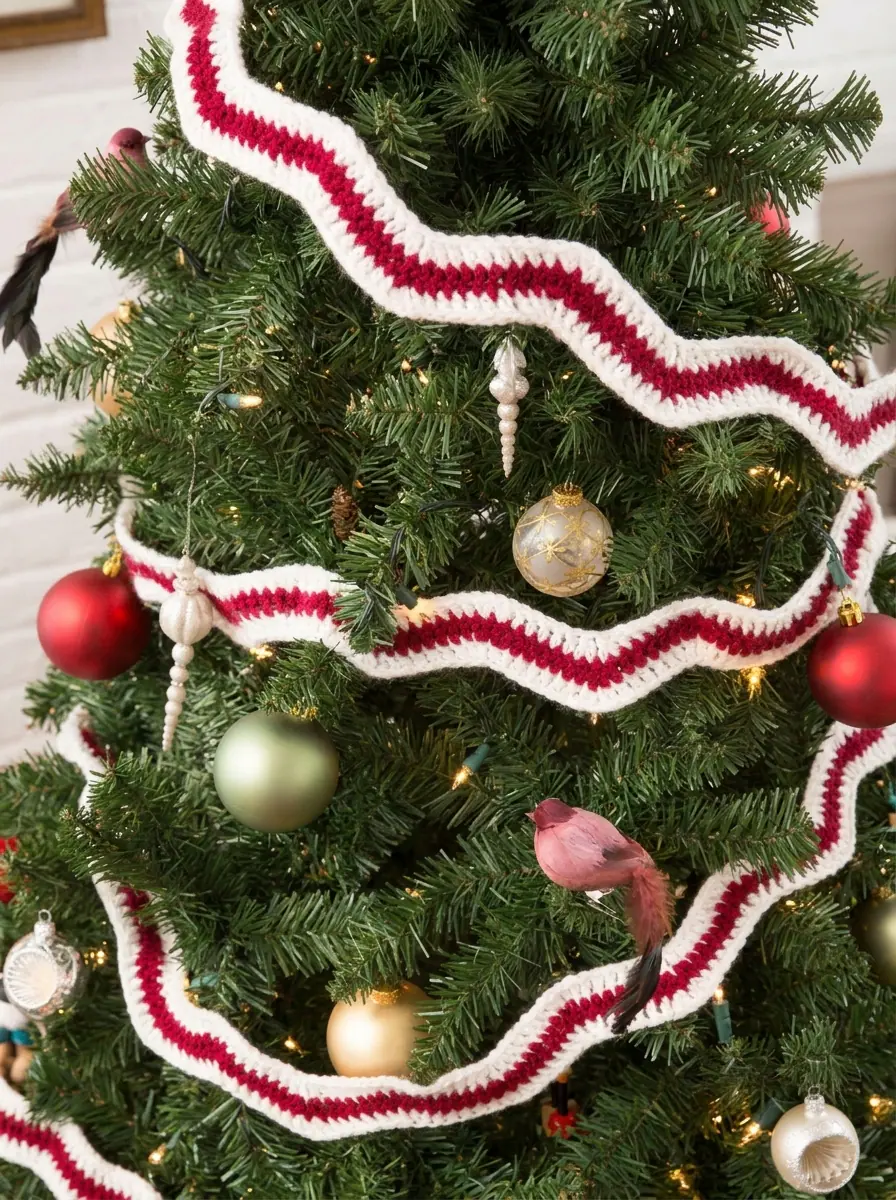
Whether you wind two strands around a full-sized family Christmas tree, swag a single length along a staircase banister, or frame a festive doorway, the structured double crochet fabric holds its crisp zigzag peaks without twisting or drooping. Below, you will find the complete project specifications, exact stitch counts, a foundation chain tension tip that prevents curling, and row-by-row instructions to craft your own heirloom holiday garland set.
Pattern Overview
- Skill Level: Easy (confident beginner familiar with double crochet increases and decreases)
- Finished Measurements: Each garland strand measures 52 inches (132 cm) long by 2 inches (5 cm) wide (pattern makes 2 matching strands)
- Gauge: 12 stitches and 7 rows in double crochet = 4 inches (10 cm)
- Primary Technique: 3-row flat chevron ripple worked lengthwise with double crochet 2-together (dc2tog) valleys and 4-dc peaks
- Recommended Hook: 5.5 mm (US I-9) crochet hook (plus an optional 6.0 mm US J-10 hook for a relaxed starting chain)
- Yarn Weight: Medium Worsted Weight (#4) Acrylic Yarn in Soft White (Color A) and Burgundy Red (Color B)
Table of Contents
- Why You Will Love Stitching This Holiday Ripple Garland
- Gauge, Measurements & Yardage Breakdown
- Stitch Abbreviations & Special Stitches (US Terms)
- Step-by-Step Crochet Christmas Tree Garland Instructions
- Optional Hanging Loops & Holiday Styling Ideas
- Yarn Care & Post-Holiday Storage Instructions
- Frequently Asked Questions (FAQ)
- Save This Holiday Ripple Garland Pattern on Pinterest
Why You Will Love Stitching This Holiday Ripple Garland
Many holiday crochet garlands require dozens of tiny individual motifs—such as stars, trees, or mini stockings—that must be blocked and joined onto a separate cord. While motif buntings are charming, a continuous lengthwise ripple garland offers effortless speed and uninterrupted stitch flow:
- Three-Row Instant Gratification: Once your foundation chain of 163 stitches is complete, the entire garland takes only three rows of double crochet. Color A frames Row 1 and Row 3 in snowy white, while Color B creates a vivid crimson ribbon down Row 2.
- Balanced Chevron Geometry: Every ripple repeat consists of 5 straight double crochets climbing up the slope, a 4-double-crochet peak at the summit, 5 double crochets descending the slope, and two consecutive
dc2togdecreases forming a crisp valley. Across 163 starting chains, you get 10 symmetrical waves per strand. - Lightweight Yet Structured Drape: At 2 inches (5 cm) wide, the three-row strip is substantial enough to stand out against deep evergreen branches and fairy lights, yet light enough to rest gently on delicate pine needles without pulling them down.
- Easy Length Customization: Each ripple repeat uses a multiple of 16 chains (plus 3 turning chains at the end). You can shorten the chain for a compact tabletop tree or add extra 16-stitch repeats to span a wide mantelpiece.
Materials & Tools Needed
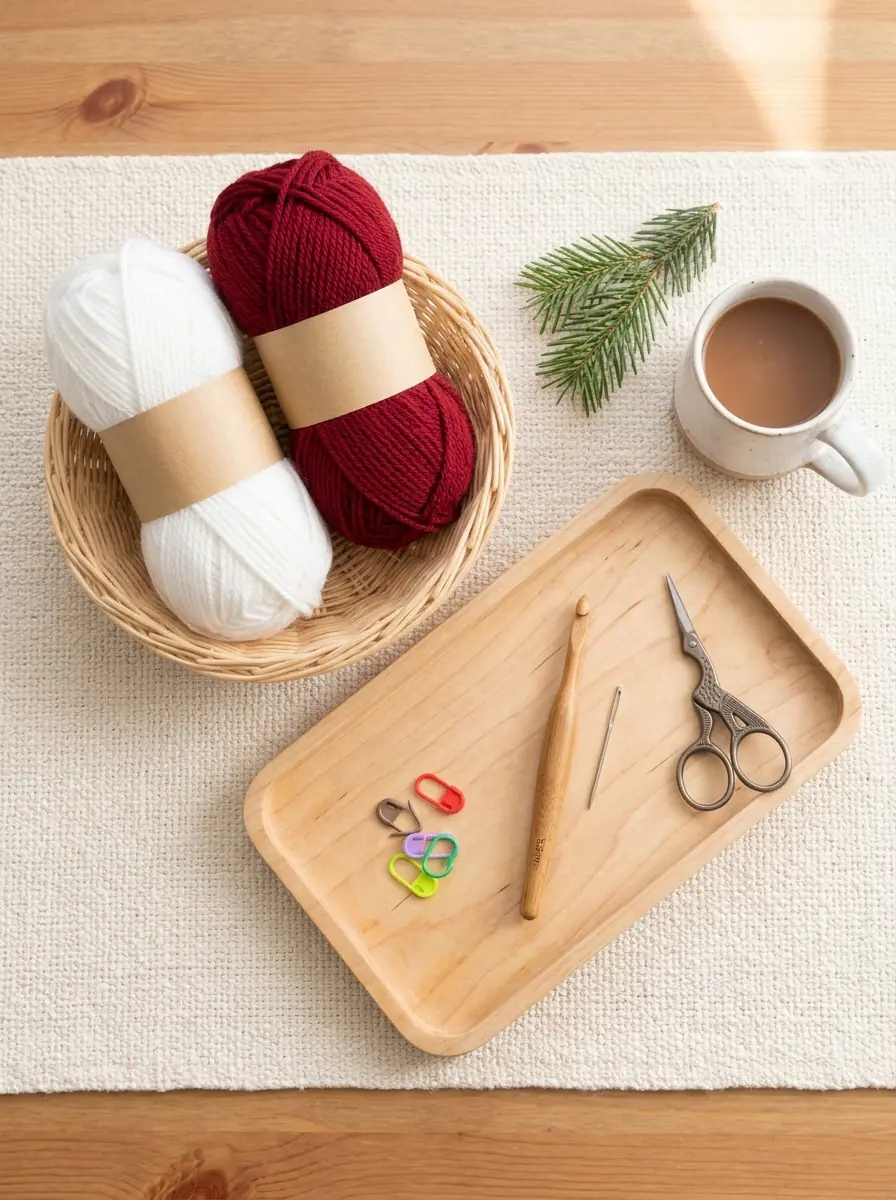
- Medium Worsted Weight (#4) 100% Acrylic Yarn (7 oz / 198 g, 364 yds / 333 m per solid skein):
- Color A (Outer Borders — Rows 1 & 3): 1 skein in Soft White (approx. 95 yds / 87 m needed for 2 garlands)
- Color B (Center Stripe — Row 2): 1 skein in Burgundy (approx. 50 yds / 46 m needed for 2 garlands)
- Crochet Hook: 5.5 mm (US I-9) ergonomic crochet hook (or size needed to obtain gauge)
- Optional Foundation Hook: 6.0 mm (US J-10) crochet hook for working the 163 foundation chains loosely
- Notions: Blunt-tip metal tapestry needle for weaving in color-change tails, locking stitch markers (optional, for marking every 20th chain), and sharp embroidery scissors
Gauge, Measurements & Yardage Breakdown
Even though a Christmas tree garland does not require garment-level sizing precision, checking your gauge ensures that your finished strand reaches the full 52-inch (132 cm) span and lies flat without ruffling.
| Specification | US Imperial Measurement | Metric Measurement |
|---|---|---|
| Single Garland Length | 52 inches | 132 cm |
| Single Garland Width | 2 inches | 5 cm |
| Standard Gauge (dc) | 12 sts x 7 rows = 4 inches | 12 sts x 7 rows = 10 cm |
| Ripple Repeat Multiple | 16 chains per wave (10 repeats total) | 5.2 inches (13.2 cm) per wave |
| Total Set Yield | 2 matching garlands (104 inches total) | 2 matching garlands (264 cm total) |
Stitch Abbreviations & Special Stitches (US Terms)
This pattern is written in standard US crochet terminology. Review the abbreviations and the special valley decrease before casting on:
- A, B: Color A (Soft White), Color B (Burgundy Red)
- ch: chain
- dc: double crochet
- dc2tog: double crochet 2 stitches together (decrease — see special instructions below)
- rep: repeat
- RS: Right Side
- sk: skip
- st(s): stitch(es)
- ( ): work all directions inside parentheses into the same stitch
- [ ]: work the directions inside brackets the number of times specified
- or : repeat the instructions following the single or double asterisk as directed
Special Stitch: Double Crochet 2 Together (dc2tog)
In this ripple pattern, two consecutive dc2tog decreases sit side by side at the bottom of every valley, pulling the fabric inward to balance the four double crochets worked at the top of every peak:
How to work dc2tog: Yarn over, insert your hook into the next stitch (or chain), yarn over and pull up a loop (3 loops on hook), yarn over and draw through 2 loops on hook (2 loops remain on hook); yarn over, insert your hook into the very next stitch (or chain), yarn over and pull up a loop (4 loops on hook), yarn over and draw through 2 loops on hook (3 loops remain on hook); yarn over and draw through all 3 loops on hook. One stitch decreased.
Step-by-Step Crochet Christmas Tree Garland Instructions
Follow the steps below to make 2 matching garlands. Read the maker note on foundation tension first so your bottom white border stays just as elastic as the top edge.
Maker Tip: Preventing Foundation Chain Pull
Long ripple projects worked into a starting chain can sometimes pull tight along the bottom edge. To keep the bottom of your garland from drawing in, work your starting chain of 163 stitches loosely, or use a crochet hook one size larger (6.0 mm / US J-10) for the foundation chain only, then switch back to your 5.5 mm (US I-9) hook starting on Row 1.
Step 1: Loose Foundation Chain & Row 1 (Soft White Base Ripple)
Begin with Color A (Soft White) to establish the 10 chevron wave repeats across the length of the garland.
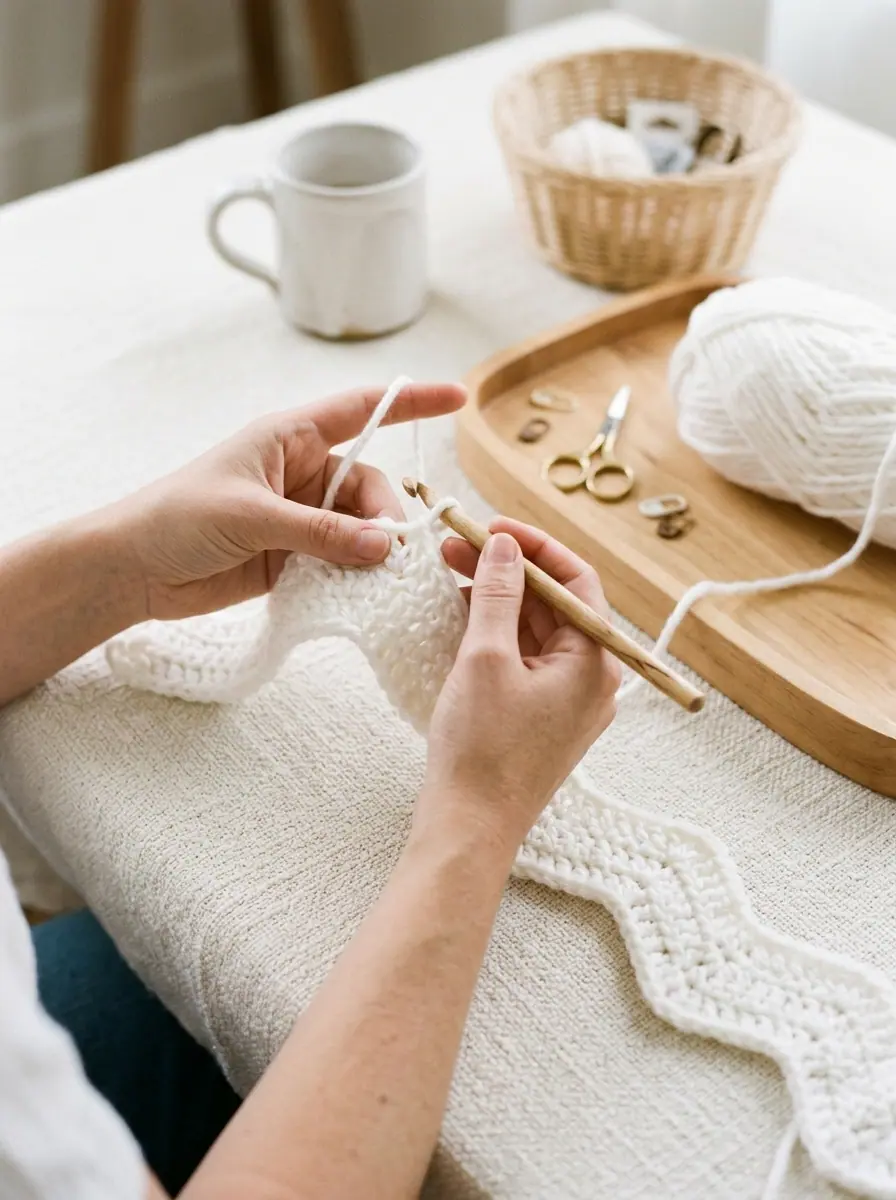
Foundation Chain: With Color A (Soft White), chain 163 loosely (tip: place a stitch marker every 25 or 50 chains so you never lose count).
Row 1 (Right Side): Working with your 5.5 mm hook, work 1 dc in the 4th ch from hook (the skipped 3 chains count as your first dc; these 2 sts form the first half-peak at the starting edge).
[ Work 1 dc in each of the next 5 ch (descending slope), work [dc2tog over next 2 ch] twice (4 chains used to create 2 decreased valley stitches), work 1 dc in each of the next 5 ch (ascending slope), work 2 dc in the next ch ], work 2 dc in the next ch (these two adjacent 2-dc increases create a 4-dc peak over 2 chains); repeat from [ across the entire foundation chain, ending the very last repeat at ] (so the row finishes with 2 dc in the final chain to match the starting edge); turn. (10 full ripple repeats completed across the row).
Fasten off Color A, leaving a 5-inch tail for weaving in, and join Color B (Burgundy Red) in the first stitch.
Step 2: Working Row 2 (Festive Burgundy Center Stripe)
With the Wrong Side facing, Row 2 stacks stitch-for-stitch over Row 1 in rich Christmas burgundy yarn, accentuating the sharp peaks and valleys.
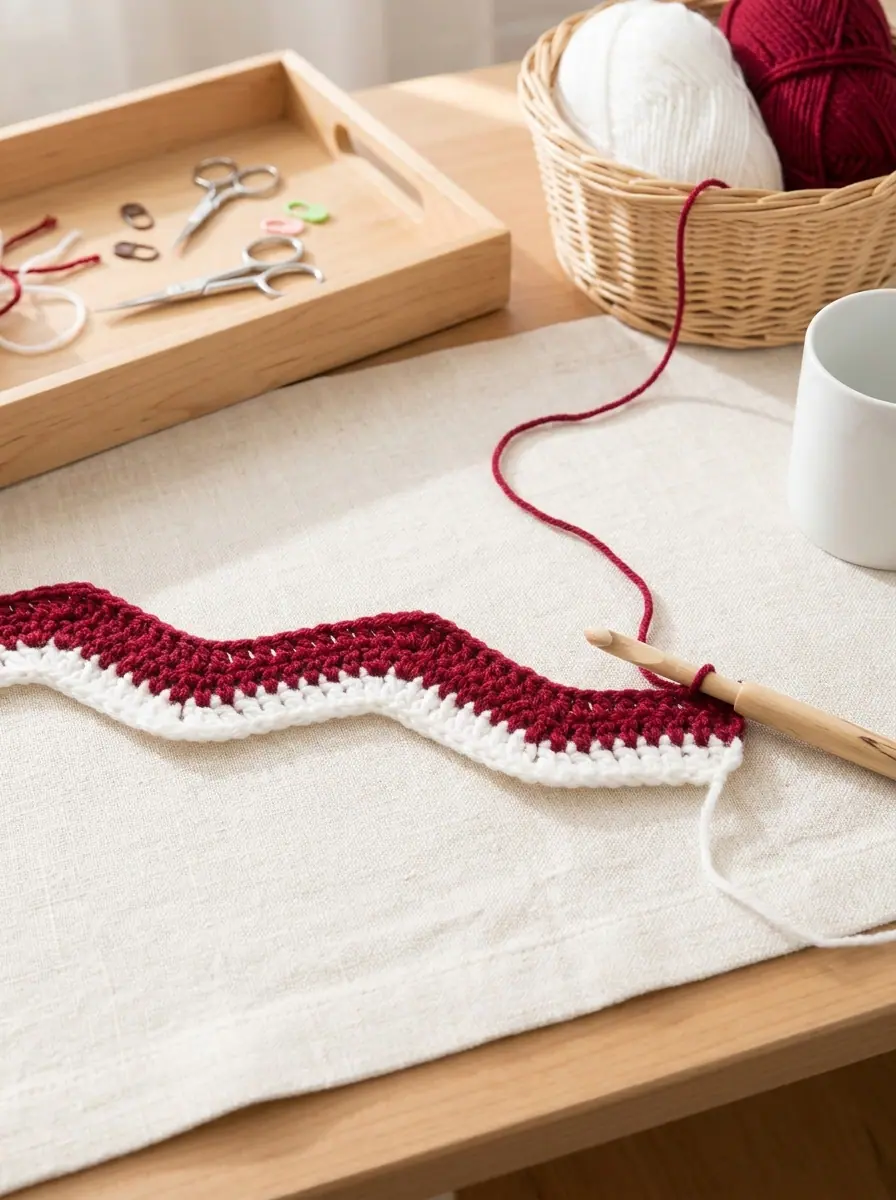
Row 2 (Wrong Side): With Color B (Burgundy Red), ch 3 (counts as first dc), and work 1 dc in the very first stitch at the base of the ch-3.
[ Work 1 dc in each of the next 5 sts, work [dc2tog over next 2 sts] twice (aligning directly above the two valley decreases of Row 1), work 1 dc in each of the next 5 sts, work 2 dc in the next st ], work 2 dc in the next st (working the two 2-dc increases into the center two stitches of the 4-dc peak below); repeat from [ across the row, ending the last repeat at ] (working 2 dc into the top of the turning ch-3 from Row 1); turn. (10 ripple repeats).
Fasten off Color B and join Color A (Soft White) in the first stitch.
Step 3: Working Row 3 (Top Soft White Border & Finishing)
Row 3 mirrors Row 2 in crisp snow white yarn, framing the burgundy center stripe so the garland looks balanced from every angle on the tree.
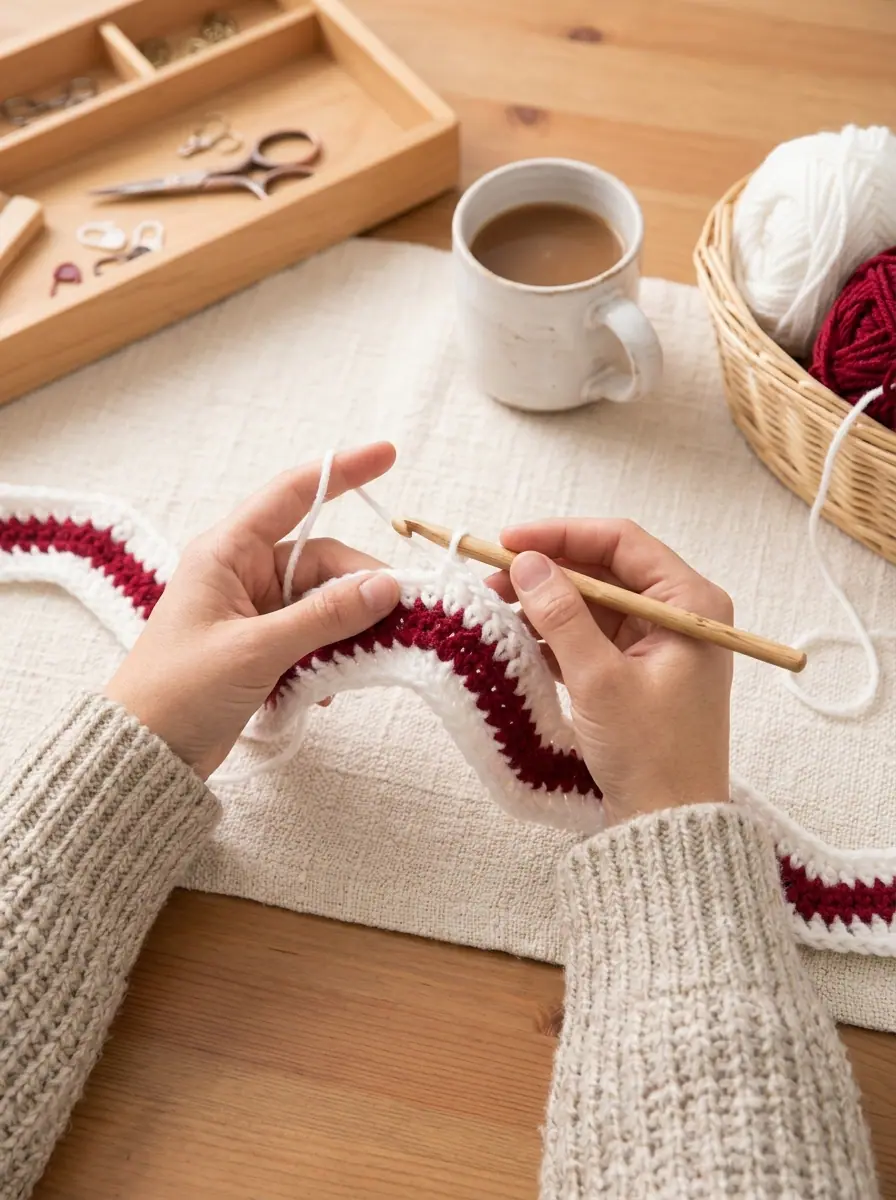
Row 3 (Right Side): With Color A (Soft White), repeat Row 2 in full: ch 3, 1 dc in first st, [ 1 dc in each of next 5 sts, [dc2tog over next 2 sts] twice, 1 dc in each of next 5 sts, 2 dc in next st ], 2 dc in next st; repeat from [ across, ending last repeat at ].
Fasten off Color A.
Finishing & Second Strand: Thread each yarn tail onto your blunt tapestry needle and weave the Soft White tails neatly inside the white stitches of Rows 1 and 3, and the Burgundy tails inside the red stitches of Row 2 so no color bleeds through. Repeat the entire pattern a second time to complete your pair of 52-inch garlands.
Optional Hanging Loops & Holiday Styling Ideas
- Built-In Corner Hanging Loops: If you plan to hang your garland from mantel hooks or Command strips along a doorway, simply chain 10 before fastening off at the end of Row 3 and slip stitch back into the corner stitch to form a sturdy hanging loop (and attach a matching 10-chain loop at the starting corner).
- Continuous Tree Ribbon Effect: Tie the two 52-inch garlands together with a decorative burgundy velvet bow at the center of your tree to create an uninterrupted 104-inch (8.6-foot) wrap.
- Candy Cane & Pine Variations: Keep the classic Soft White + Burgundy pairing for traditional Victorian and farmhouse holiday trees, or work a third strand in Pine Green + Soft White to alternate with your red-and-white garlands.
Yarn Care & Post-Holiday Storage Instructions
Because this garland is crafted with durable 100% acrylic medium worsted yarn, it will keep its vibrant crimson and snow-white contrast year after year without bleeding or pilling:
- Washing: Machine wash warm on a gentle cycle (maximum 104°F / 40°C) inside a mesh laundry bag so the long ripple strip does not tangle with other items.
- Drying: Tumble dry low on a delicate cycle, or lay flat on a clean towel and gently pinch each chevron peak into shape as it dries.
- Ironing & Pressing: Do not iron or press directly with a hot iron, as high heat can flatten the plush double crochet texture of acrylic yarn.
- Tangle-Free Storage: At the end of the holiday season, wrap each 52-inch garland around a flat piece of sturdy cardboard (just like ribbon on a spool) before storing in a dry bin.
✨ PATTERN HELP & TIPS ✨
Got Questions?
Frequently Asked Questions (FAQ)
Click on any question below to reveal the answer
How can I make the crochet Christmas garland longer for a tall tree?
Each chevron wave repeat requires 16 foundation chains and adds approximately 5.2 inches (13.2 cm) to the finished length. To make a custom length, chain any multiple of 16 plus 3 extra chains at the end (for example, (16 x 15 repeats) + 3 = 243 chains for a 78-inch garland). One skein of Color A and one skein of Color B contain more than enough yardage to make up to four 52-inch garlands!
Why are my chevron peaks and valleys not lining up on Row 2?
If your peaks shift left or right on Row 2, double-check two common spots: first, make sure you worked 1 dc in the very first stitch right next to your turning chain-3 at the beginning of the row; second, verify that you worked two separate dc2tog decreases (spanning 4 stitches total) in every valley and two separate 2-dc increases (4 dc total worked over the center 2 stitches) at every peak.
Why does the bottom edge of my ripple garland feel tighter than the top edge?
A starting chain naturally has less stretch than the tops of double crochet stitches. Switching to a 6.0 mm (US J-10) hook exclusively for the 163 foundation chains—then returning to your 5.5 mm (US I-9) hook for Rows 1 through 3—gives the bottom Soft White border the exact same flexibility and wave depth as Row 3.
Can I work this ripple garland in cotton yarn instead of acrylic?
Yes! A worsted weight (#4) 100% cotton yarn produces a slightly heavier, ultra-crisp chevron ribbon that looks stunning draped across a rustic wooden dining table as a holiday centerpiece runner or hung across a kitchen window.
Save This Holiday Ripple Garland Pattern on Pinterest
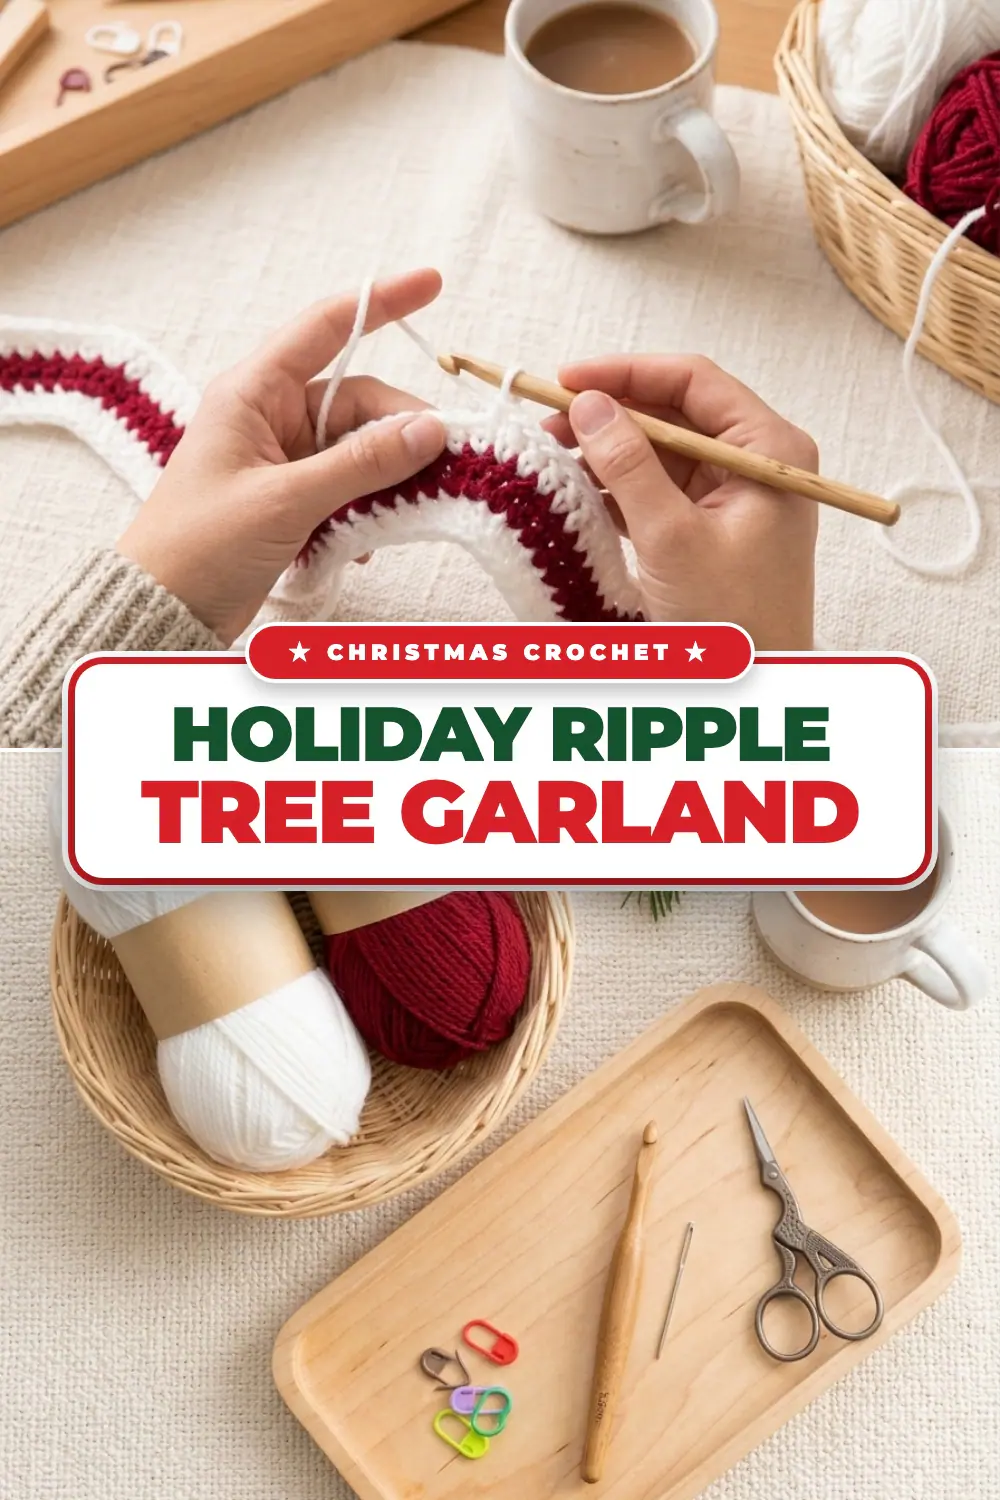
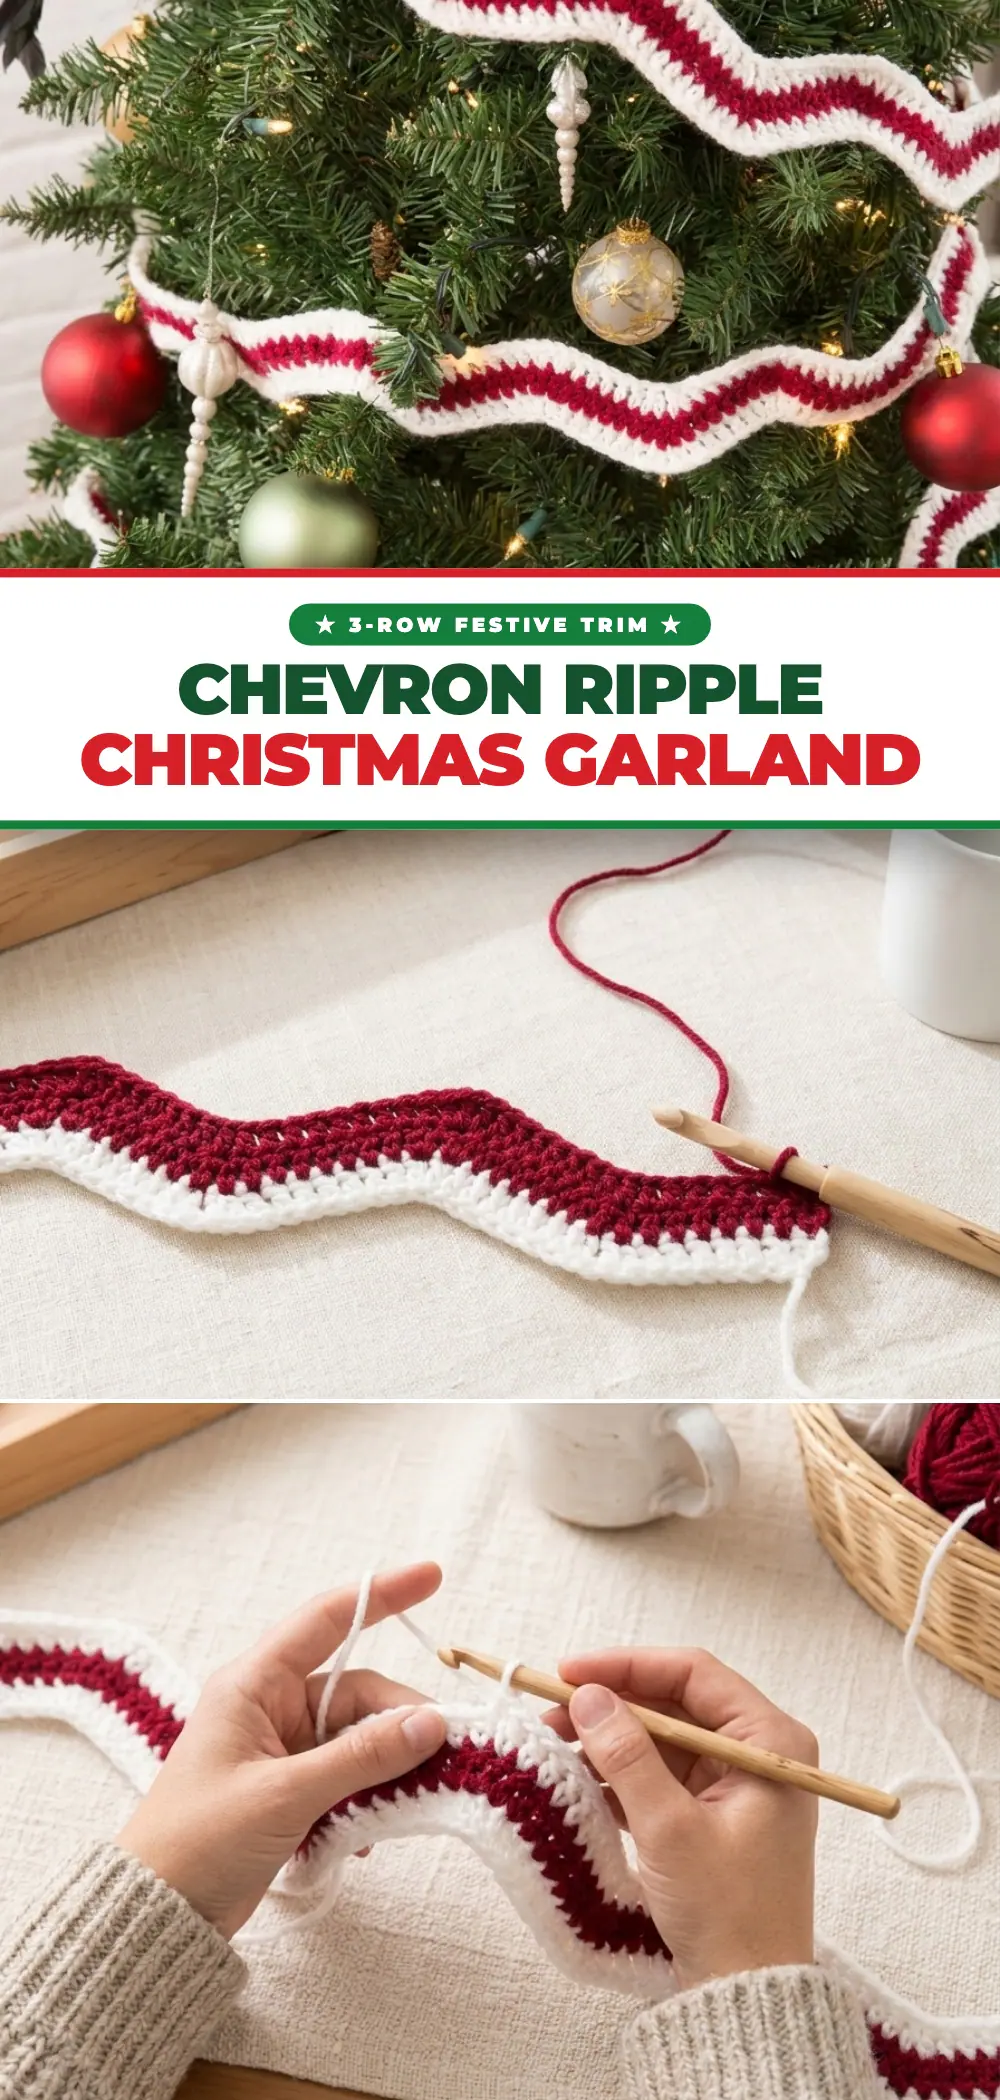
Planning your handmade Christmas tree trimming list? Pin either of the vertical reference cards below to your Seasonal & Holiday Crochet board so you can return to the complete row-by-row ripple instructions anytime.
PREVIOUS PATTERN
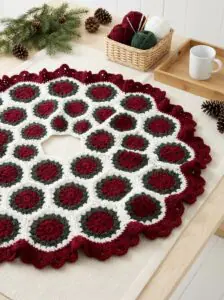
Victorian Hexagon Motif Crochet Christmas Tree Skirt With Ruffle Border
NEXT PATTERN
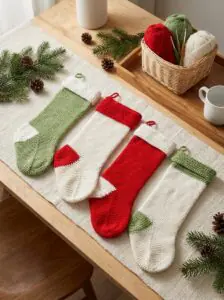
Ribbed Fold-Over Cuff Crochet Christmas Stocking With Contrast Heel
✨ KEEP CROCHETING ✨
You May Also Love
LEAVE A COMMENT
Have a question about a stitch or want to share how your project turned out? Drop a comment below — I read and reply to every maker!