
 Crochet Home & Kitchen Decor
*This post may contain affiliate links to support the cost of this blog. At no cost to you, I may make a small commission if you purchase through these links. Read our Privacy Policy HERE
Few things transform a living room couch or reading nook faster than a statement throw pillow with rich tactile dimension. The Bernat Swirling Textures Crochet Pillow is one of the most delightful home decor projects you can create, bringing sculptural artistry and cozy indulgence together in a generous 24-inch square format. Crocheted in plush Bernat Velvet yarn, this cushion features hypnotic wavy ripples created with the technique known as wiggle crochet, producing a plush surface that is practically begging to be squeezed.
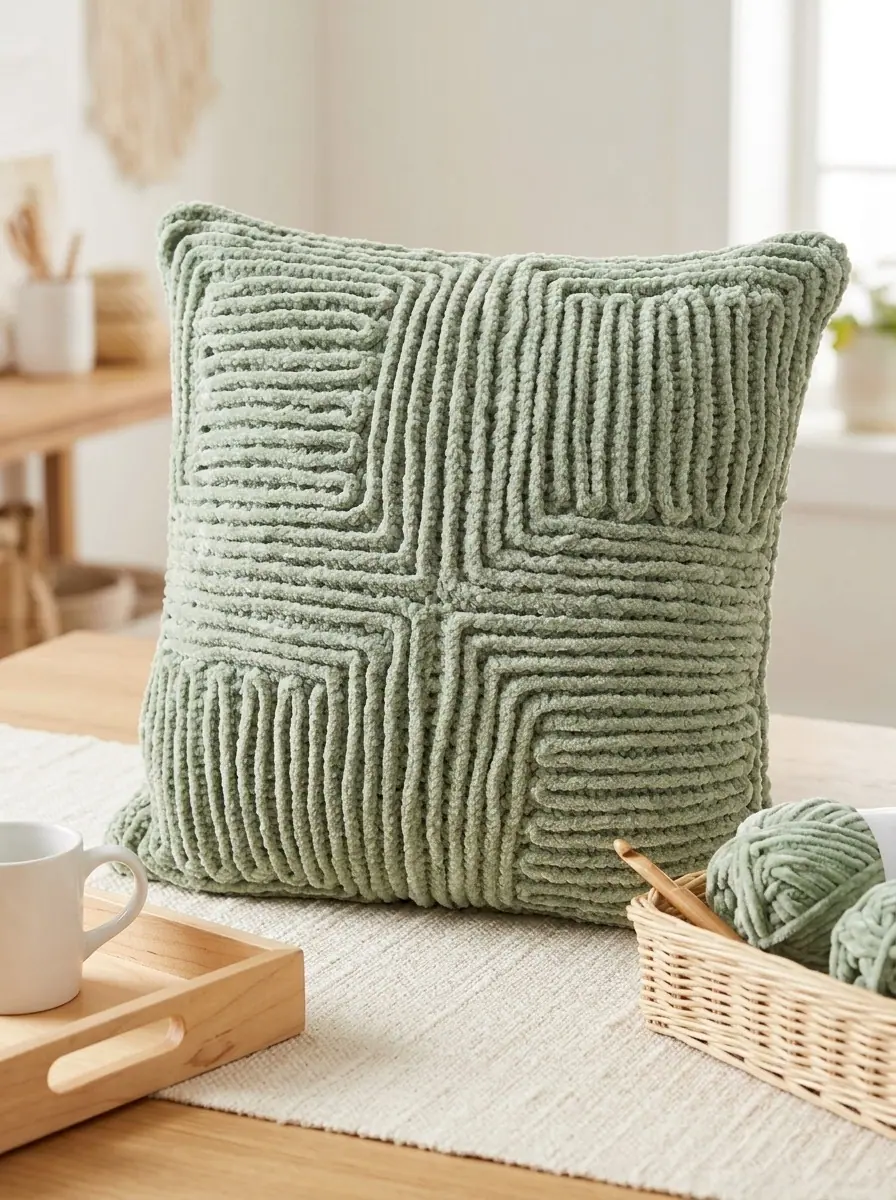
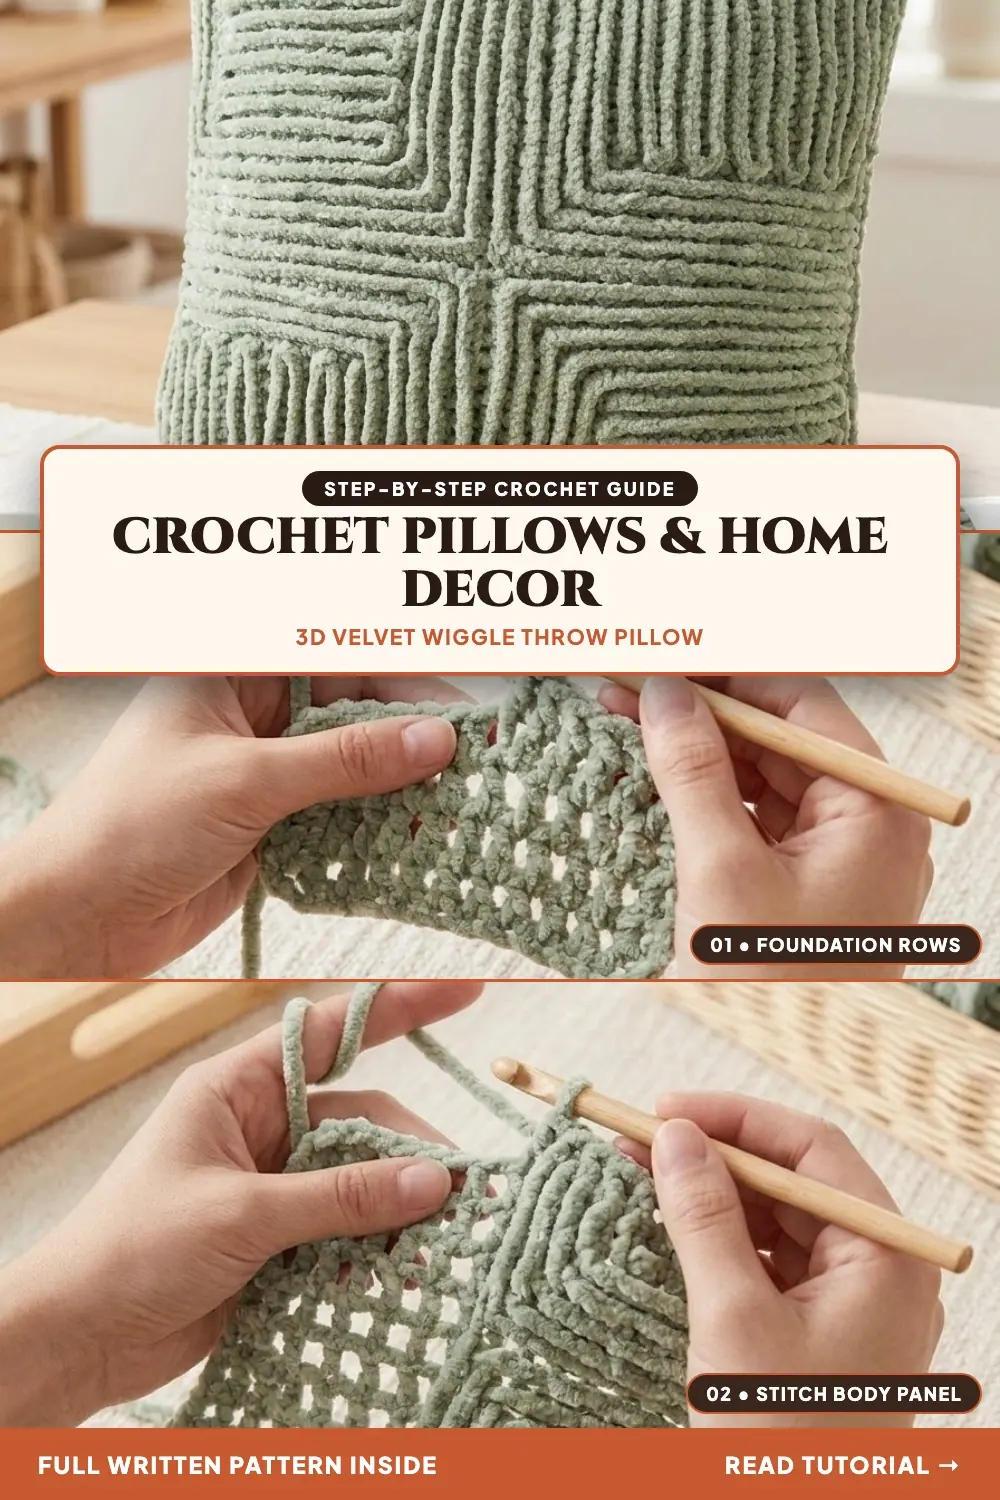
If you have never tried wiggle crochet before, you are in for a pleasant surprise. Instead of struggling with complex multi-row colorwork or heavy post stitch cables, you first construct a light, straightforward open mesh grid. Once the grid foundation is finished, you work dense double crochet ruffles right around the mesh posts, tracing swirling curves that rise off the surface like velvety sea coral. It looks remarkably intricate, yet the rhythm is surprisingly approachable once your hook finds the groove.
Pattern Overview
- Pattern Name: Bernat Swirling Textures Crochet Pillow (Design Ref: BRC0520-028391M)
- Skill Level: Intermediate
- Finished Size: Approximately 24 inches [61 cm] square
- Yarn: Bernat Velvet (Bulky Weight #5), 3 balls in Smokey Green or your favorite accent shade
- Crochet Hooks: Size U.S. L/11 (8 mm) for grid and back panel; Size U.S. K/10.5 (6.5 mm) for surface ruffles
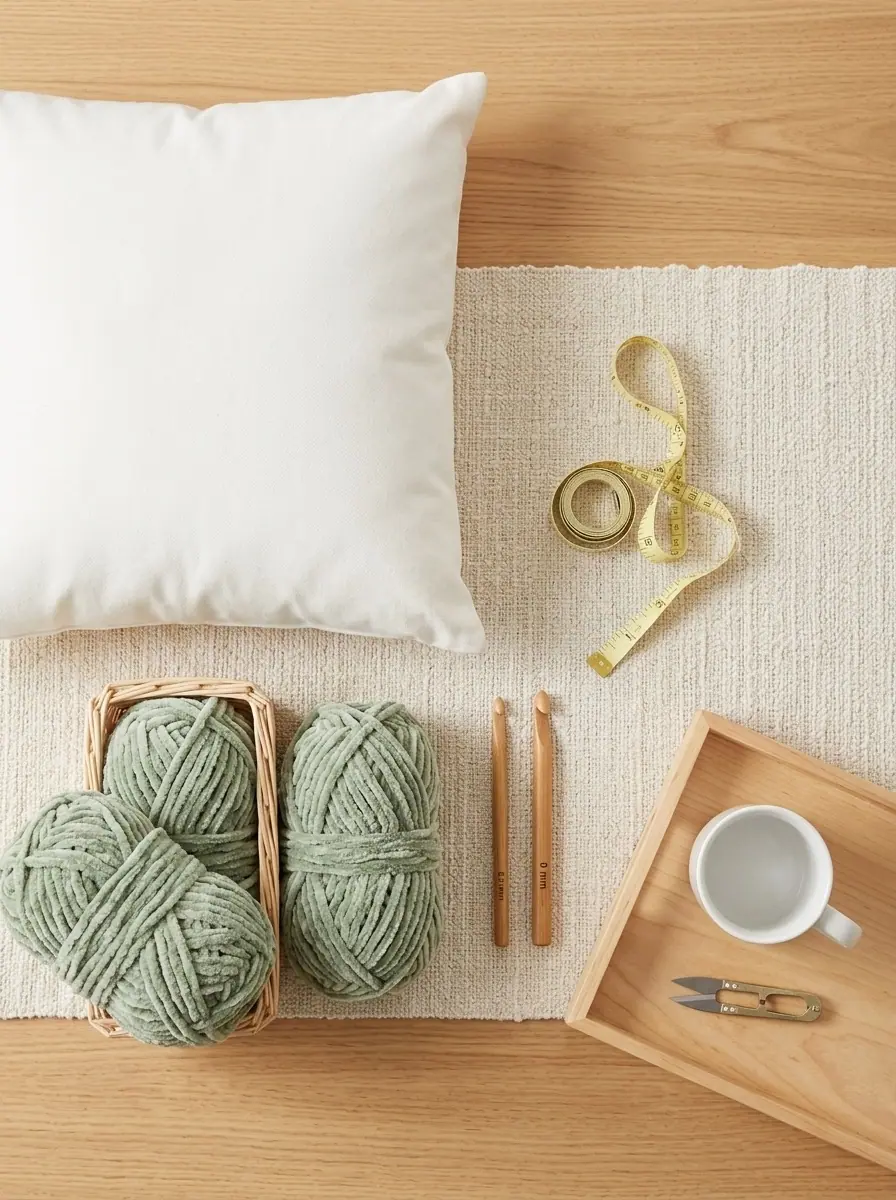
- Additional Notions: 24-inch [61 cm] square pillow form, yarn needle with large eye, locking stitch markers, measuring tape, sharp craft scissors
- Gauges: 14 stitches and 7 rows = 4 inches [10 cm] in mesh grid pattern with larger hook; 10 single crochet and 11 rows = 4 inches [10 cm] with larger hook
- Construction Style: Open half-double-crochet mesh grid front, surface double crochet ruffles, solid single crochet back, joined with a clean perimeter border
Table of Contents
Why Wiggle Crochet Makes Such an Incredible Accent Pillow
Most crochet pillows rely on tapestry color changes, bobbles, or chunky granny squares. While those styles have their place, wiggle crochet delivers a uniquely tactile result that store-bought pillows simply cannot duplicate.
- Unbelievable velvet squish: Bernat Velvet is notoriously soft, and working multiple double crochet stitches around each grid bar packs the fiber together into dense, resilient ruffles that bounce back when leaned against.
- Zero floppy drape worries: Velvet yarn can sometimes worm or sag in loose garments, but anchored securely onto a stable geometric grid, every stitch stays crisp, tidy, and firmly in place.
- Total customization of movement: While the pattern provides a beautiful concentric swirling motif, the underlying grid acts like graph paper. Once you understand how stitches anchor to the posts, you can easily guide the swirls into custom curves.
- Removable and washable: Paired with an envelope-style back or an invisible zipper, the cover slips off cleanly whenever you want to freshen up your living room styling.
Maker Tip: Velvet yarn has a slippery chenille core. Always tie a tiny secure knot at the beginning and end of your yarn tails before weaving them in, and leave slightly longer tails than usual so the ends never slip free through the mesh.
Materials & Tools Breakdown
Primary Yarn: Bernat Velvet (Bulky #5; 10.5 oz / 300 g; 315 yds / 288 m): 3 balls in Smokey Green (or modern neutrals like Frosted Floral, Mushroom, or Misty Gray).
Main Hook: Size U.S. L/11 (8 mm) crochet hook (used for the foundation grid and back cover).
Surface Hook: Size U.S. K/10.5 (6.5 mm) crochet hook (used for the dense surface ruffles).
Pillow Form: One 24-inch x 24-inch [61 cm x 61 cm] square pillow insert (down alternative or firm polyester fill).
Accessories: Steel tapestry needle, several locking stitch markers to map your swirl paths, flexible measuring tape.
Understanding Gauge and Sizing
Because this project fits around a pre-sized 24-inch pillow form, keeping your gauge accurate ensures your completed cover fits snugly without sagging or bunching. Take ten minutes to crochet a small swatch of the mesh grid before jumping into the main panel.
| Section | Hook Size | Technique | Target Gauge / Dimensions |
|---|---|---|---|
| Front Mesh Grid | 8 mm (U.S. L/11) | Half double crochet + Ch 1 spaces | 14 sts and 7 rows = 4″ [10 cm] (measures 24″ x 24″) |
| Wiggle Ruffles | 6.5 mm (U.S. K/10.5) | 4 dc worked around each grid post | Creates dense 3D raised ruffles across the face |
| Back Panel | 8 mm (U.S. L/11) | Solid single crochet fabric | 10 sc and 11 rows = 4″ [10 cm] |
| Joining Edging | 8 mm (U.S. L/11) | Single crochet through both layers | Encloses the 24″ pillow insert cleanly |
Crochet Terms and Abbreviations Used
- Ch: chain
- Hdc: half double crochet
- Dc: double crochet
- Sc: single crochet
- Sl st: slip stitch
- Sp / Sps: space / spaces
- St / Sts: stitch / stitches
- RS / WS: right side / wrong side
- Rem: remain / remaining
✨ FREE CROCHET EBOOK ✨
Master Gauge & Blocking
Get Our Free Crochet Ebook!
Download The Ultimate Stitch, Gauge & Blocking Guide — packed with printable stitch charts, tension secrets, and step-by-step tutorials delivered straight to your inbox.
🔒 100% Free Instant PDF Download • Unsubscribe anytime
Step-by-Step Instructions
Step 1: Crocheting the Front Mesh Grid
The entire sculptural front rests on an open grid of half double crochet posts and chain-1 spaces. Using the larger 8 mm hook ensures the grid remains flexible and easy to insert your smaller hook into during the ruffle phase.
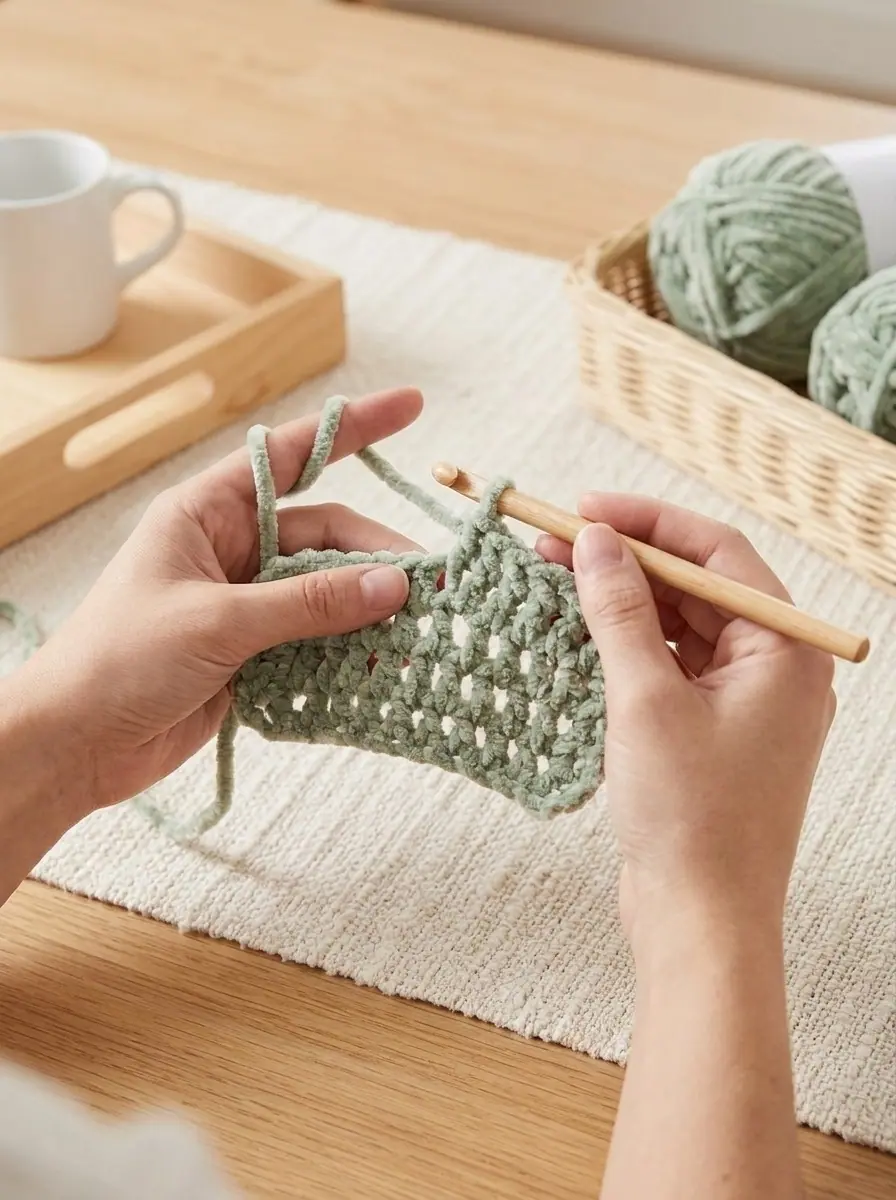
- Foundation Chain: With the larger 8 mm hook and velvet yarn, loosely chain 85.
- Row 1 (RS): Work 1 hdc in the 4th chain from your hook (the beginning skipped chain-3 counts as your first hdc and ch-1 space). [Ch 1, skip the next chain, work 1 hdc in the next chain] repeat across the entire foundation chain to the end. Turn your work. You will have 84 total stitches, creating 42 open mesh window squares across the row.
- Row 2: Ch 3 (counts as first hdc and ch-1 space). [Work 1 hdc in the top of the next hdc, ch 1, skip the next ch-1 space] repeat across to the turning chain at the end of the row. Work 1 hdc in the 2nd chain of the turning chain-3. Turn.
- Rows 3 to 42: Repeat Row 2 until your mesh grid forms a square measuring approximately 24 inches by 24 inches [61 cm by 61 cm], ending on an even-numbered row. Fasten off and weave in the initial tail firmly.
Step 2: Crocheting the Swirling Surface Wiggles
Now comes the magic. Switch to your smaller 6.5 mm hook. The smaller hook keeps the double crochet ruffles tight and ruffled, giving them springy body that stands up proudly from the backing.
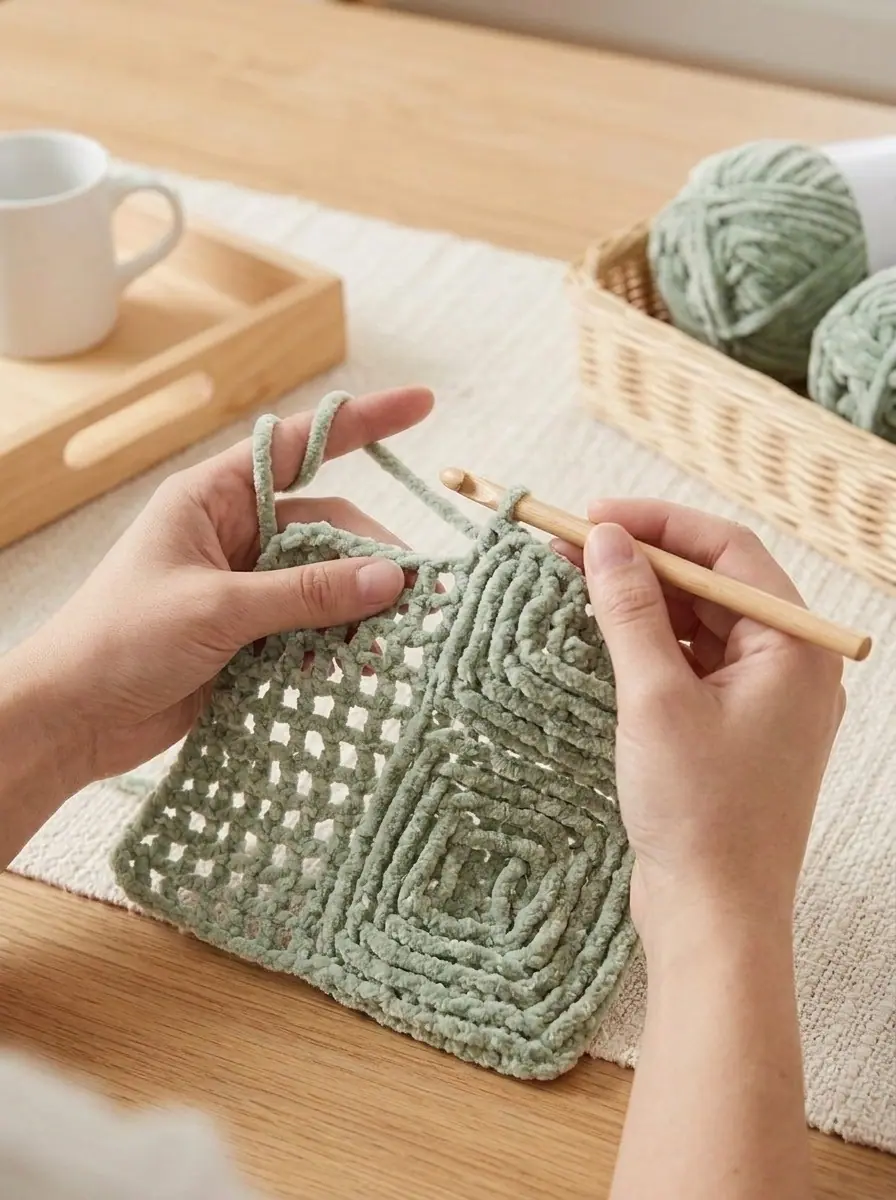
- Mapping the Swirl Path: Lay your completed mesh grid flat on a clean surface with the Right Side facing up. Using locking stitch markers, mark the starting center or the outer corners depending on whether you prefer working from the outer perimeter inward or from the center swirling outward. The traditional swirling texture flows in concentric curving tracks across the square.
- Joining the Yarn: Insert your 6.5 mm hook around the post of your designated starting grid bar (underneath the bar, coming out the adjacent grid hole). Join velvet yarn with a slip stitch, and ch 2 (counts as first dc).
- Working the Ruffle Post Stitches: Work 3 additional dc around the same grid bar (4 dc total per bar). Working 4 stitches into each grid cell post naturally forces the stitches to wave and ruffle.
- Turning Corners and Navigating Curves: When transitioning from a horizontal bar to a vertical bar, simply pivot your work 90 degrees in your hands and continue working 4 dc around the next post along your mapped curve. To create gradual curves, work 3 dc around transition bars or pivot across diagonal intersections.
- Continuing the Swirls: Follow the curving path continuously across the front of the pillow until all designated grid tracks are covered in lush velvet waves. Fasten off and secure all ends with a firm knot, burying the tails inside the thick ruffles.
Step 3: Crocheting the Solid Back Panel
To provide a smooth, comfortable surface on the reverse side of the pillow, we work a dense single crochet panel with the larger 8 mm hook.
- Foundation Chain: With the 8 mm hook, chain 61 loosely.
- Row 1: Work 1 sc in the 2nd chain from your hook and in each chain across to the end. Turn. (60 sc)
- Row 2: Ch 1 (does not count as a stitch). Work 1 sc in each sc across to the end. Turn.
- Subsequent Rows: Repeat Row 2 until your solid panel measures exactly 24 inches [61 cm] tall, matching the dimensions of your front grid panel. (Alternatively, if you prefer an envelope closure, crochet two overlapping panels measuring 24″ wide by 16″ tall, overlapping them by 4 inches in the center). Fasten off.
Step 4: Assembling and Seaming Around the Pillow Form
With both magnificent panels complete, it is time to enclose your 24-inch pillow insert for a professional, plush finish.
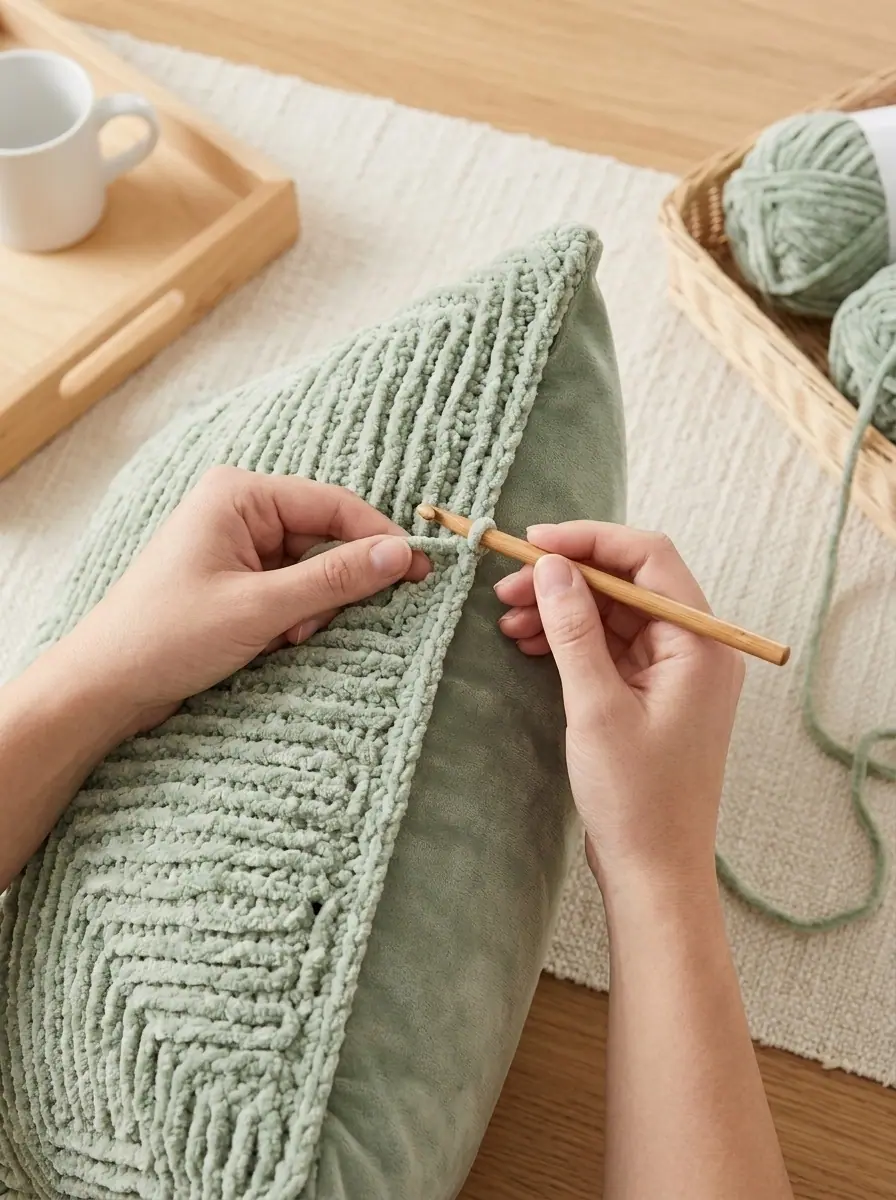
- Aligning the Panels: Place the front textured panel and back panel together with wrong sides touching (front ruffles facing out, smooth back facing out). Pin the corners and centers of each side with locking stitch markers to ensure even alignment.
- Joining the Border: With the 8 mm hook, join velvet yarn in any corner. Working through both thicknesses simultaneously, single crochet evenly along three complete sides, placing 3 sc in each corner to turn smoothly.
- Inserting the Form: Gently fold your 24-inch pillow form in half and slide it deep into the opening. Nudge the corners of the insert firmly into the crocheted corners so the cushion fills out plumply.
- Closing the Final Side: Hold the remaining open edge shut and continue single crocheting across through both layers. Join with a slip stitch to the first single crochet. Fasten off, pull the tail inside the pillow with your yarn needle, and gently fluff the velvet swirls into place.
Yarn Care & Washing Instructions
Official yarn care recommendations for Bernat Velvet keep your home accessory soft and fresh for years of daily use:
- Washing: Machine wash separately in cold water on the delicate cycle. Use a gentle liquid detergent without bleach or optical brighteners.
- Drying: Tumble dry on delicate low heat, or lay flat to air dry away from direct heat sources. Never iron or steam press velvet yarn, as heat will flatten the luxurious pile.
- Spot Cleaning: For minor spills, blot immediately with a damp microfiber cloth and cool water. Avoid scrubbing aggressively to protect the velvety chenille fibers.
More Inspiring Crochet Decor Patterns to Try Next
- Red Heart Crochet Quilt Pillow: a modern corner-to-corner cushion with bright geometric color-blocking.
- Caron Crochet Harlequin Shawl: a lacy jewel-tone triangle wrap featuring relaxing 3-row stitch rhythm.
✨ PATTERN HELP & TIPS ✨
Got Questions?
Frequently Asked Questions
Click on any question below to reveal the answer
What is wiggle crochet and is it difficult for beginners?
Wiggle crochet (sometimes called surface crochet or caterpillar crochet) is an ingenious two-step method where you first crochet a simple open mesh grid, and then crochet ruffles directly onto the grid bars. It is not difficult at all, because each step is straightforward on its own. If you know how to chain, half double crochet, and double crochet, you have all the skills needed.
Can I make this pillow in a smaller size like 16 or 18 inches?
Yes. Because the grid is built on a 2-chain repeat, you can easily adjust the size. For an 18-inch pillow, chain 65 for the foundation grid (creating 32 mesh squares), and repeat Row 2 until the grid measures 18 inches square. You will also use less yarn, approximately 2 balls of Bernat Velvet.
Can I substitute a different yarn weight for this pillow?
Bulky weight (#5) chenille or velvet yarns give the most dramatic, plush ruffles. If you prefer worsted weight (#4) yarn like Caron Simply Soft or Red Heart Super Saver, use a 5 mm hook for the grid and a 4 mm hook for the ruffles. Keep in mind you will need more chain stitches to reach the 24-inch dimension.
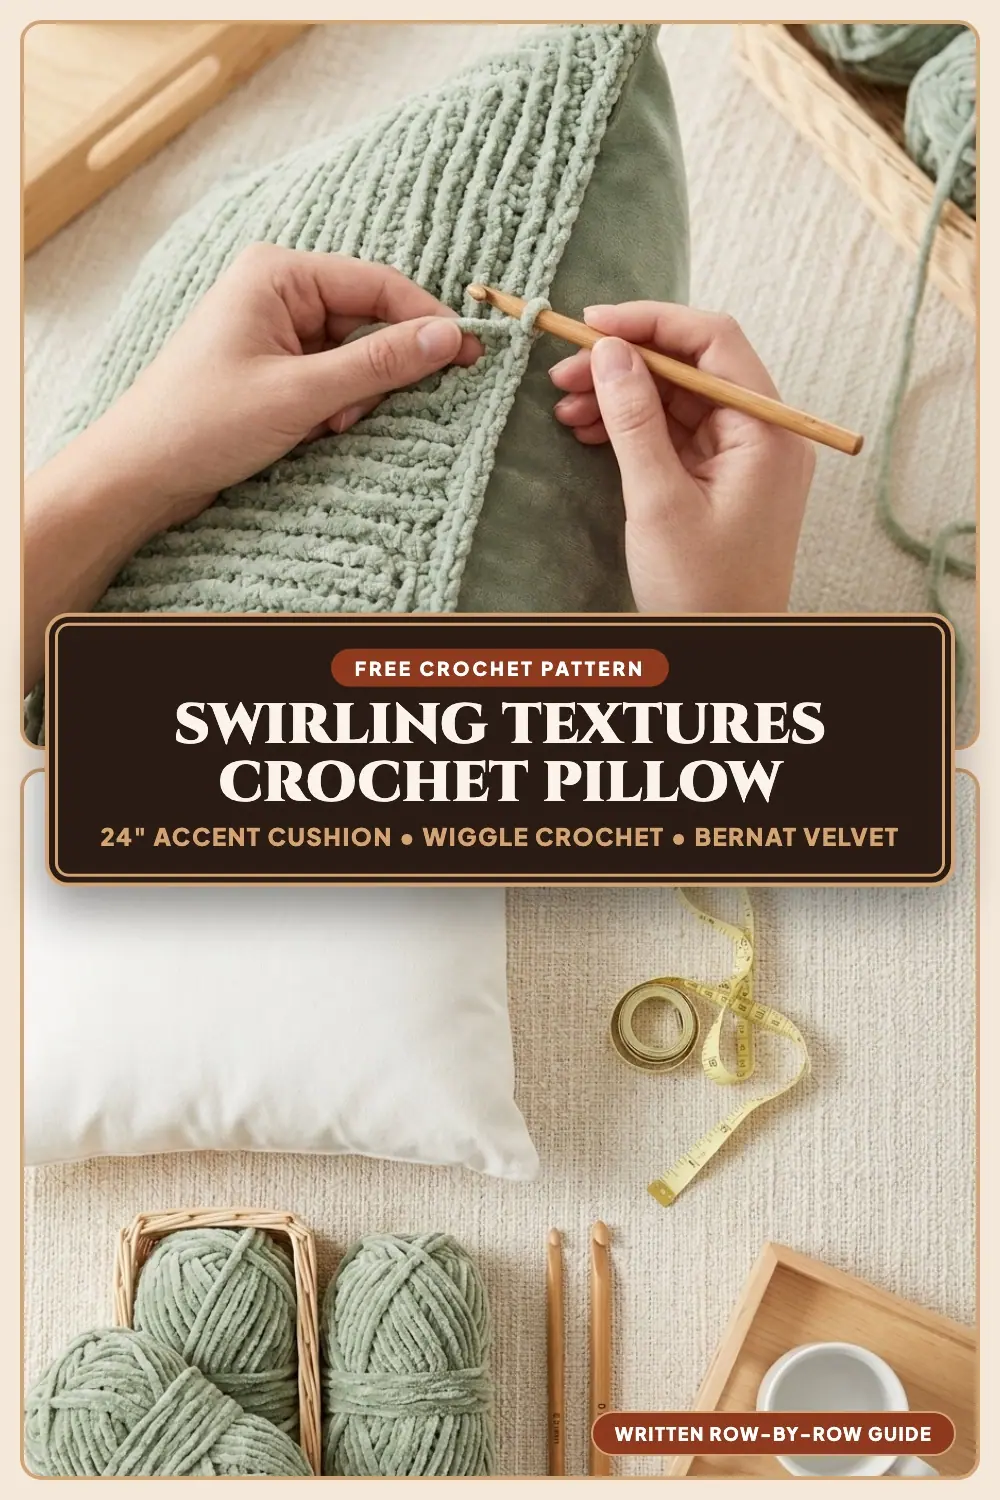
Pin This Swirling Textures Pillow Pattern for Later!
Save these pins to your favorite crochet home decor or crochet pillows board on Pinterest so you have the instructions handy whenever you are ready to stitch:
PREVIOUS PATTERN
Cozy Button-Strap Crochet House Slippers for Kids and Adults
NEXT PATTERN
Tapestry Colorwork Geometric Crochet Shoulder Tote Bag
✨ KEEP CROCHETING ✨
You May Also Love
LEAVE A COMMENT
Have a question about a stitch or want to share how your project turned out? Drop a comment below — I read and reply to every maker!