
 Crochet Home & Kitchen Decor
*This post may contain affiliate links to support the cost of this blog. At no cost to you, I may make a small commission if you purchase through these links. Read our Privacy Policy HERE
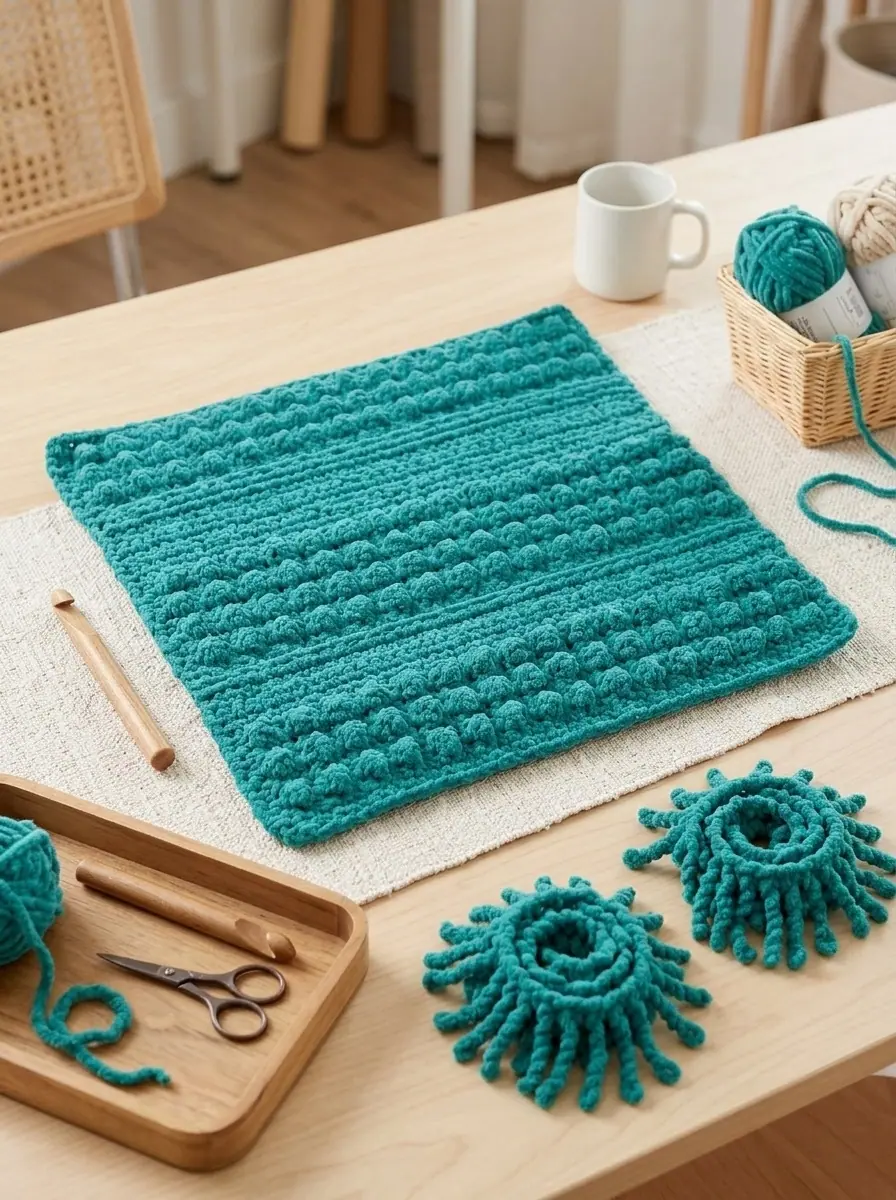
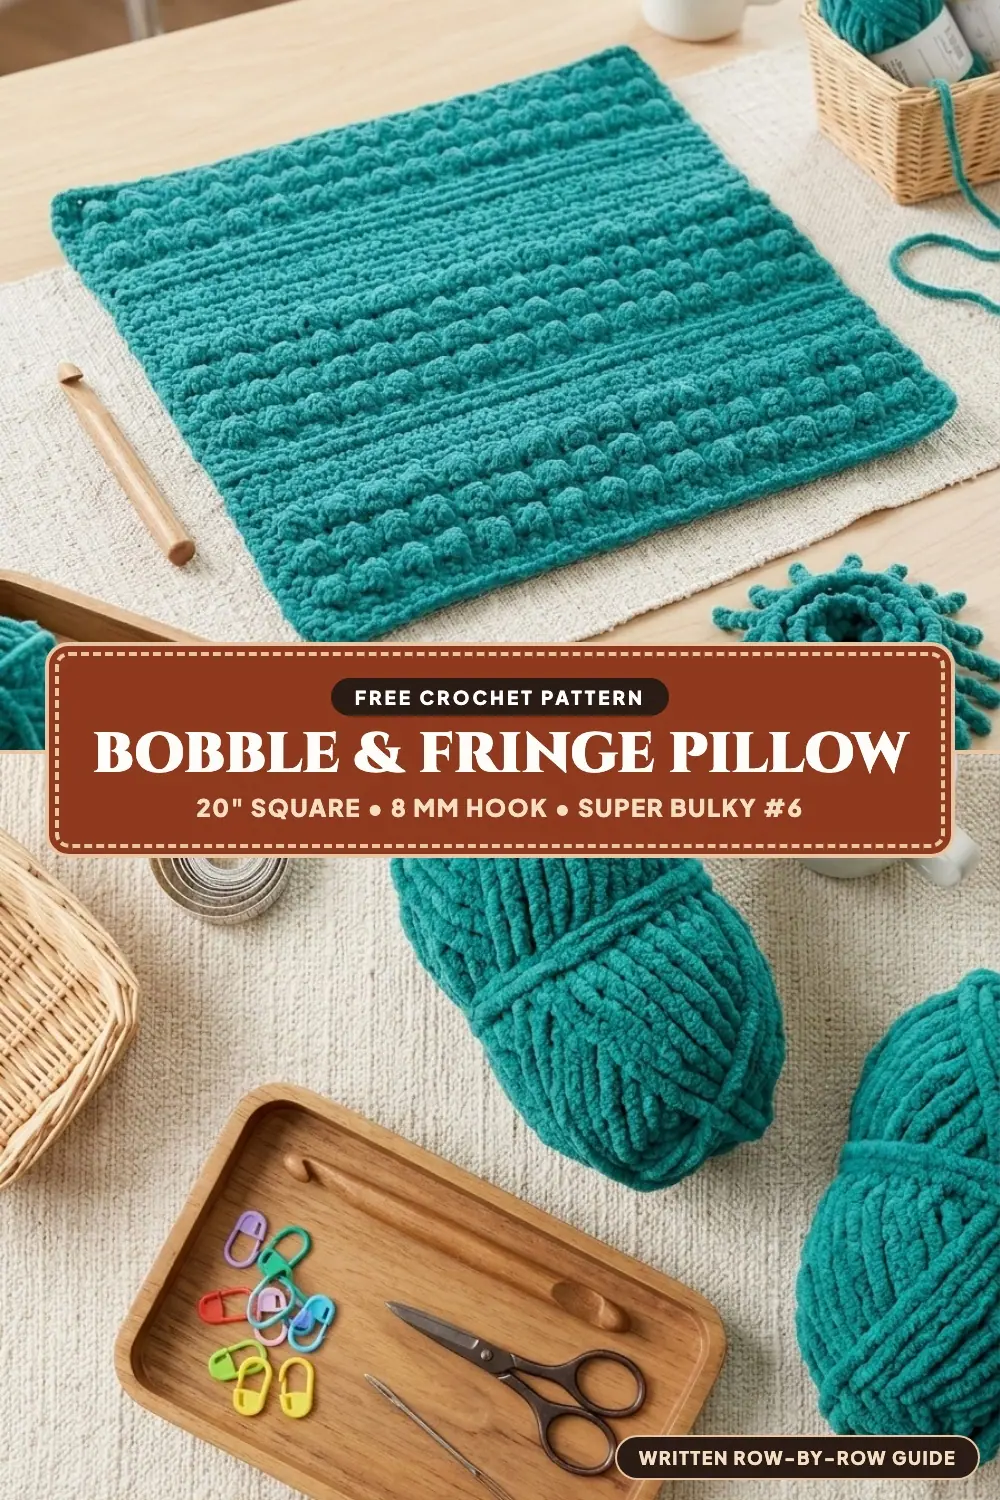
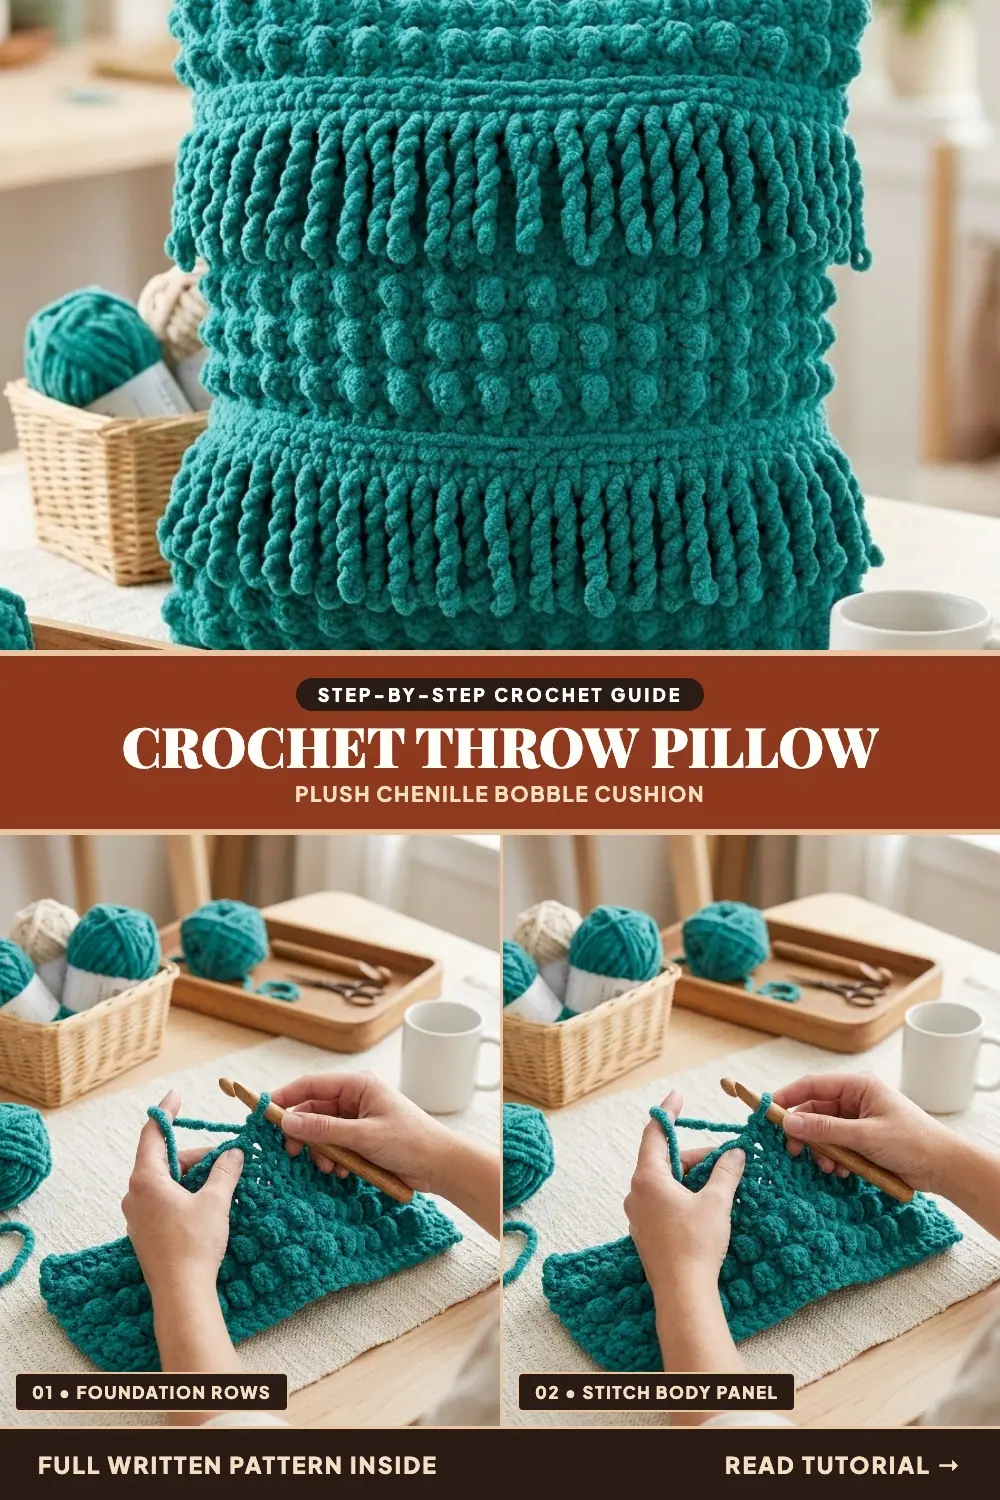
Nothing transforms an ordinary sofa, reading armchair, or layered bed faster than an oversized, touchably plush cushion, and this crochet pillow pattern delivers sculptural statement texture with remarkably simple stitches. The Textured Bobble and Fringe Square Crochet Throw Pillow measures a generous Approx 20" [51 cm] square, combining three horizontal bands of raised treble-crochet bobbles with two rows of thick, self-coiling twisted loop fringe and a practical ribbed envelope back so you can slip the cover off for washing anytime.
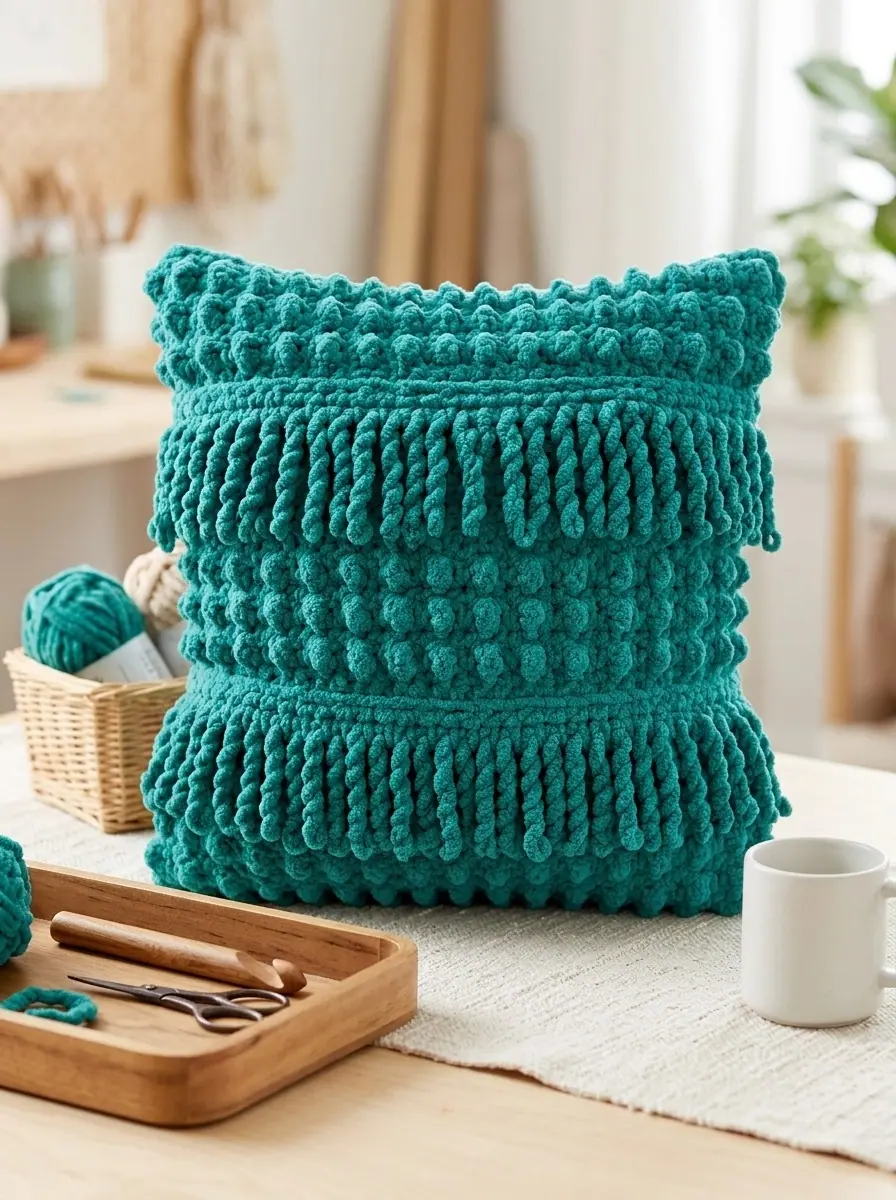
Instead of working complicated five-stitch bobble clusters that eat up yarn and slow down your rhythm, this clever design creates bold, pebble-like bobbles by alternating 1 single crochet (sc) and 1 treble crochet (tr) across Wrong Side rows using super bulky #6 chenille blanket yarn and a Size U.S. L/11 (8 mm) crochet hook. Because each tall treble crochet is sandwiched tightly between two short single crochet stitches on the Wrong Side, the extra height of the treble stitch pops right out toward the Right Side of the fabric! Pair that effortless texture with two separately crocheted 35-stitch twisted fringe strips and a two-piece overlapping ribbed back, and you have a modern heirloom cushion you can finish in a single weekend.
Pattern Overview
- Project Name: Textured Bobble and Fringe Square Crochet Throw Pillow (Design Ref: BRC0520-010083M)
- Primary Keyword Focus: Crochet Pillow Pattern
- Skill Level: Easy (Beginner-friendly stitches: chain, slip stitch, single crochet, back-loop single crochet, and treble crochet)
- Finished Measurements: Approx 20" x 20" [51 cm x 51 cm] square
- Recommended Yarn: Super Bulky Weight #6 Plush Chenille Yarn (100% polyester, 10.5 oz / 300 g; 220 yds / 201 m per ball)
- Yardage & Shades: 2 balls (Approx 440 yds / 402 m total) in jewel-toned Emerald Malachite (10802), Lapis Blue (10800), Crimson Scarlet (10810), or Warm Cream
- Crochet Hook: Size U.S. L/11 (8 mm) crochet hook (or size needed to obtain gauge)
- Official Gauge: 8.5 stitches and 12 rows = 4" [10 cm] worked in pattern
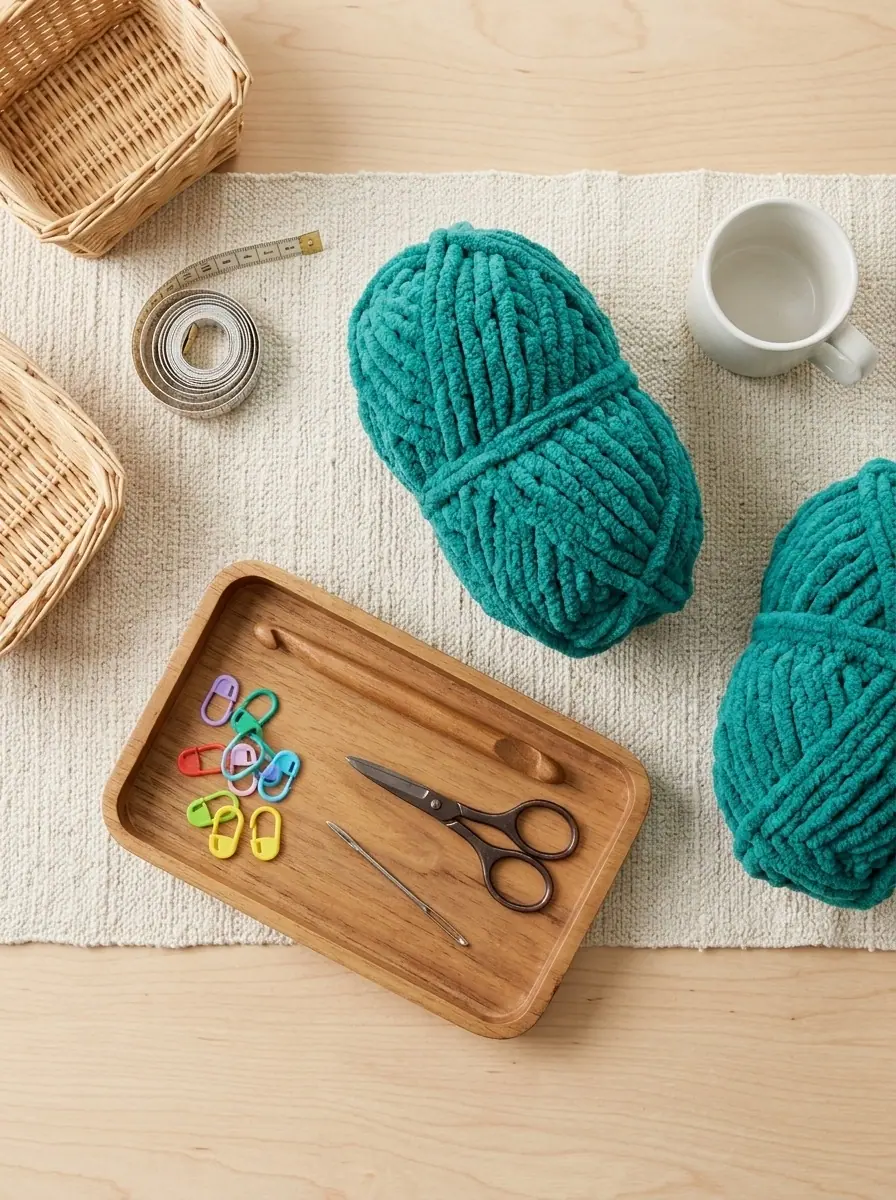
- Additional Supplies: One 20" x 20" [51 cm x 51 cm] square pillow form (insert), locking stitch marker, large-eye blunt tapestry needle, measuring tape, and sharp craft scissors
Table of Contents
Why You Will Love Stitching This Plush Chenille Throw Pillow
Home decor crochet projects should feel both relaxing on the hook and durable enough to handle everyday lounging. Here is why this 20-inch square pillow stands out:
- One-Stitch Treble Bobbles (Zero Multi-Yarn-Over Clusters): Every raised bobble on the front panel is simply a single standard treble crochet worked on a Wrong Side row between two single crochets, then locked in place by a plain single crochet row on the Right Side.
- Separate No-Shed Twisted Cord Fringe: Unlike cut-strand fringe that can shed or untie when tossed on a couch, the two fringe strips are crocheted as Continuous 10-inch [25.5 cm] yarn loops twisted 25 times and anchored with slip stitches—so no cut ends ever fray!
- Removable Ribbed Envelope Back: The back of the pillow is made from two identical overlapping panels that each begin with a stretchy 4-stitch back-loop ribbed border. When sewn around the outer perimeter, those two ribbed bands overlap snugly in the center so you can remove the 20-inch pillow insert whenever the cover needs freshening.
- Fast Super-Bulky Progress: Working at just 8.5 stitches per 4 inches on an 8 mm hook means the entire front panel is only 35 stitches wide by 39 rows tall.
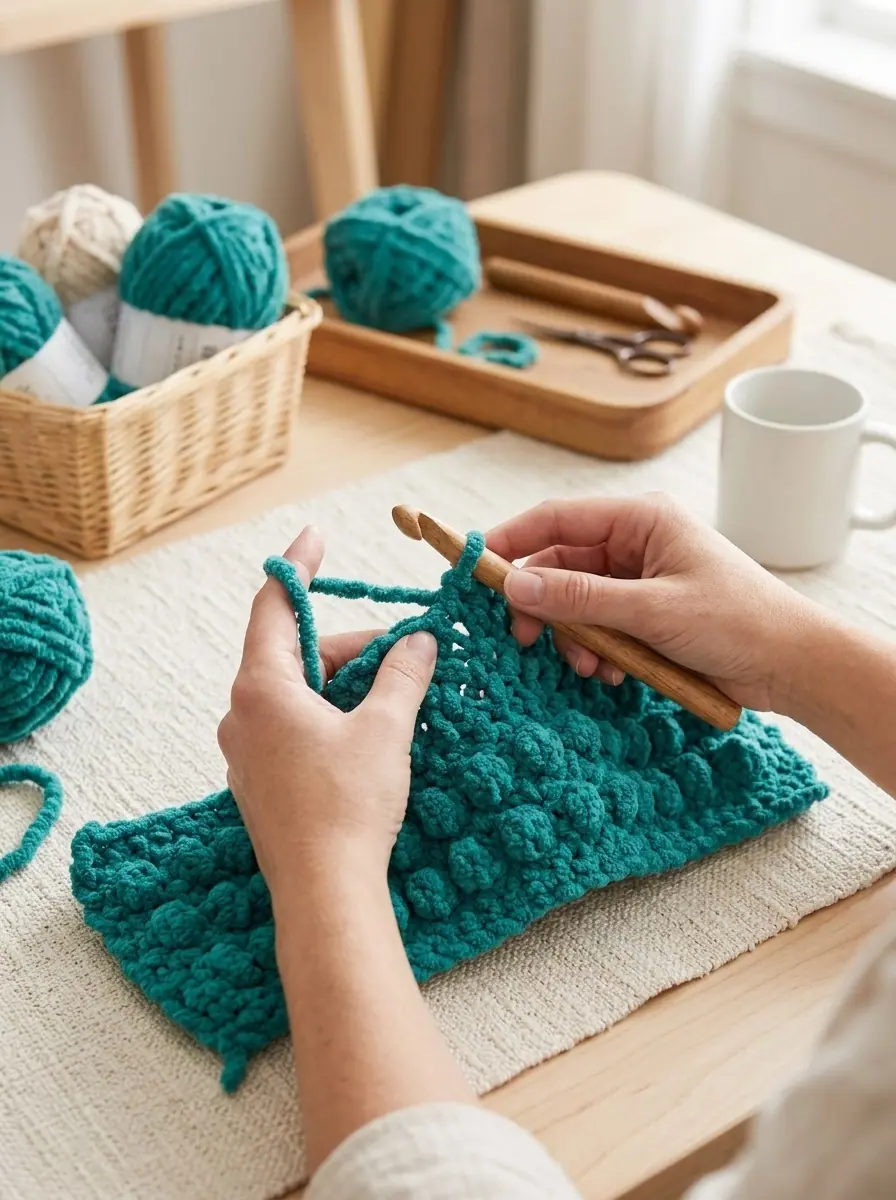
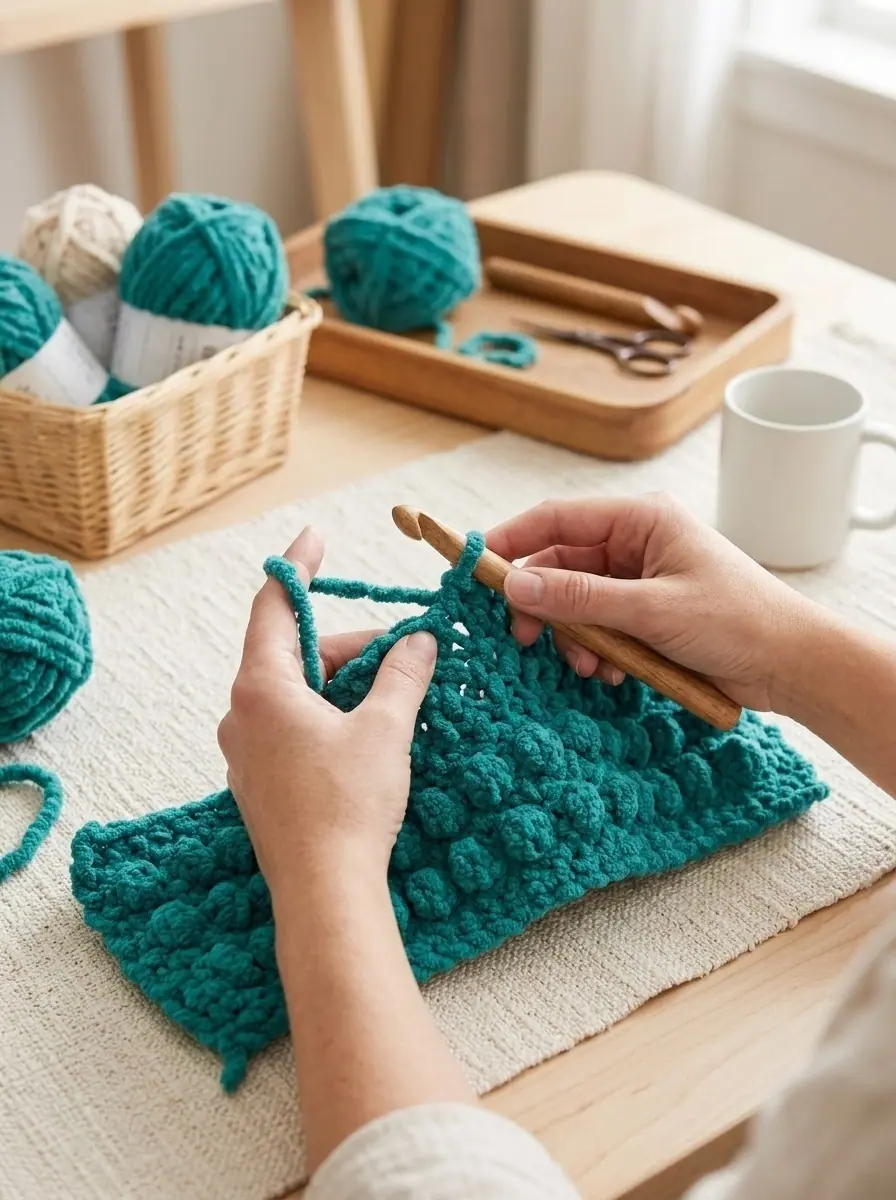
Maker Tip: When working the Wrong Side bobble rows (Rows 2, 4, 6, 18, 20, 22, 34, 36, and 38), use your left middle finger to gently nudge the post of each treble crochet away from you (toward the Right Side of the fabric) as you tighten the following single crochet. That quick finger-push guarantees every single bobble pops uniformly to the front!
Materials & Tools Checklist
Super Bulky #6 Chenille Yarn: 2 balls (10.5 oz / 300 g; 220 yds / 201 m per ball, totaling 440 yds / 402 m) in deep Malachite green, Lapis cobalt blue, Scarlet red, or your favorite living-room neutral.
Crochet Hook: Size U.S. L/11 (8 mm) ergonomic crochet hook.
Square Pillow Insert: One standard 20" x 20" [51 cm x 51 cm] square pillow form (or a 22-inch feather/down insert if you prefer an extra-plump designer chop).
Notions: 1 locking stitch marker (to mark the transition from the back ribbing to the main back panel), a jumbo-eye blunt tapestry needle, a flexible tape measure, and scissors.
Gauge & Sizing Notes
Checking your gauge ensures that your finished crochet cover hugs a 20-inch pillow insert without sagging or over-stretching the envelope opening:
- Official Pattern Gauge: 8.5 stitches and 12 rows = 4" [10 cm] worked in the alternating single-crochet and treble-bobble pattern with an 8 mm (U.S. L/11) hook.
- Width Check After Row 3: At 35 stitches across, your Pillow Front should measure approximately 19.5" to 20" [49.5 to 51 cm] wide. Because chenille yarn relaxes slightly once stuffed, a 19.5-inch unstretched width will fit a 20-inch pillow form like a glove.
Stitches & Abbreviations (US Crochet Terms)
- Approx: Approximate(ly)
- beg: Begin(ning)
- BLO (Back Loop Only): Work into the back loop only of each stitch (used for the stretchy center envelope ribbing on the Pillow Back)
- ch: Chain(s)
- pat: Pattern
- rep: Repeat
- RS: Right Side (the front public face of the pillow where the bobbles protrude)
- sc: Single crochet
- sl st: Slip stitch
- st(s): Stitch(es)
- tr (Treble Crochet): Yarn over hook twice, insert hook into next stitch, yarn over and pull up a loop (4 loops on hook), [yarn over and draw through 2 loops] 3 times
- WS: Wrong Side (all treble-bobble rows are worked on the Wrong Side so the tall posts fold outward toward the Right Side)
- [ … ]: Work the instructions enclosed inside the brackets as directed
Step-by-Step Crochet Pillow Instructions
Part 1: Crocheting the Textured Bobble Pillow Front
The Pillow Front is worked flat from the bottom edge up across 35 stitches and 39 rows, divided into three 6-row bobble bands separated by two 11-row smooth single crochet canvas sections (where the fringe strips will be sewn later):
Foundation Chain: With your 8 mm (U.S. L/11) hook, ch 36.
First Bobble Band (Rows 1 to 6)
Row 1 (RS — Base Row): Work 1 sc in 2nd ch from hook, then work 1 sc in each ch across to end of chain. Turn. (35 sc)
Row 2 (WS — First Treble Bobble Row): Ch 1. Work 1 sc in first st. [Work 1 tr in next st, work 1 sc in next st] 17 times across to end of row. Turn. (35 sts: 18 sc alternating with 17 raised tr bobbles pushing toward the RS)
Row 3 (RS — Locking Row): Ch 1. Work 1 sc in each st across to end of row, making sure to work neatly into the top V of every sc and every tr. Turn. (35 sc)
Row 4 (WS — Second Treble Bobble Row): Ch 1. Work 1 sc in first st. [Work 1 tr in next st, work 1 sc in next st] 17 times across to end of row. Turn. (35 sts)
Row 5 (RS — Locking Row): Ch 1. Work 1 sc in each st across to end of row. Turn. (35 sc)
Row 6 (WS — Third Treble Bobble Row): Ch 1. Work 1 sc in first st. [Work 1 tr in next st, work 1 sc in next st] 17 times across to end of row. Turn. (35 sts — completes the first 3-ridge bobble band)
First Smooth Canvas Band & Second Bobble Band (Rows 7 to 22)
Rows 7 to 17 (11 Smooth Single Crochet Rows): Ch 1. Work 1 sc in each st across to end of row. Turn. (35 sc per row; Row 17 ends with RS facing complete, ready for WS Row 18)
Rows 18 to 22 (Second Bobble Band): Repeat Rows 2 to 6 once (working alternating [1 tr, 1 sc] bobbles on WS Rows 18, 20, and 22, and plain sc on RS Rows 19 and 21). Turn at the end of Row 22. (35 sts)
Second Smooth Canvas Band & Top Bobble Band (Rows 23 to 39)
Rows 23 to 33 (11 Smooth Single Crochet Rows): Ch 1. Work 1 sc in each st across to end of row. Turn. (35 sc per row)
Rows 34 to 39 (Third Bobble Band & Final Row): Repeat Rows 2 to 7 once—working alternating [1 tr, 1 sc] bobbles on WS Rows 34, 36, and 38, plain sc on RS Rows 35 and 37, and finishing with one final RS locking row of 35 sc on Row 39. Fasten off and weave in ends.
Part 2: Crocheting the Two Twisted-Loop Fringe Strips (Make 2 Alike)
Instead of cutting dozens of loose yarn strands, you crochet two separate 35-stitch strips with built-in 10-inch twisted cord loops that automatically coil around themselves like thick rope tassels:
Foundation Chain: With your 8 mm hook, ch 36.
Fringe Strip Rows 1 & 2 (Make 2 Strips)
Row 1: Work 1 sc in 2nd ch from hook, then work 1 sc in each ch across to end of chain. Turn. (35 sc)
Row 2 (Twisted Cord Loop Row): Ch 1. [Insert hook into next sc and work 1 sl st; pull the loop on your hook up until it measures 10" [25.5 cm] long; remove hook briefly or rotate hook to twist the 10-inch loop 25 times in the same direction until tightly wound; re-insert hook into the same sc stitch and work 1 sl st, allowing the 10-inch twisted loop to fold in half and coil tightly around itself into a 5-inch rope tassel] 35 times across every sc to end of row. Fasten off, leaving a long 24" [61 cm] yarn tail for sewing the strip onto the Pillow Front.
Part 3: Crocheting the Overlapping Ribbed Pillow Back (Make 2 Pieces Alike)
The envelope closure is built from two identical rectangular back panels. Each panel starts with a 4-stitch back-loop ribbed strip stretched to 20 inches, and then you rotate the strip 90 degrees and work 35 single crochets across its long edge for 11 inches [28 cm]:
Step 3A — Center Ribbing Strip (Worked Vertically First)
Foundation Chain: Ch 5.
Row 1: Work 1 sc in 2nd ch from hook and in each ch to end of chain. Turn. (4 sc)
Row 2 (BLO Ribbing): Ch 1. Working in back loops only (BLO), work 1 sc in each of the 4 sc across. Turn. (4 sc in BLO)
Repeat Row 2: Continue repeating Row 2 until the ribbed strip from the beginning (when slightly stretched to match the pillow width) measures 20" [51 cm] long. Do not fasten off!
Step 3B — Main Back Panel Body (Worked Sideways Across the Ribbing)
Row 1 (Setup Row Across Ribbing Edge): Rotate the 20-inch ribbed strip 90 degrees sideways. Ch 1, and work 35 sc evenly spaced along the long side edge of the ribbing strip. Turn. Place your locking stitch marker at the end of this row so you can measure the panel length from the ribbing edge. (35 sc)
Row 2: Ch 1. Work 1 sc in each of the 35 sc across to end of row. Turn. (35 sc)
Subsequent Rows: Repeat Row 2 (working plain single crochet rows of 35 sc) until the work measured from the stitch marker at the ribbing edge reaches 11" [28 cm] (approximately 12.5" [32 cm] total height including the 4-stitch ribbing border). Fasten off. Make a second identical Pillow Back piece in the exact same way.
Part 4: Sewing the Fringe Strips & Assembling the Envelope Pillow
With your Pillow Front, two Twisted Fringe Strips, and two Ribbed Back Panels complete, follow these steps for a clean boutique finish:
- Attach the Two Fringe Strips to the Pillow Front: Lay the Pillow Front flat with the Right Side (bobbles) facing up. Position the first Twisted Fringe Strip horizontally across the top of the first smooth single-crochet section—directly below Row 6 (the first bobble band)—so the coiled tassels hang downward over Rows 7 to 17. Using your tapestry needle and long yarn tail, whipstitch or mattress-stitch the Row 1 base of the Fringe Strip securely across all 35 stitches of the Pillow Front. Position the second Twisted Fringe Strip horizontally directly below Row 22 (the middle bobble band) so its tassels hang over Rows 23 to 33, and sew it firmly in place across all 35 stitches.
- Align the Overlapping Envelope Back Pieces: Lay the Pillow Front flat (you may seam with Right Sides together for an invisible inside seam, or Wrong Sides together for a neat single-crochet or whipstitch perimeter). Place the two Pillow Back pieces over the Pillow Front so their 4-stitch ribbed borders overlap in the horizontal center of the pillow, while their outer 35-stitch and side edges line up flush with the four outer edges of the 20-inch Pillow Front. Pin the four corners and the overlapping center rib edges in place so the fringe tassels are tucked safely inside and away from the outer seam line.
- Seam the Four Outer Edges: Thread your tapestry needle with a long strand of matching chenille yarn and sew all the way around the four outer edges of the 20-inch square, catching all three layers (Front + both overlapping Back ribbed edges) where the two back panels overlap at the left and right center sides.
- Insert the 20-Inch Pillow Form: Weave in all remaining yarn tails, turn the cover Right Side out through the stretchy ribbed center envelope opening, and slip your 20" x 20" [51 cm] pillow insert inside. Smooth the two rows of twisted chenille fringe downward with your fingers.
Washing & Care Instructions
- Remove Insert Before Washing: Always slip the 20-inch pillow form out through the ribbed envelope back before laundering the crochet cover.
- Machine Wash Cold, Gentle Cycle: Machine wash the chenille pillow cover inside a large mesh laundry bag in cold water (30°C / 86°F) on the delicate cycle using mild liquid detergent.
- Tumble Dry Low or Air Dry Flat: Tumble dry on low heat (delicate setting) or lay flat on a clean towel to air dry. Do not bleach, do not iron or press (heat flattens chenille pile), and do not dry clean.
✨ PATTERN HELP & TIPS ✨
Got Questions?
Frequently Asked Questions
Click on any question below to reveal the answer
How do I keep the twisted fringe loops from untwisting while I crochet Row 2?
Always twist each 10-inch loop in the exact same direction (for example, 25 full turns clockwise) and hold the base of the stitch between your thumb and index finger while working the anchoring slip stitch into the same single crochet. The moment you release the loop, the tension forces the two halves to twist around each other into a permanent two-ply cord that cannot unravel.
Can I make this pillow for an 18-inch x 18-inch pillow insert instead of 20 inches?
Yes! Because the stitch pattern alternates 1 sc and 1 tr across an odd number of stitches, simply chain 32 (instead of 36) to work across 31 stitches for an 18-inch width, and reduce the two smooth single-crochet canvas sections from 11 rows down to 9 rows each.
Should I use a 20-inch or 22-inch pillow insert inside this cover?
The official pattern calls for a standard 20" [51 cm] square pillow form. If you use a firm poly-fill form, 20 inches fits perfectly; if you use a soft feather-and-down insert, sizing up to a 22-inch insert fills out the corners for an ultra-luxurious, showroom-plump look.

PREVIOUS PATTERN
Dimensional Flower Motif Crochet Crossbody Purse
NEXT PATTERN
Geometric Filet Mesh Cotton Crochet Table Runner With Lattice Fringe
✨ KEEP CROCHETING ✨
You May Also Love
LEAVE A COMMENT
Have a question about a stitch or want to share how your project turned out? Drop a comment below — I read and reply to every maker!