
 Crochet Home & Kitchen Decor
*This post may contain affiliate links to support the cost of this blog. At no cost to you, I may make a small commission if you purchase through these links. Read our Privacy Policy HERE
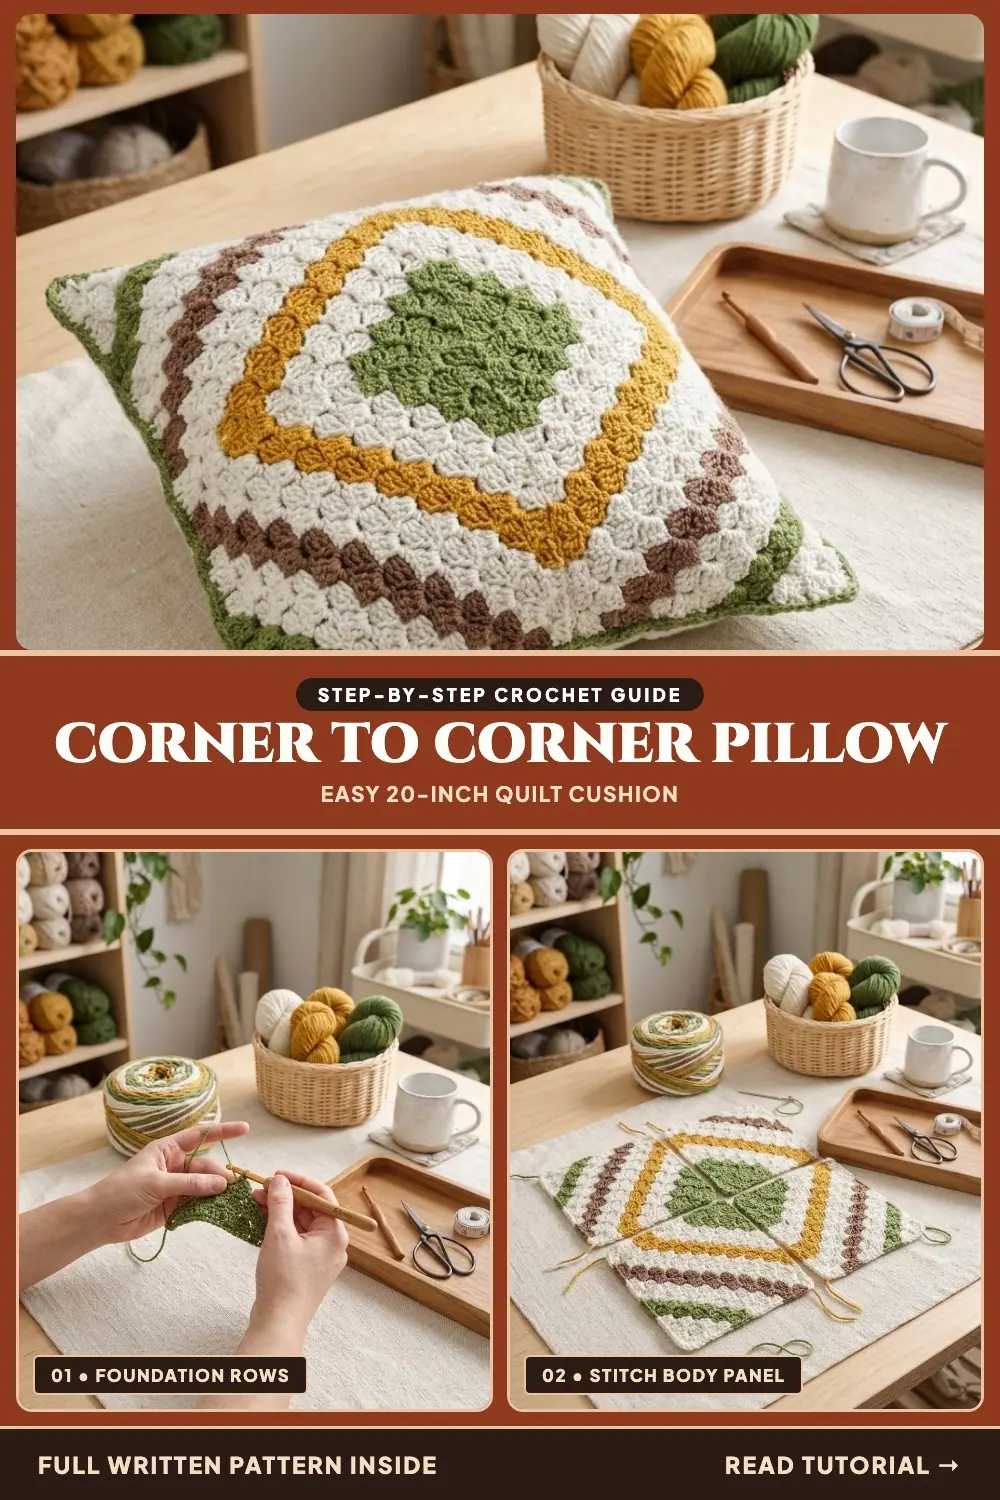
If you have ever wanted to try corner to corner crochet but did not feel ready for a whole blanket, a crochet pillow is the perfect first project. The Red Heart Crochet Quilt Pillow is made from four corner to corner (C2C) squares sewn together into a 20-inch cushion front. The magic is in the yarn: Red Heart All in One Quilt Motif changes color by itself in the right places, so each square comes out with a green corner, cream and gold bands and a brown stripe, like a little quilt block. Sew four of them together with the green corners in the middle and you get a bold diamond pattern without changing yarn once.
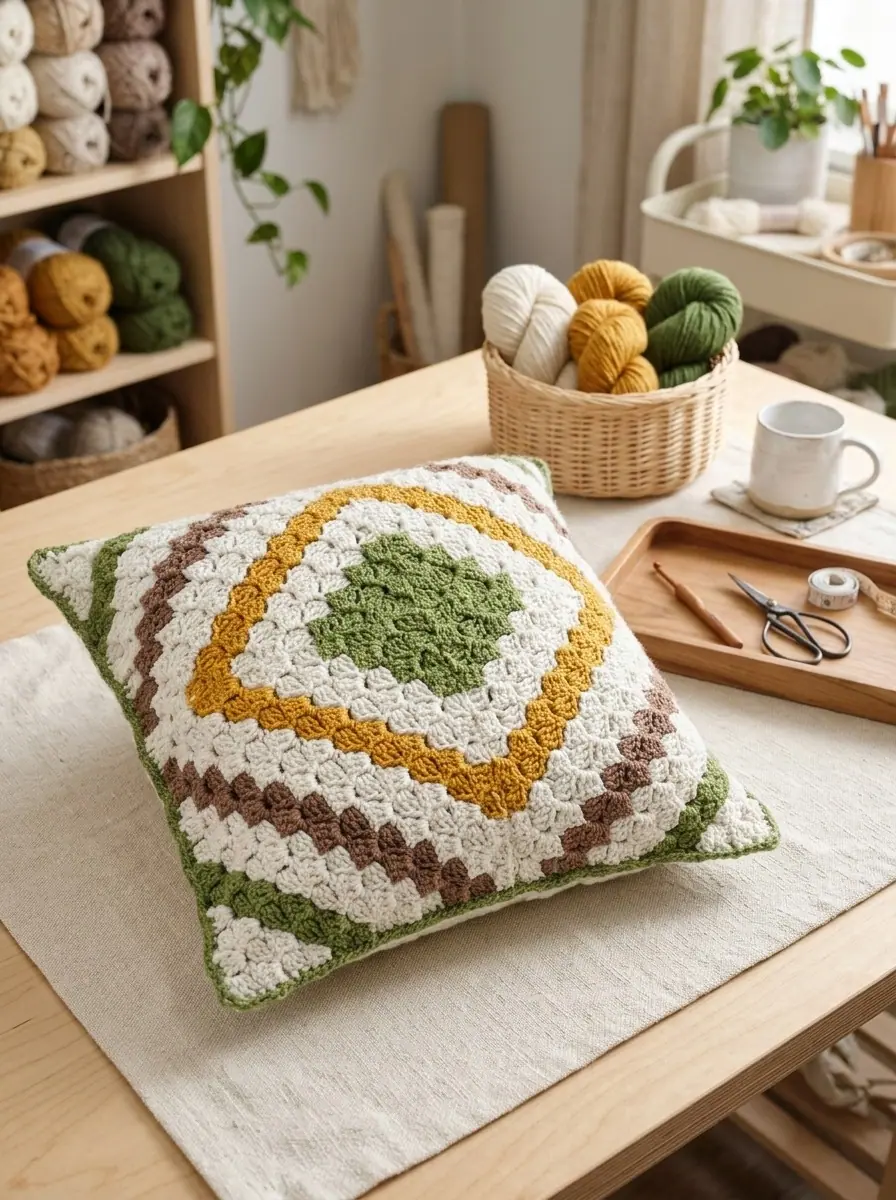
The back is just as clever. It is made of two plain single crochet pieces with a band of ribbing at one end. You overlap the two ribbed ends in the middle and they make an envelope opening, so you can slide the pillow form in and out without a zipper. Then one round of single crochet through all layers joins the front and the back and gives the cushion a neat green piping.
Pattern Overview
- Pattern Name: Red Heart Crochet Quilt Pillow (Design Ref: RHC0520-38653M)
- Skill Level: Easy
- Finished Size: about 20″ [51 cm] square
- Yarn: Red Heart All in One Quilt Motif in Lineage for the front, and Red Heart Super Saver in Tea Leaf for the back and edging (both Medium #4)
- Hook: U.S. I/9 (5.5 mm)
- Gauges: 5 dc blocks = 4″ [10 cm] in C2C pattern; 12 sc and 15 rows = 4″ [10 cm]
- Also needed: a 20″ [51 cm] square pillow form
Table of Contents
Why This Corner to Corner Crochet Pillow Is a Great First C2C Project
C2C can look intimidating because it grows diagonally, but the stitch itself is easy: a little block of three double crochet attached to the block before it. Once you have made three rows, your hands find the rhythm. This pillow is a gentle way to learn it.
- Small squares: each motif is only 23 rows and about 9½ inches across, so you finish one in an evening and see your progress quickly.
- No yarn changes on the front: the Quilt Motif yarn is dyed so the colors change at the right rows. You only check that each color ends where the pattern says.
- No zipper: the overlapping ribbed back is easy to make and easy to wash.
- A real design moment: when you lay the four squares together, the diamond appears all at once. It is very satisfying.
Maker Tip: Start each motif from the center of the pull-skein, leaving a 4-inch tail. That way all four motifs begin at the same point in the color sequence and match perfectly.
Materials & Tools
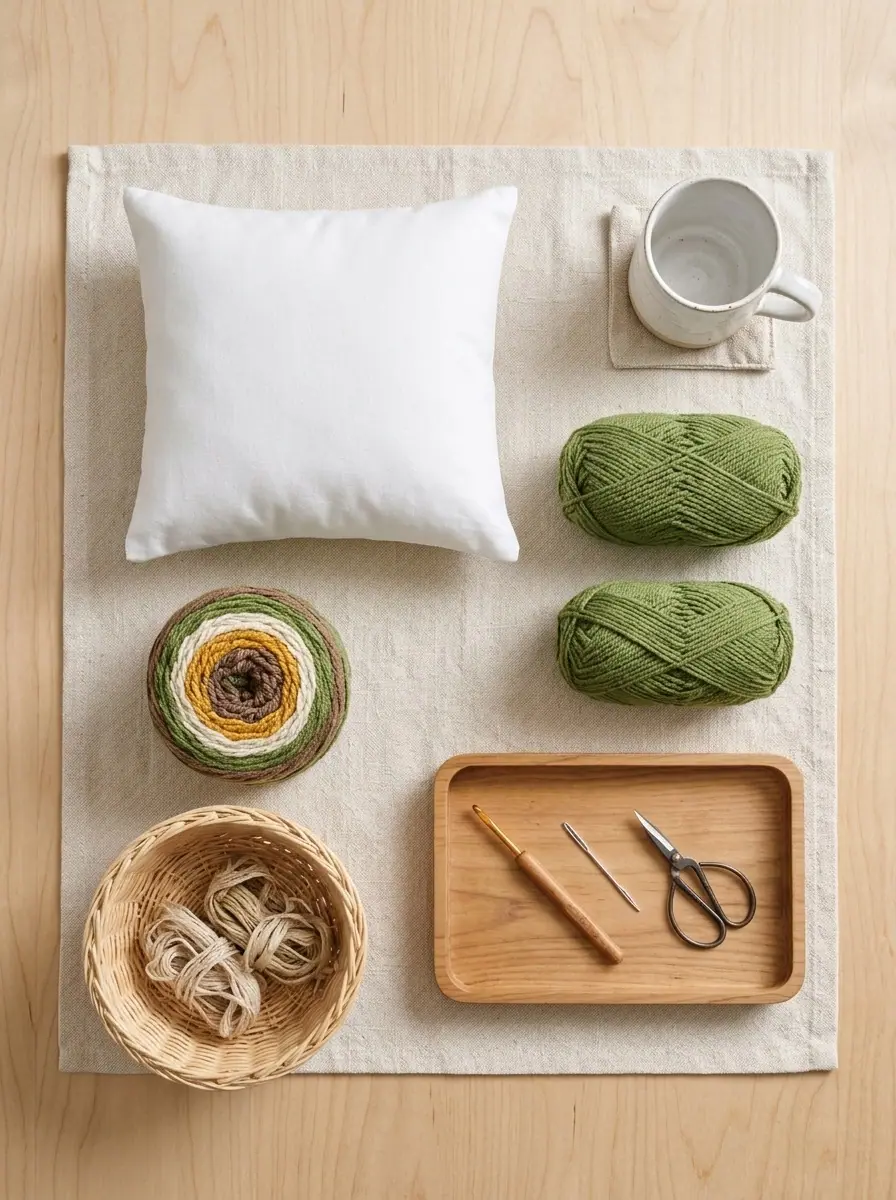
Front: Red Heart All in One Quilt Motif (8.8 oz/250 g; 417 yds/381 m), Main Color (MC) Lineage (0005): 1 ball or 417 yds/381 m.
Back and edging: Red Heart Super Saver (7 oz/198 g; 364 yds/333 m), Contrast A Tea Leaf (0624): 2 balls or 403 yds/368 m.
Hook: U.S. I/9 (5.5 mm) crochet hook, or the size needed to obtain gauge.
Other: yarn needle, pins, a damp cloth for blocking, and a 20″ [51 cm] square pillow form.
Gauge and Measurements
This pattern has two gauges, one for each fabric. For the C2C front, 5 blocks should measure 4 inches. For the single crochet back, aim for 12 stitches and 15 rows to 4 inches. If your C2C squares come out bigger than 9½ inches, the front will be too large for the back; if they are smaller, the pillow form will stretch them.
| Piece | How Many | Yarn | Size |
|---|---|---|---|
| Quilt Motif (C2C square) | 4 | MC Lineage | about 9½” [24 cm] square, 23 rows |
| Front (4 motifs joined) | 1 | MC | about 20″ [51 cm] square |
| Back piece | 2 | A Tea Leaf | 60 sc wide, 12″ [30.5 cm] long |
Abbreviations
- Ch: chain
- Dc: double crochet
- Hdc: half double crochet
- Hdcfp: yarn over, draw up a loop around the post of the next stitch at the front of the work, inserting the hook from right to left, yarn over and draw through 3 loops
- Hdcbp: the same, but around the post at the back of the work
- RS: right side
- Sc: single crochet
- Sl st: slip stitch
- Sp(s): space(s)
✨ FREE CROCHET EBOOK ✨
Master Gauge & Blocking
Get Our Free Crochet Ebook!
Download The Ultimate Stitch, Gauge & Blocking Guide — packed with printable stitch charts, tension secrets, and step-by-step tutorials delivered straight to your inbox.
🔒 100% Free Instant PDF Download • Unsubscribe anytime
Step-by-Step Instructions
Step 1: Understand the Color Sequence
Each motif uses the yarn’s colors in this order. Use it to check that each color ends at the right row:
| Rows | Color | In the sample |
|---|---|---|
| 1 to 4 | Color 1 | green |
| 5 to 7 | Color 2 | cream |
| 8 and 9 | Color 3 | mustard gold |
| 10 to 12 | Color 2 | cream |
| 13 and 14 | Color 4 | brown |
| 15 to 17 | Color 2 | cream |
| 18 and 19 | Color 1 | green |
| 20 to 23 | Color 2 | cream |
If a color runs out too early, pull back a few stitches and tighten your tension slightly. If there is too much left at the end of a row, pull back and loosen slightly. The goal is for each color change to land at the end of its row.
Step 2: Crochet the Quilt Motifs (make 4)
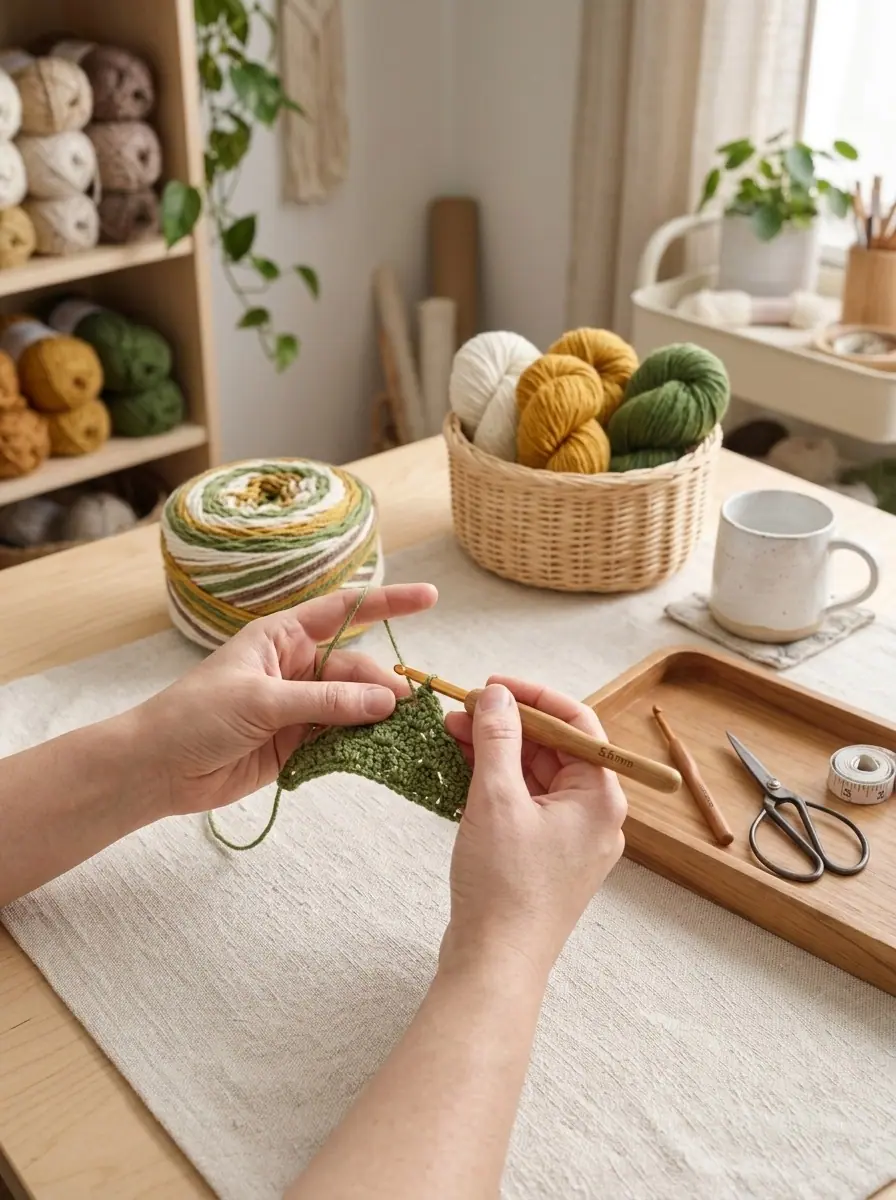
Growing the square:
- With Color 1, ch 6.
- Row 1 (RS): 1 dc in the 4th ch from the hook (counts as 2 dc), 1 dc in each of the last 2 ch. Turn. (1 block)
- Row 2: Ch 6, 1 dc in the 4th ch from the hook, 1 dc in each of the next 2 ch: this is a beginning block. Then [sl st, ch 3, 3 dc] in the next ch-3 sp: this is a block. Turn. (2 blocks)
- Row 3: Beginning block, then 1 block in each ch-3 sp to the end. Turn. (3 blocks)
- Row 4: Repeat Row 3. Turn. (4 blocks) Color 1 is complete.
- Starting with Color 2 on Row 5, repeat Row 3 until Row 12 is complete, letting the yarn change color as shown in the table. (12 blocks)
Shrinking to the opposite corner:
- Row 13 (RS): Sl st in each of the first 3 dc. Then 1 block in each ch-3 sp up to the last ch-3 sp. Sl st in the last ch-3 sp. Turn.
- Repeat Row 13, following the color changes, until 1 block remains. You have 23 rows.
- Fasten off at the end of Color 2, leaving a tail of about 46″ [117 cm] for seaming. The motif measures about 9½” [24 cm] square.
Maker Tip: On the decrease rows, the 3 slip stitches at the start move your yarn across the top of the last block without adding height. Pull them a little snug, and the edges of your square stay straight instead of getting stepped.
Step 3: Block and Join the Front
- Pin each motif to 9½” square. Cover with a damp cloth and leave the cloth on until everything is dry.
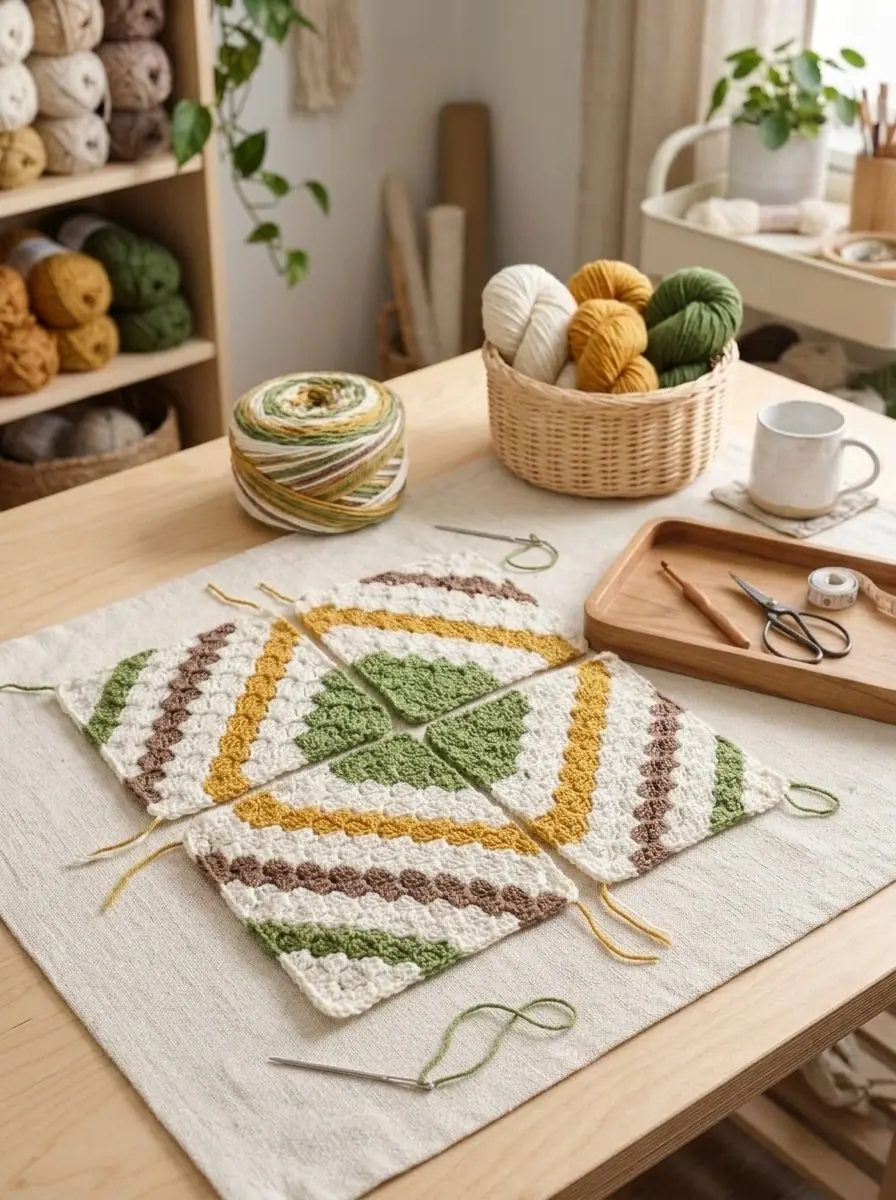
- Following the assembly diagram in the pattern, sew the four motifs together with a flat seam, using the long tails. In the sample, the green starting corners all meet in the center, which creates the green center and the diamond bands.
Would you like to save this pattern?
Enter your email and we will send you a link to the Quilt Pillow tutorial, so the color table and C2C steps are always close by.
Step 4: Crochet the Back (make 2)
- With A, ch 61.
- Row 1: 1 sc in the 2nd ch from the hook, 1 sc in each ch to the end. Turn. (60 sc)
- Row 2: Ch 1, 1 sc in each sc to the end. Turn.
- Repeat Row 2 until the piece measures 10″ [25.5 cm] from the beginning.
- Next row: Ch 2 (does not count as a stitch), 1 hdc in each sc to the end. Turn.
- Ribbing row: Ch 1, 1 hdcfp around the first hdc, [1 hdcbp around the next hdc, 1 hdcfp around the next hdc] repeat to the last hdc, 1 hdcbp around the last hdc. Turn.
- Repeat the ribbing row until the piece measures 12″ [30.5 cm] from the beginning. Fasten off.
The ribbing gives the opening a firm, stretchy edge that lies flat over the other back piece and does not gape when the pillow is in use.
Step 5: Join the Front and Back
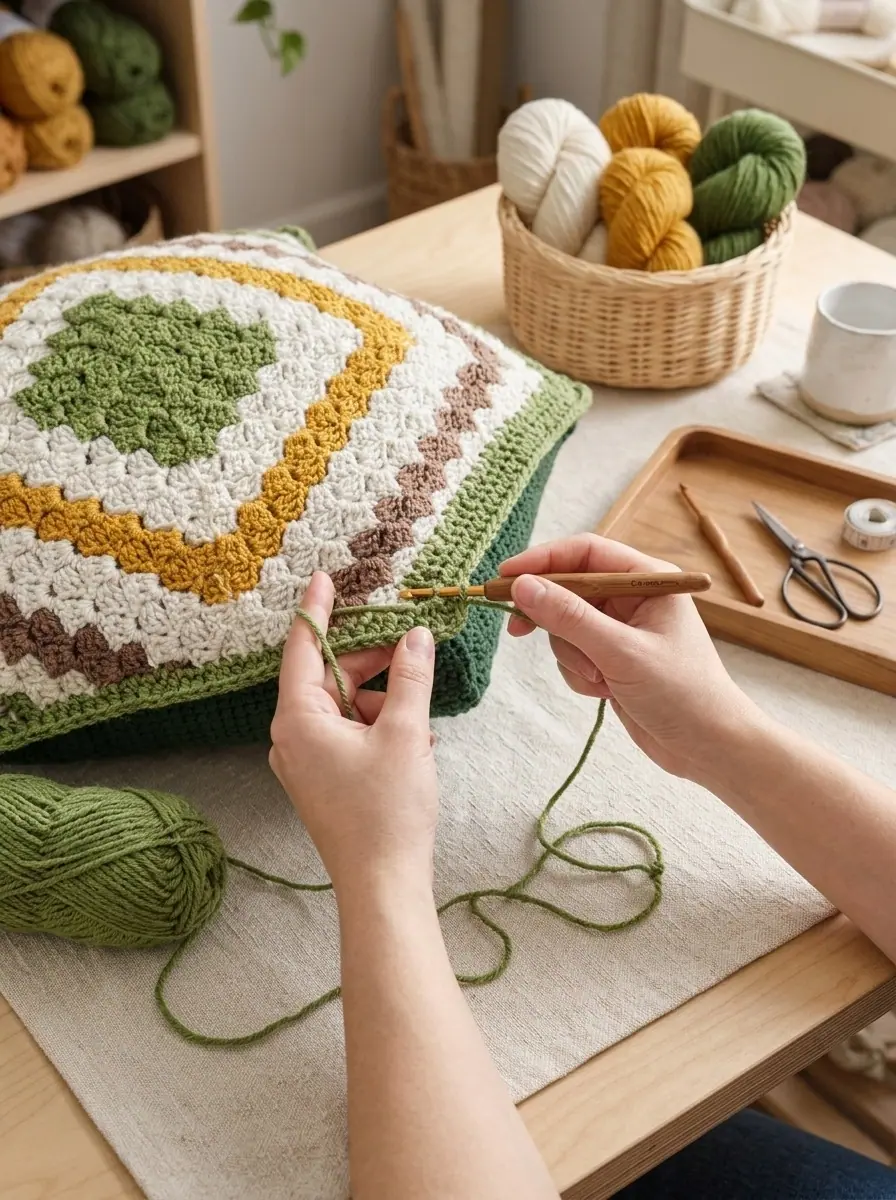
- Lay the front face down. Place the two back pieces on top, overlapping them so the ribbed sections sit in the center. This overlap is the opening for the pillow form. Pin everything in place.
- With RS facing, join A with a sl st to any corner stitch.
- Ch 1. Working through all thicknesses, sc evenly around all 4 sides, with 3 sc in each corner. Join with a sl st to the first sc. Fasten off.
- Weave in all ends and slide the pillow form in through the overlapping back.
Yarn Care & Washing
The official care directions for this project: machine wash in cool water on a delicate cycle, tumble dry on low heat on a delicate setting, do not bleach, do not dry clean, and do not iron or press.
Thanks to the envelope back, you can take the pillow form out before washing. Wash the cover alone or with similar colors, then reshape it while it is still damp so the C2C squares stay square.
More Cozy Crochet Patterns to Try Next
- Red Heart Crochet Wrapped in Gifts Blanket: an easy single crochet blanket that looks like a pile of presents.
- Bernat Waffle Crochet Dishcloth: a quick textured cotton square for your kitchen.
✨ PATTERN HELP & TIPS ✨
Got Questions?
Frequently Asked Questions
Click on any question below to reveal the answer
Can I use a different yarn for the front?
Yes, but you will have to change colors yourself at the rows in the color table. Use four worsted weight yarns, keep the same order, and carry or cut the yarn at each change. The finished look will be the same; you will just have more ends to weave in.
How do I make a bigger pillow?
The easiest way is to keep the motifs the same and use a 9-motif layout for a larger floor cushion. For the back, add stitches to the starting chain so it matches the new width, and make each back piece about half the height plus 2 inches for the overlap.
My C2C edges look jagged. Is that normal?
A little stepping is normal for C2C. Blocking under a damp cloth smooths it a lot, and the final single crochet round hides the rest. If one square is clearly bigger than the others, your tension changed: redo that motif rather than stretching the others.
Pin This Crochet Pillow Pattern for Later!
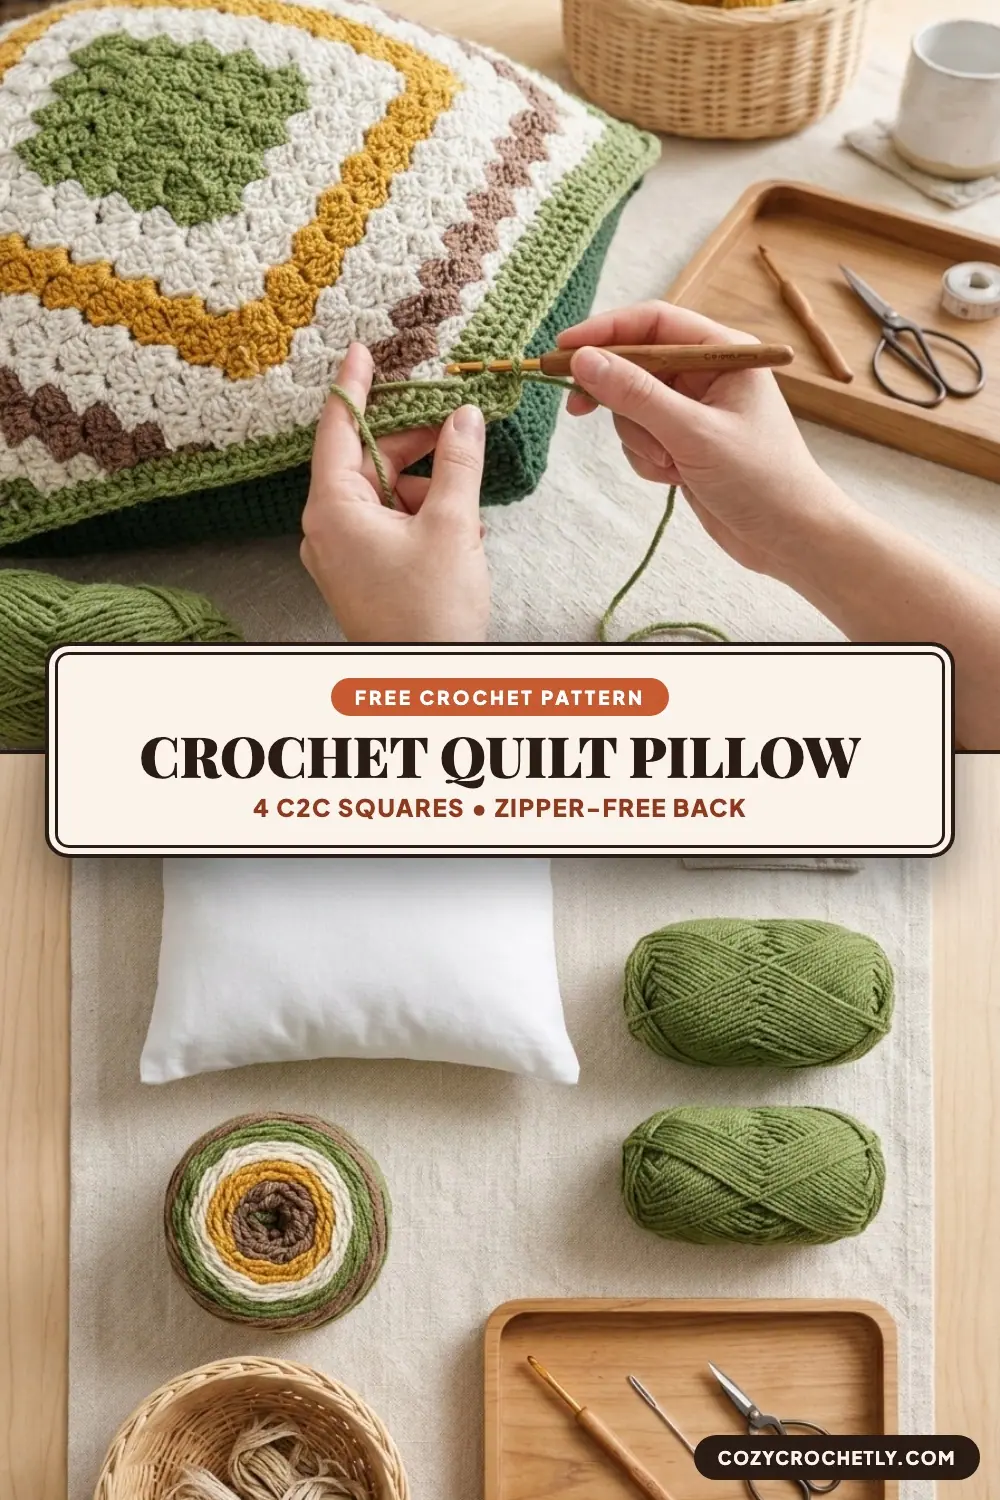
Save one of the pins below to your crochet home decor board so you can find the color table and C2C steps again:
PREVIOUS PATTERN
Holiday Gift Box Motif Crochet Throw Blanket With Ribbon Ties
NEXT PATTERN
Openwork Harlequin Diamond Lace Triangle Crochet Shawl
✨ KEEP CROCHETING ✨
You May Also Love
LEAVE A COMMENT
Have a question about a stitch or want to share how your project turned out? Drop a comment below — I read and reply to every maker!