
 Crochet Home & Kitchen Decor
*This post may contain affiliate links to support the cost of this blog. At no cost to you, I may make a small commission if you purchase through these links. Read our Privacy Policy HERE
An heirloom dining table, kitchen island, or entryway console deserves a centerpiece layer that balances airy architectural geometry with organic natural fiber, and this crochet table runner brings timeless farmhouse elegance to any space. The Geometric Filet Mesh Cotton Crochet Table Runner With Lattice Fringe measures a full Approx 12.5" x 72" [32 x 183 cm] before adding its hand-wrapped two-tier macrame lattice fringe, showcasing repeating diamond-and-chevron filet windows stitched in 100% USA-grown worsted cotton yarn.
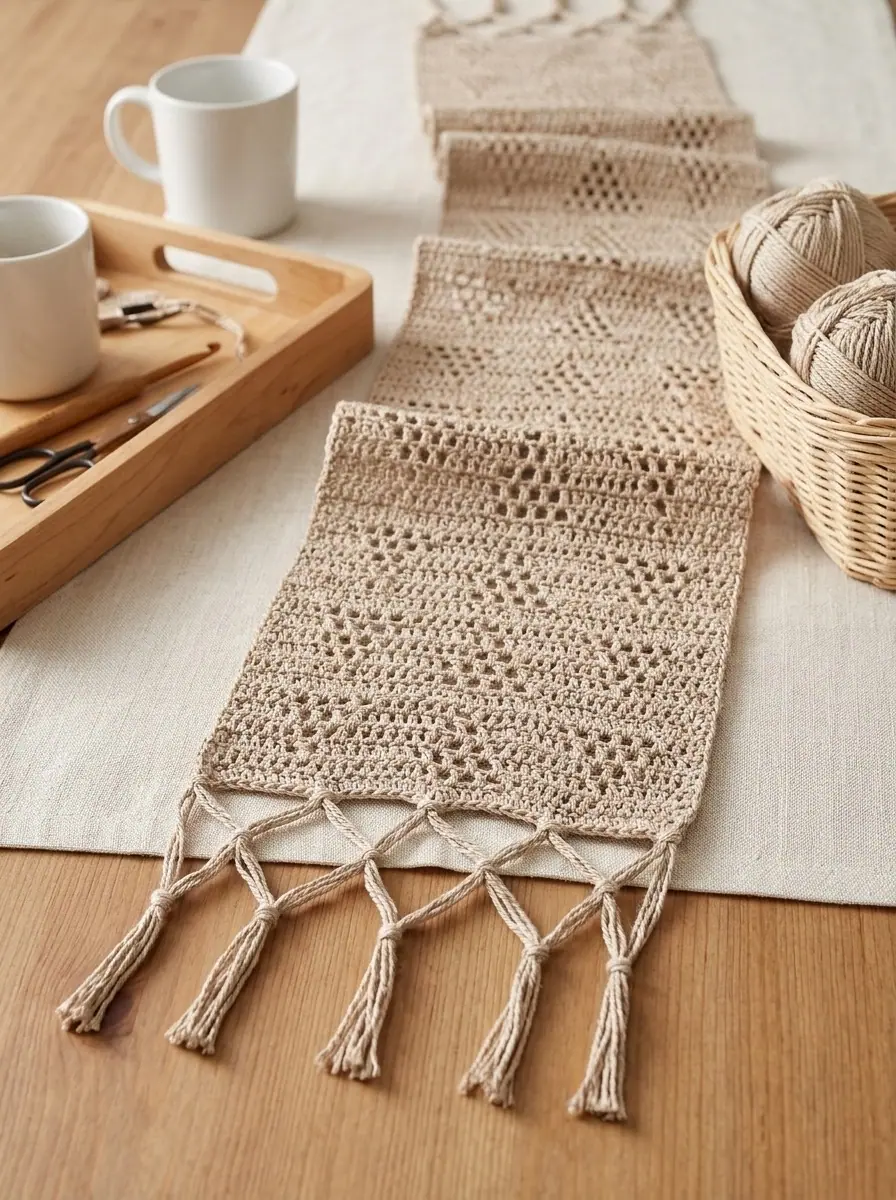
Filet crochet is one of the most rewarding techniques in home decor because the entire geometric motif is built from just two elementary stitches: double crochet (dc) blocks and chain-1 (ch-1) open mesh windows. Worked across 39 stitches with a Size U.S. H/8 (5 mm) crochet hook and five balls of medium #4 cotton yarn in a warm linen-like Jute shade, this runner uses an intuitive 6-row repeat (Rows 2 through 7) where two outer open-mesh triangles expand while a central inverted filet triangle narrows, separated by a solid double-crochet divider row every 7th row. Once your runner reaches 72 inches, a crisp single-crochet perimeter border and two rows of wrapped macrame-style lattice fringe give both ends an artisanal boutique finish.
Pattern Overview
- Project Name: Geometric Filet Mesh Cotton Crochet Table Runner With Lattice Fringe (Design Ref: SCC0518-031581M)
- Primary Keyword Focus: Crochet Table Runner & Kitchen Home Decor
- Skill Level: Easy (Standard double crochet, chain-1 filet spaces, single crochet border, and wrapped fringe knots)
- Finished Measurements: Approx 12.5" wide x 72" long [32 cm x 183 cm], excluding the two-tier lattice fringe at both ends
- Recommended Yarn: Medium Worsted Weight #4 100% Cotton Yarn (2.5 oz / 70.9 g; 120 yds / 109 m per ball)
- Yardage & Colorway: 5 balls (Approx 510 yds / 466.5 m total) in Jute (00082), Ecru, Soft Sage, or Warm Terracotta
- Crochet Hook: Size U.S. H/8 (5 mm) crochet hook (or size needed to obtain gauge)
- Official Gauge: 12 single crochet and 14 rows = 4" [10 cm]
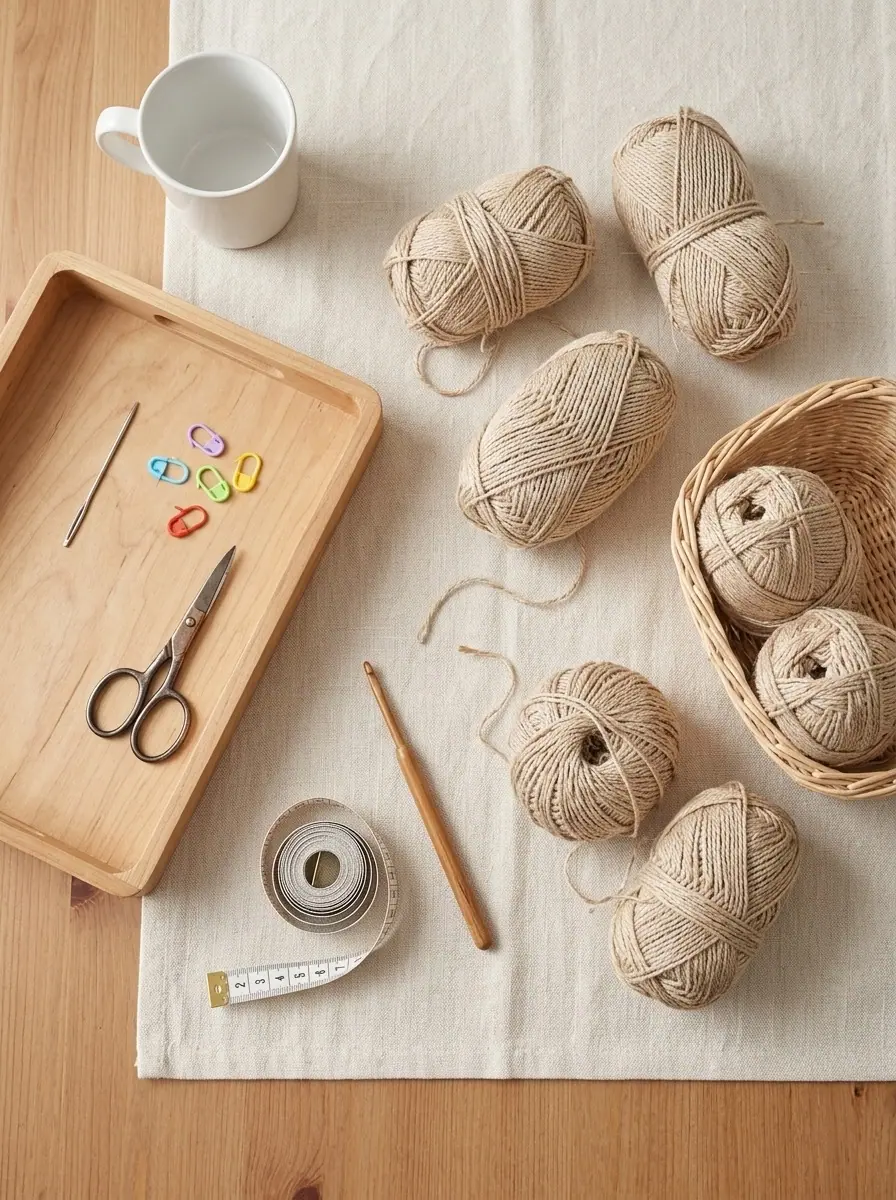
- Additional Tools: Blunt steel tapestry needle, rigid ruler or tape measure (for cutting 24-inch fringe strands and spacing 1.5-inch / 3-inch lattice wraps), locking stitch markers, and sharp scissors
Table of Contents
1Home2Crochet Home & Kitchen Decor3Geometric Filet Mesh Cotton Crochet Table Runner With Lattice Fringe
Why Makers Love This Geometric Filet Cotton Table Runner
Whether you are dressing a six-seat dining table for holiday gatherings or adding rustic texture to a coffee table, this cotton runner offers standout craftsmanship:
- Effortless 6-Row Geometric Rhythm: Once you work Rows 2 through 7 once, you will immediately see how the two outer mesh triangles step outward by one ch-1 window per row while the center mesh triangle steps inward—making it easy to read your stitches without staring at a chart.
- Heat-Resistant, Washable 100% Cotton: Unmercerized 4-ply worsted cotton lies flat on wood, glass, or stone surfaces, absorbs condensation from pitchers and vases, and holds crisp rectangular filet windows after washing.
- Clean Single-Crochet Framing Border: Before attaching the fringe, a single-crochet edging round with 3 single crochets in each corner squares off the side edges and gives the fringe knots a sturdy, reinforced anchor line.
- Artisanal Wrapped Lattice Fringe: Instead of simple overhand knots, the 12-strand fringe bundles are divided in half and joined to neighboring bundles with 6-turn wrapped coil knots at 1.5 inches [4 cm] and 3 inches [7.5 cm] below the edge, forming a diamond lattice trellis at each end.
Maker Tip: In this pattern, the ch 2 at the beginning of every row does NOT count as a stitch! That means you always work your very first double crochet right into the first stitch at the base of the turning chain, and at the end of the row you ignore the previous row’s turning ch-2—keeping the left and right selvedge edges of your table runner ruler-straight.
Materials & Tools Checklist
100% Worsted Cotton Yarn (#4 Medium): 5 balls (2.5 oz / 70.9 g; 120 yds / 109 m each, or 1 large 14 oz / 400 g cone totaling at least 510 yds / 466.5 m) in Jute (00082) or your preferred natural neutral.
Crochet Hook: Size U.S. H/8 (5 mm) crochet hook.
Finishing Tools: Blunt metal yarn needle, tape measure or 12-inch cardboard cutting template (for cutting 24-inch fringe strands quickly), and sharp embroidery or fabric shears.
Gauge & Custom Length Adjustments
- Official Gauge: 12 sc and 14 rows = 4" [10 cm] with a 5 mm (U.S. H/8) crochet hook.
- Finished Width Across 39 Stitches: Across 39 double crochet and chain-1 filet stitches plus the single-crochet edging round, your runner will measure 12.5" [32 cm] wide.
- Customizing the Runner Length: Each 6-row geometric repeat (Rows 2 through 7) adds approximately 3.25" [8.2 cm] of length. You can easily stop earlier (for example, at 36" [91 cm] for a sideboard or coffee table, or 54" [137 cm] for a four-seat bistro table) as long as you finish on a solid Row 7 before working the Edging Round!
Stitches & Abbreviations (US Crochet Terms)
- Approx: Approximately
- beg: Begin(ning)
- ch: Chain(s)
- ch-1 sp: Chain-1 space (the open filet window created by working ch 1 and skipping 1 stitch on the row below)
- cont: Continue
- dc: Double crochet
- pat: Pattern
- prev: Previous
- rem: Remaining
- rep: Repeat
- rnd(s): Round(s)
- RS: Right Side
- sc: Single crochet
- sl st: Slip stitch
- sp(s): Space(s)
- st(s): Stitch(es)
- tog: Together
- ( … ) / [ … ]: Work the instructions enclosed inside parentheses or brackets the number of times indicated
Step-by-Step Crochet Table Runner Instructions
Part 1: Foundation Row & The 6-Row Geometric Filet Repeat (Rows 1 to 7)
Important Structural Note: The ch 2 at the beginning of each row does NOT count as a stitch. Every row has an exact total count of 39 stitches and chain-1 spaces combined.
Foundation Chain: With your 5 mm (U.S. H/8) crochet hook and Jute cotton yarn, ch 41.
Row 1 (Solid Foundation Base) & Row 2 (Starting the Geometric Triangles)
Row 1 (RS): Work 1 dc in 4th ch from hook (the skipped 3 chains + this dc count as your first 2 dc). Work 1 dc in each remaining ch across to end of chain. Turn. (39 dc)
Row 2: Ch 2 (does not count as a st here and throughout). Work 1 dc in each of first 7 sts. Ch 1, skip next st (forms first outer mesh apex). Work 1 dc in each of next 7 sts. (Ch 1, skip next st, work 1 dc in next st) 5 times (forms the 5-window base of the center inverted triangle). Work 1 dc in each of next 6 sts (making 7 consecutive dc total). Ch 1, skip next st (forms second outer mesh apex). Work 1 dc in each of last 7 sts. Turn. (39 sts total, including 7 ch-1 spaces)
Rows 3, 4 & 5 (Expanding Outer Mesh Triangles / Narrowing Center Triangle)
Row 3: Ch 2. Work 1 dc in each of first 6 sts. Ch 1, skip next st, work 1 dc in next ch-1 sp, ch 1, skip next st (2 outer mesh windows). Work 1 dc in each of next 6 sts. (Work 1 dc in next ch-1 sp, ch 1, skip next st) 4 times, then work 1 dc in next ch-1 sp (4 center mesh windows). Work 1 dc in each of next 6 sts. Ch 1, skip next st, work 1 dc in next ch-1 sp, ch 1, skip next st (2 outer mesh windows). Work 1 dc in each of last 6 sts. Turn. (39 sts total, including 8 ch-1 spaces)
Row 4: Ch 2. Work 1 dc in each of first 5 sts. (Ch 1, skip next st, work 1 dc in next ch-1 sp) twice, then ch 1, skip next st (3 outer mesh windows). Work 1 dc in each of next 6 sts, plus 1 dc in next ch-1 sp. (Ch 1, skip next st, work 1 dc in next ch-1 sp) 3 times (3 center mesh windows). Work 1 dc in each of next 6 sts. (Ch 1, skip next st, work 1 dc in next ch-1 sp) twice, then ch 1, skip next st (3 outer mesh windows). Work 1 dc in each of last 5 sts. Turn. (39 sts total, including 9 ch-1 spaces)
Row 5: Ch 2. Work 1 dc in each of first 4 sts. (Ch 1, skip next st, work 1 dc in next ch-1 sp) 3 times, then ch 1, skip next st (4 outer mesh windows). Work 1 dc in each of next 6 sts, plus 1 dc in next ch-1 sp. (Ch 1, skip next st, work 1 dc in next ch-1 sp) twice (2 center mesh windows). Work 1 dc in each of next 6 sts. (Ch 1, skip next st, work 1 dc in next ch-1 sp) 3 times, then ch 1, skip next st (4 outer mesh windows). Work 1 dc in each of last 4 sts. Turn. (39 sts total, including 10 ch-1 spaces)
Rows 6 & 7 (Completing the Motif & Solid Reset Divider Row)
Row 6: Ch 2. Work 1 dc in each of first 3 sts. (Ch 1, skip next st, work 1 dc in next ch-1 sp) 4 times, then ch 1, skip next st (5 outer mesh windows). Work 1 dc in each of next 6 sts, plus 1 dc in next ch-1 sp. Ch 1, skip next st, work 1 dc in next ch-1 sp (1 center mesh apex window). Work 1 dc in each of next 6 sts. (Ch 1, skip next st, work 1 dc in next ch-1 sp) 4 times, then ch 1, skip next st (5 outer mesh windows). Work 1 dc in each of last 3 sts. Turn. (39 sts total, including 11 ch-1 spaces)
Row 7 (Solid Double Crochet Divider Row): Ch 2. Work 1 dc in each dc and 1 dc in each ch-1 sp across to end of row. Turn. (39 solid dc)
Part 2: Repeating the Pattern to 72 Inches & Working the Perimeter Edging Round
Repeating Rows 2 to 7 & Single-Crochet Edging Round
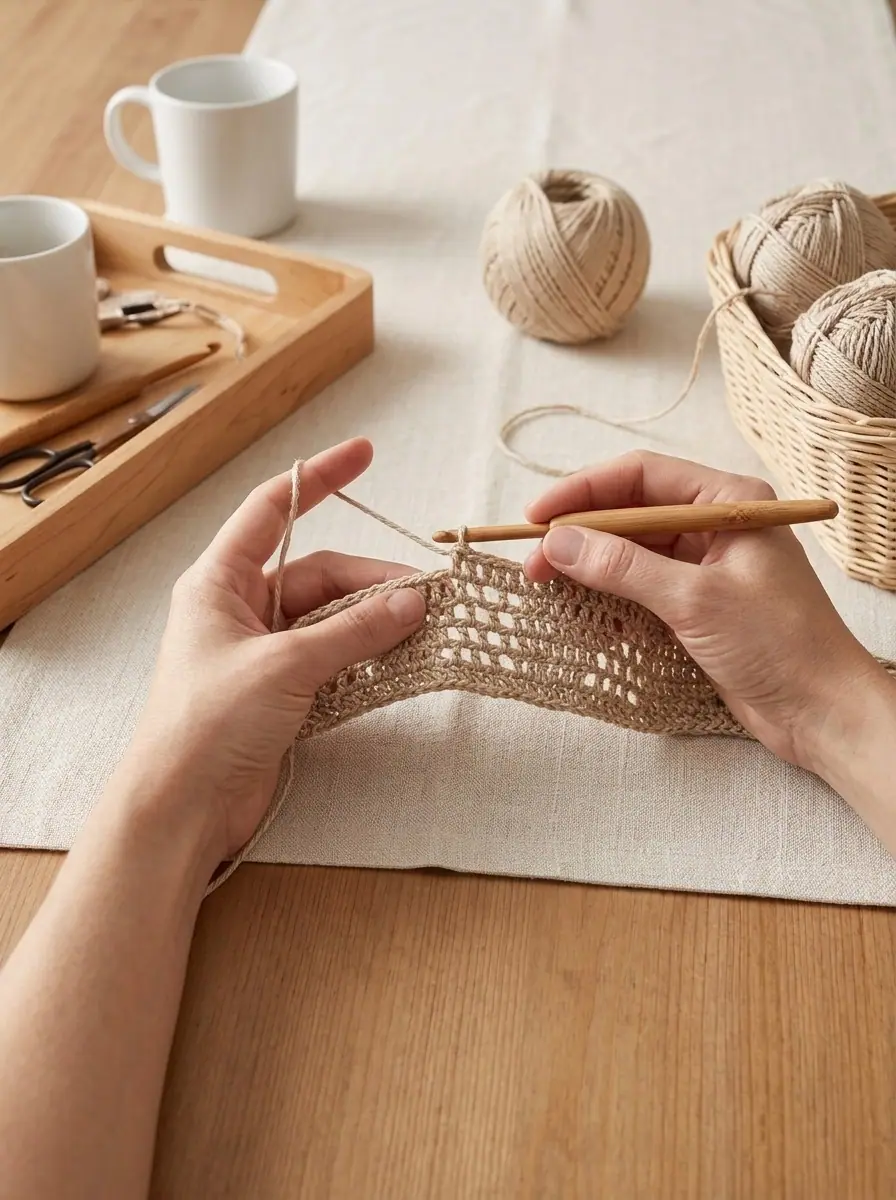
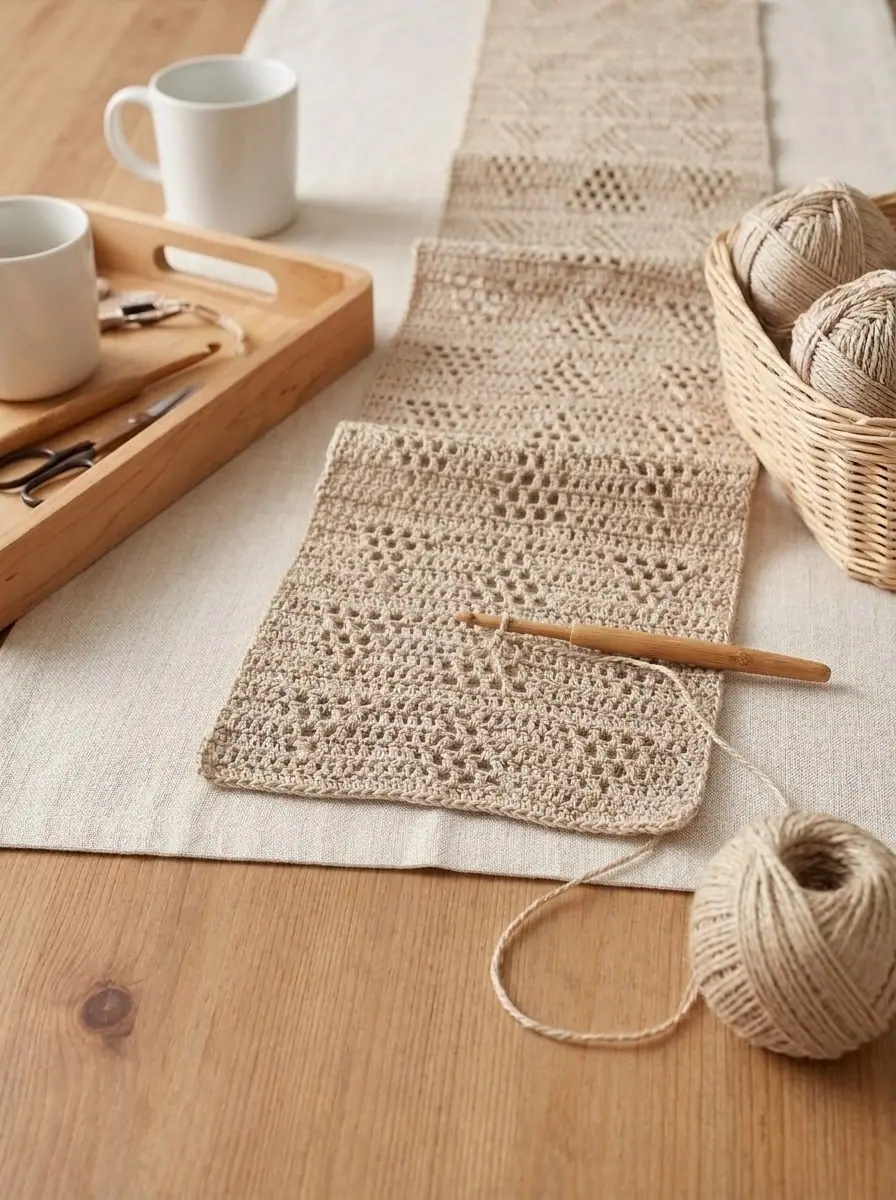
Main Runner Length: Repeat Rows 2 to 7 continuously for the pattern until your runner measures approximately 72" [183 cm] from the beginning foundation edge, ending after completing a Row 7 (solid 39-dc row). Do not turn and do not fasten off at the end of the final Row 7!
Edging Round (RS Facing): Working around the entire outer perimeter of the runner with the Right Side facing you, [work 3 sc in corner, work in sc evenly spaced down the long side edge of the runner (approximately 2 sc per dc row-end), work 3 sc in corner, and work 1 sc in each st across the short 39-stitch width of the runner] twice around all 4 sides. Join with a sl st to the first sc of the round. Fasten off and weave in all ends.
Part 3: Knotting the Two-Tier Wrapped Lattice Fringe
Both short 12.5-inch ends of the table runner are finished with a two-tier wrapped lattice fringe made from 6-strand bundles:
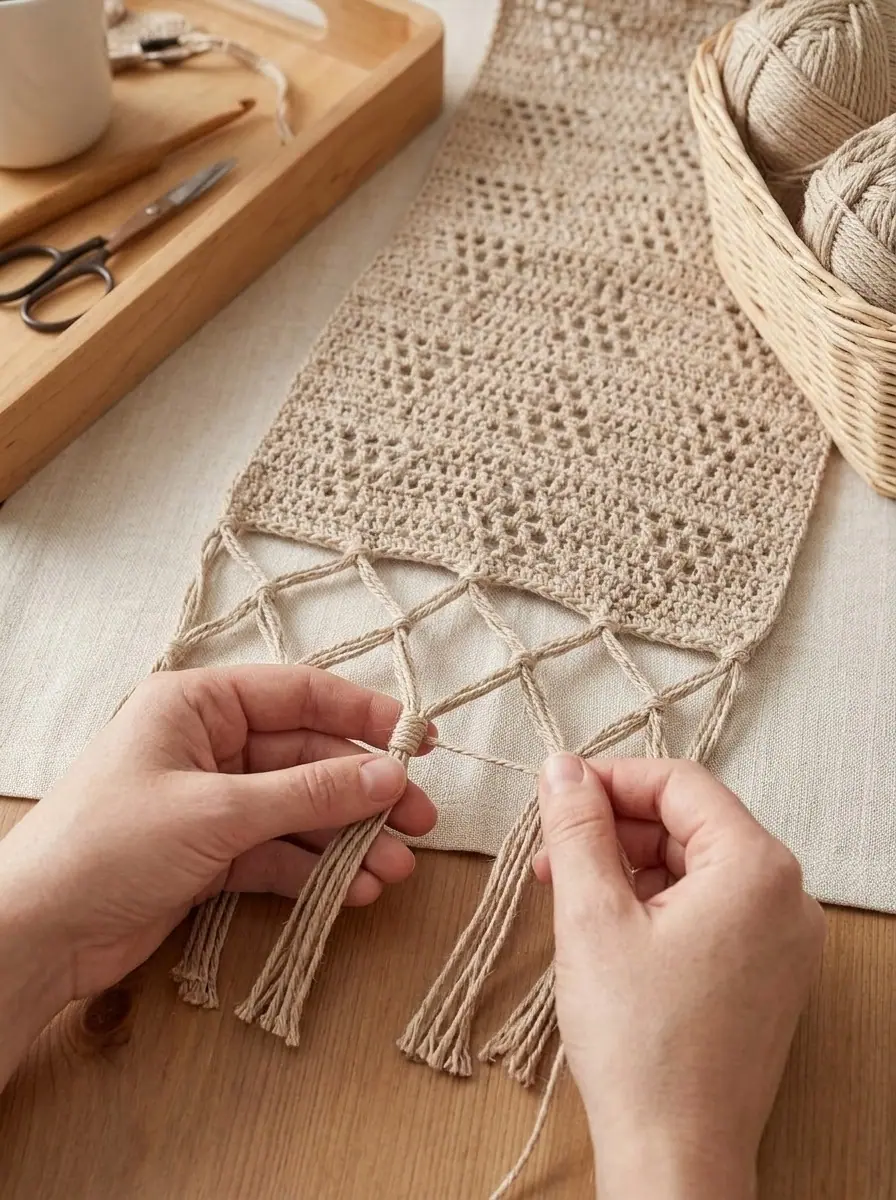
- Cut & Attach Base Fringe Bundles (Every 2.5" [6.5 cm]): Cut strands of Jute cotton yarn 24" [61 cm] long. With the Right Side of the runner facing up, hold 6 strands together, fold them in half to form a center loop, and knot them into the bottom single-crochet edge using a lark’s head knot approximately every 2.5" [6.5 cm] evenly across the bottom width, making sure to place 1 fringe bundle at each corner (6 bundles total across the 12.5-inch width, with each knotted bundle containing 12 hanging strands).
- 1st Knotted Row (1.5" [4 cm] Below Base Knots): Divide each 12-strand knotted bundle into 2 groups of 6 strands. Working from left to right across the bottom edge, skip the very first outer 6-strand group on the far left. [Take the right-most 6-strand group from the previous bundle together with the left-most 6-strand group from the next neighboring bundle (12 strands total); select 1 strand from this combined group and wrap it tightly 6 times around the remaining 11 strands at a point 1.5" [4 cm] down from the base knots so the wrapped coil sits centered between the two upper knots; tie a secure knot at the back/bottom of the 6 wraps to lock it] across all adjacent pairs, leaving the final outer 6-strand group on the far right un-wrapped just like the first group.
- 2nd Knotted Row (3" [7.5 cm] Below Base Knots): Divide each 12-strand bundle from the 1st Knotted Row back into 2 groups of 6 strands. Starting on the far left, take the first skipped 6-strand group from the 1st Knotted Row together with the left-most 6-strand group from the next knotted bundle (12 strands total), wrap 1 strand around the remaining 11 strands 6 times at a point 3" [7.5 cm] down from the top edge knots, and knot securely. Continue across in the same manner, pairing adjacent 6-strand halves at the 3-inch mark, and finish on the far right by pairing the final right-hand skipped 6-strand group with the adjacent 6-strand group, wrapping 6 times at 3" [7.5 cm] down, and knotting securely.
- Trim & Repeat on Second End: Lay the lattice fringe flat on your table and trim the bottom ends of all fringe tassels straight across with sharp shears. Repeat the exact same base knotting, 1st Knotted Row, 2nd Knotted Row, and even trimming across the opposite short end of the table runner.
Blocking & Care Instructions for Cotton Table Runners
- Wet Blocking or Steam Blocking for Open Filet Windows: After finishing the edging round (before or after adding the fringe), mist the cotton runner generously with water, pin the four corners and long edges straight to 12.5" x 72" on a blocking mat or towel, and let dry completely. Blocking opens up every chain-1 mesh window so the geometric triangles stand out with architectural precision.
- Washing & Drying: Hand wash or machine wash inside a mesh delicates bag in cool water on the gentle cycle (so the wrapped lattice fringe stays tidy). Reshape and lay flat to air dry; comb the lower fringe tips gently with your fingers while damp.
✨ PATTERN HELP & TIPS ✨
Got Questions?
Frequently Asked Questions
Click on any question below to reveal the answer
Why does Row 2 end with “1 sc in each of last 7 sts” in some printed editions?
In the official chart and symmetrically balanced filet repeat, both outer 7-stitch borders on Row 2 are solid double crochet (dc) blocks (1 dc in each of first 7 sts and 1 dc in each of last 7 sts) so the left and right sides of the runner remain identical in height. Always work double crochet across the last 7 stitches of Row 2 for a level row height!
How many 24-inch cotton strands do I need to cut in total for both ends of the runner?
With 6 fringe bundles spaced every 2.5 inches across each 12.5-inch end (including 1 bundle at each corner) and 6 strands per bundle, you will cut 36 strands per end (72 strands total of 24" [61 cm] each), which uses approximately 48 yards [44 m] of your 5-ball cotton supply.
Can I make matching placemats using this same geometric filet motif?
Absolutely! Use the exact same 41-chain cast-on (39 stitches = 12.5" wide) and work just 5 repeats of Rows 2 to 7 until the piece measures 18" [45.5 cm] long, finish with the single-crochet Edging Round, and add a short 2-inch fringe or leave the borders clean for matching everyday placemats.
PREVIOUS PATTERN
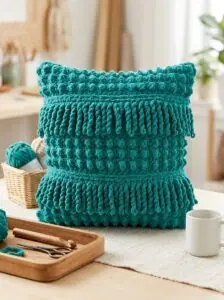
Textured Bobble and Fringe Square Crochet Throw Pillow
NEXT PATTERN
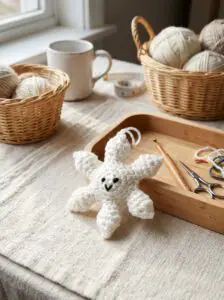
Stuffed Six-Point Amigurumi Crochet Snowflake Ornament
✨ KEEP CROCHETING ✨
You May Also Love
LEAVE A COMMENT
Have a question about a stitch or want to share how your project turned out? Drop a comment below — I read and reply to every maker!