
 Seasonal & Holiday Crochet
*This post may contain affiliate links to support the cost of this blog. At no cost to you, I may make a small commission if you purchase through these links. Read our Privacy Policy HERE
Holiday dinner tables and hostess gifts come alive when a festive handmade sculptural cover transforms an ordinary glass bottle into a centerpiece conversation starter. This Ridged Wedge Crochet Christmas Tree Bottle Topper With Star Crown uses clever sideways short-row shaping in glittery Christmas emerald green worsted yarn topped with a five-point twinkly snow white star to create a fluted, evergreen silhouette that slips smoothly over standard wine, sparkling cider, or olive oil bottles. Measuring approximately 18 inches (45.5 cm) in base circumference by 10 inches (25.5 cm) tall excluding the star crown, a single 240-yard (219 m) skein of main color yarn yields two complete bottle toppers.
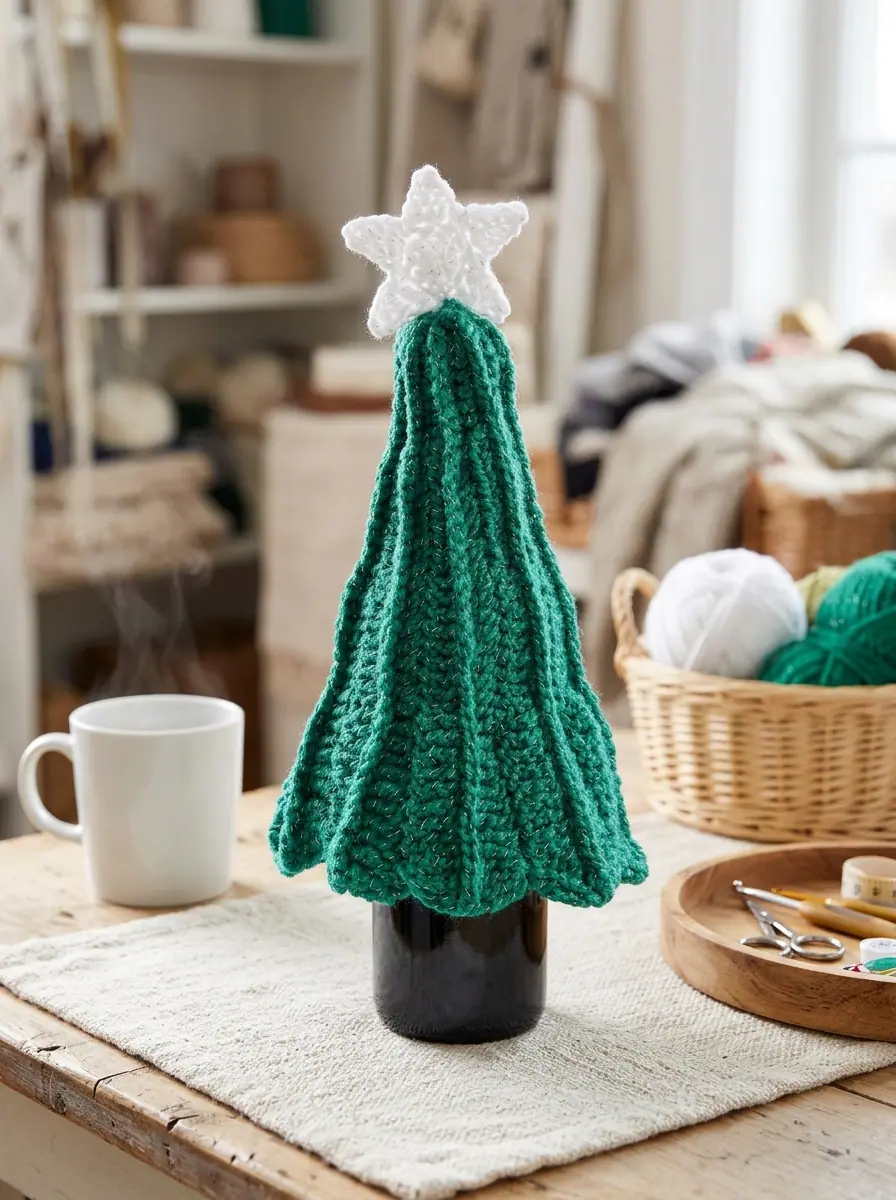
Instead of working in endless circular rounds from top to bottom, this architectural tree is crocheted sideways across nine graduated wedges. Each wedge steps progressively from slip stitches and single crochets at the narrow tree apex down through half double crochets, double crochets, trebles, and a flared fan of four trebles plus a double treble at the wide lower hem. By working every wedge row through the front loop only (FLO) and later adding raised single crochet ridges into the unworked back loops, the fabric develops deep vertical pleating that stands upright with crisp sculptural body.
Project Overview & Technical Specifications
- Skill Level: Easy (Sideways graduated stitch-height wedges worked in front loops with surface back-loop ridges)
- Finished Dimensions: Approximately 18 inches (45.5 cm) circumference at the flared base x 10 inches (25.5 cm) tall, excluding the star topper
- Yarn Weight: Medium Weight #4 (Worsted / Festive Metallic-Flelen Acrylic Yarn)
- Primary Colorway: Main Color (MC) — Glittery Christmas Emerald Green (1 ball of 3.5 oz / 100 g, 240 yds / 219 m makes 2 bottle toppers; approx. 120 yds / 110 m per topper) | Contrast A — Twinkly Snow White (approx. 10 yds / 9 m for the 5-point Star Crown)
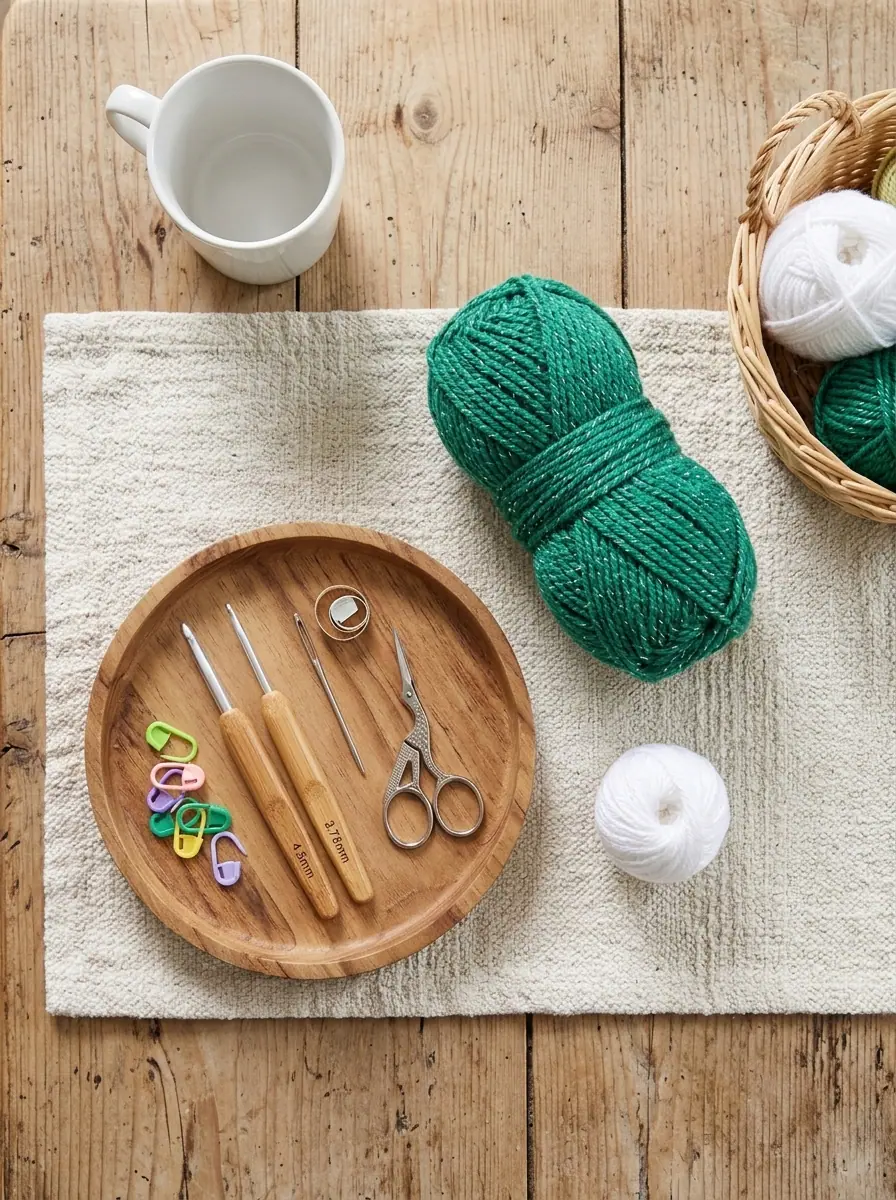
- Recommended Hooks: Size U.S. 7 (4.5 mm) crochet hook for the Tree body and ridges; Size U.S. F/5 (3.75 mm) crochet hook for the Star topper
- Gauge: 14 single crochet and 15 rows = 4 inches (10 cm) worked with the larger 4.5 mm hook
- Construction Method: Nine sideways front-loop-only wedges seamed into a cone, vertical single crochet ridges worked into exposed back loops, topped with a two-round five-point star
Table of Contents
Why Sideways Graduated Wedges Make the Best Bottle Toppers
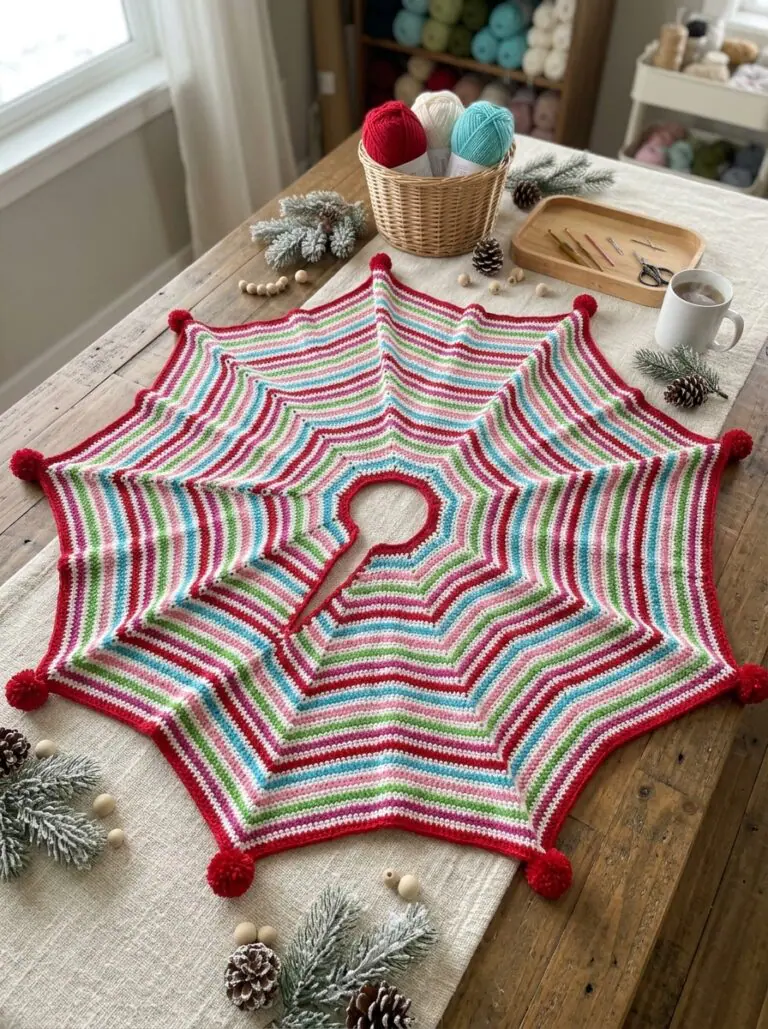
When styling your holiday dining room alongside seasonal heirlooms like our Circular Pinstripe Crochet Christmas Tree Skirt With Bobble Trim or hanging festive ornaments like the Stuffed Six-Point Amigurumi Crochet Snowflake Ornament, structural drape is everything. Standard cone covers worked in the round often slump or cling awkwardly to the neck of a bottle. By rotating the stitch direction 90 degrees so the rows run vertically from hem to peak, the natural rib elasticity of front-loop crochet hugs the bottle shoulder while flaring out gracefully around the base.
Even better, every single row uses stitch height rather than complicated mid-row stitch markers to create the diagonal taper of the tree. Starting near the top with compact slip stitches and single crochets, your hook naturally transitions to taller half double crochets, double crochets, and lofty treble crochets as you approach the bottom edge. That smooth geometric graduation produces a clean triangular wedge every two rows without any guesswork.
Complete Materials & Notions Checklist
Everything You Need at Your Worktable
- Main Color Yarn (MC): Medium Weight #4 Worsted Acrylic Yarn in Glittery Christmas Emerald Green — 1 ball (3.5 oz / 100 g; 240 yds / 219 m). Maker Note: One full ball contains enough yardage to complete 2 full Christmas Tree Bottle Toppers!
- Star Contrast Yarn (Contrast A): Medium Weight #4 Worsted Acrylic Yarn in Twinkly Snow White — approximately 10 yards (9 meters) for the five-point star crown.
- Larger Crochet Hook (Tree Body): Size U.S. 7 (4.5 mm) crochet hook, or size needed to obtain 14 sc x 15 rows per 4 inches.
- Smaller Crochet Hook (Star Crown): Size U.S. F/5 (3.75 mm) crochet hook for dense, self-supporting star points.
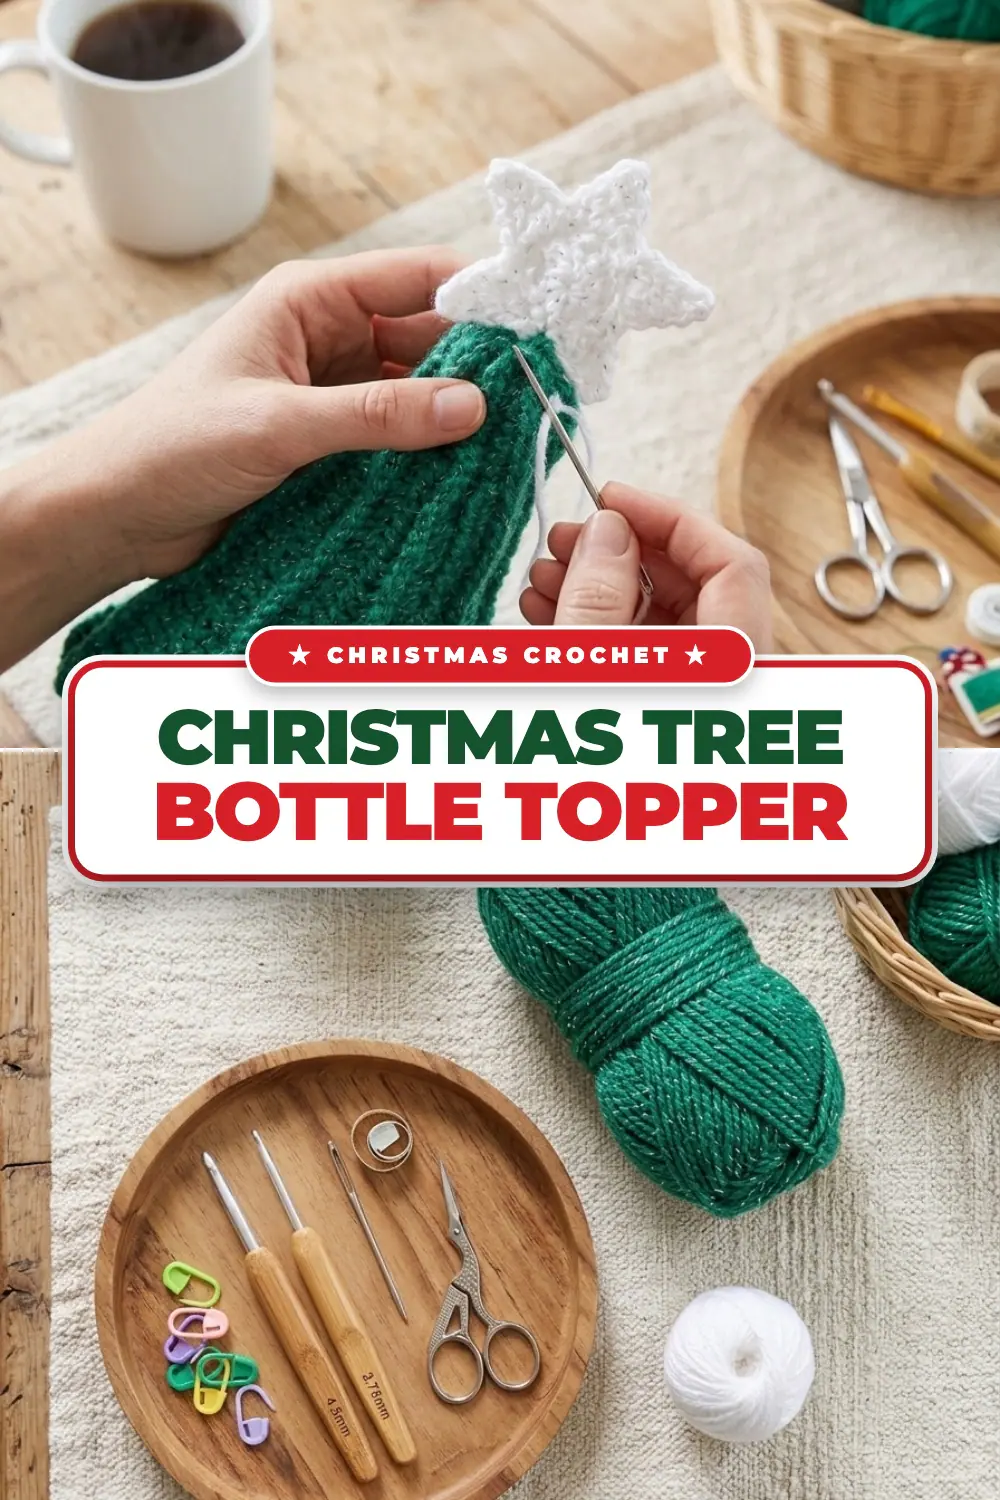
- Notions: Blunt-tipped metal yarn needle for seaming the vertical side join, cinching the top peak, and attaching the star; locking stitch markers; and sharp embroidery scissors.
Gauge, Stitch Heights & Special Abbreviations
Before chaining 37 for the first wedge, check your tension with the 4.5 mm (U.S. 7) crochet hook and Main Color (Glittery Christmas Emerald Green) yarn: 14 single crochet stitches and 15 rows should measure 4 inches (10 cm). Because the tree is worked sideways across nine wedges, row gauge directly controls the 18-inch (45.5 cm) lower circumference, while stitch gauge controls the 10-inch (25.5 cm) height.
Standard US Crochet Abbreviations & Special Stitches
- Approx: Approximately
- Beg: Begin(ning)
- Beg Tr5tog (Beginning Treble 5 Together): Ch 5. [(Yoh) twice and draw up a loop in next stitch. (Yoh and draw through 2 loops on hook twice)] 4 times. Yoh and draw through all 5 loops on hook — counts as 1 stitch and creates a steep 4-stitch decrease at the flared lower hem.
- Ch: Chain(s)
- Dc: Double crochet
- Dtr (Double Treble Crochet): (Yoh) 3 times and draw up a loop in next stitch. (Yoh and draw through 2 loops on hook) 4 times.
- FLO: Front loop only
- Hdc: Half double crochet
- MC: Main Color (Glittery Christmas Emerald Green)
- Rem: Remain(ing)
- Rep: Repeat
- Rnd: Round
- RS: Right side
- Sc: Single crochet
- Sl st: Slip stitch
- St(s): Stitch(es)
- Tog: Together
- Tr: Treble crochet
- Yoh: Yarn over hook
Step-by-Step Crochet Instructions
Part 1 — Crocheting the Nine Sideways Graduated Tree Wedges
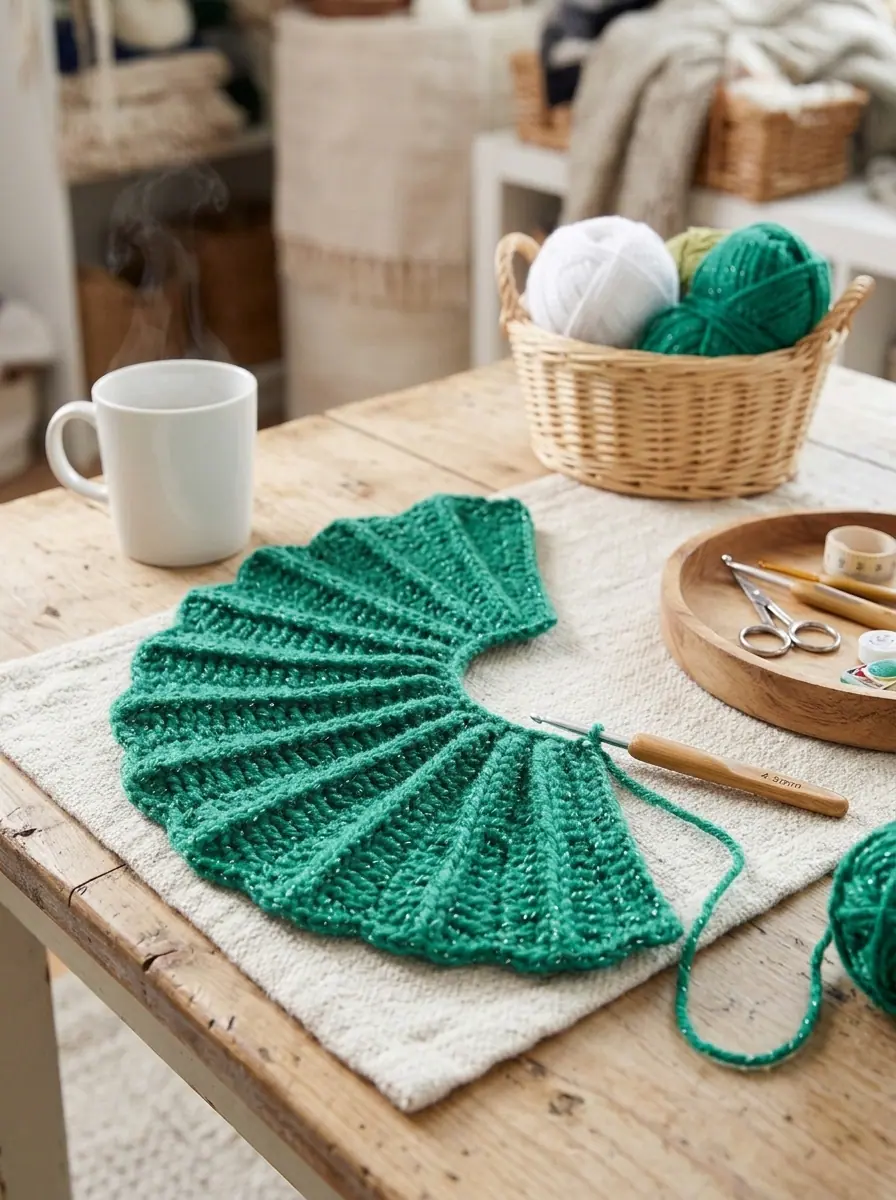
The entire tree cone is crocheted sideways in one flat pleated piece made of 9 identical two-row wedges. After Row 1 establishes the foundation heights across 36 chains, every single stitch from Row 2 onward is worked strictly into the front loop only (FLO). This leaves a neat line of unworked back loops on the Right Side at the center of every wedge, which you will later use to crochet the sculptural surface ridges.
Foundation & First Sideways Wedge (Rows 1 and 2)
With the larger 4.5 mm (U.S. 7) hook and Main Color (Glittery Christmas Emerald Green), ch 37.
- 1st Row (RS — Top-to-Bottom Expansion): Work 1 sc in 2nd ch from hook. Work 1 sc in each of next 8 ch (9 sc total at narrow top section). Work 1 hdc in each of next 9 ch. Work 1 dc in each of next 9 ch. Work 1 tr in each of next 8 ch. Work (4 tr, 1 dtr) all into the last ch to flare the bottom corner. Turn. (40 sts total)
- Important Loop Rule: From this point forward, work all stitches into the front loop only (FLO) of each stitch across every row.
- 2nd Row (Bottom-to-Top Return): Working in FLO throughout, work Beg Tr5tog over the first 5 sts (ch 5 counts as the first leg, then work 4 incomplete tr across the next 4 sts and draw through all 5 loops — counts as 1 st). Work 1 tr in each of next 8 tr. Work 1 dc in each of next 9 dc. Work 1 hdc in each of next 9 hdc. Work 1 sc in each of next 5 sc. Work 1 sl st in each of next 4 sc to taper cleanly at the tree peak. Turn. (36 sts — One Wedge made)
Repeating for Nine Total Wedges (Rows 3 through 18)
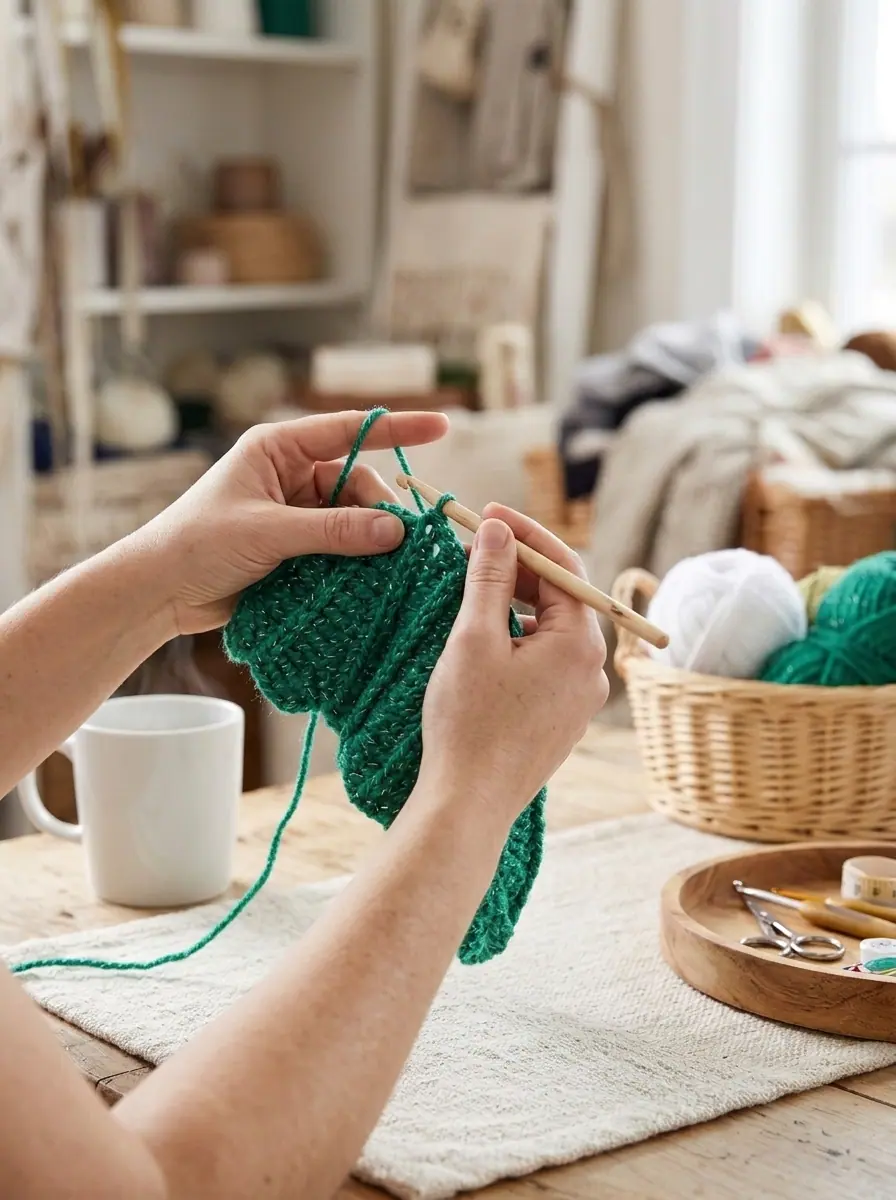
Continue working strictly in the front loop only (FLO) across all stitches:
- 3rd Row (RS): Ch 1. Working in FLO, work 1 sc in each of next 9 sts (the 4 sl st and 5 sc from the previous row). Work 1 hdc in each of next 9 hdc. Work 1 dc in each of next 9 dc. Work 1 tr in each of next 8 tr. Work (4 tr, 1 dtr) all in the last st (top of Beg Tr5tog). Turn. (40 sts)
- 4th Row: Work exactly as 2nd Row (Beg Tr5tog across first 5 sts, 1 tr in next 8 tr, 1 dc in next 9 dc, 1 hdc in next 9 hdc, 1 sc in next 5 sc, 1 sl st in next 4 sc). Turn. (36 sts — Two Wedges completed)
- Rows 5 through 18: Repeat the last 2 rows (3rd Row and 4th Row) 7 times more until you have completed 9 full Wedges in total (18 rows). Fasten off at the end of the 9th Wedge.
Part 2 — Surface Back-Loop Ridges & Cone Seam Assembly
Before seaming the flat fan of nine wedges into a three-dimensional cone, you will add a raised vertical ridge down the center of each wedge on the Right Side. Look closely at the Right Side of your fabric: at the spine of each wedge (created where Row 2, Row 4, Row 6, etc. worked into the front loops of the odd rows), a crisp line of unworked back loops sits exposed from the wide bottom hem all the way up to the narrow peak.
Crocheting the Nine Vertical Surface Ridges & Seaming the Tree
- Working Each Ridge: With the Right Side (RS) facing you and beginning at the bottom (wider flared edge) of the Tree, join Main Color (Glittery Christmas Emerald Green) with a sl st to the first remaining unworked back loop at the center spine of the first Wedge. Ch 1. Work 1 sc in each remaining back loop all the way up to the top end of the row. Fasten off, leaving a 6-inch tail at the top peak.
- Repeat Across All Wedges: Repeat this exact surface ridge instruction up the exposed back-loop spine of each of the remaining 8 Wedges around (9 raised vertical single-crochet ridges completed).
- Side Seam Join: Fold the Tree so the foundation chain edge (Row 1) meets the final row of the 9th Wedge (Row 18). Using your yarn needle and Main Color yarn, whipstitch or mattress-stitch the foundation chain and the last row of the Tree neatly together from bottom hem to top peak so the ribbing remains continuous around the cylinder.
- Cinching the Tree Apex: Thread a strong 12-inch strand of Main Color yarn onto your yarn needle at the narrow top opening of the Tree. Weave the needle in and out through the top stitches around the circumference, making sure to catch the final stitch of each of the 9 Ridge rows. Pull firmly to cinch the top opening completely closed and knot securely. Weave in all loose ends inside the cone.
Part 3 — Crocheting & Mounting the Five-Point Star Crown
To crown the cinched tip of the tree, switch to your smaller 3.75 mm (U.S. F/5) crochet hook and Contrast A (Twinkly Snow White) yarn. Using a smaller hook keeps the five picot-style star arms stiff enough to stand upright without stiffening spray.
Star Topper (Rounds 1 and 2) & Final Attachment
With the smaller 3.75 mm hook and Contrast A (Twinkly Snow White), ch 4.
- 1st Round (Center Hub): Work 9 dc into the 4th ch from hook (the skipped ch-3 counts as the first dc). Join with a sl st to the top of the beginning ch-3. (10 dc around the center ring)
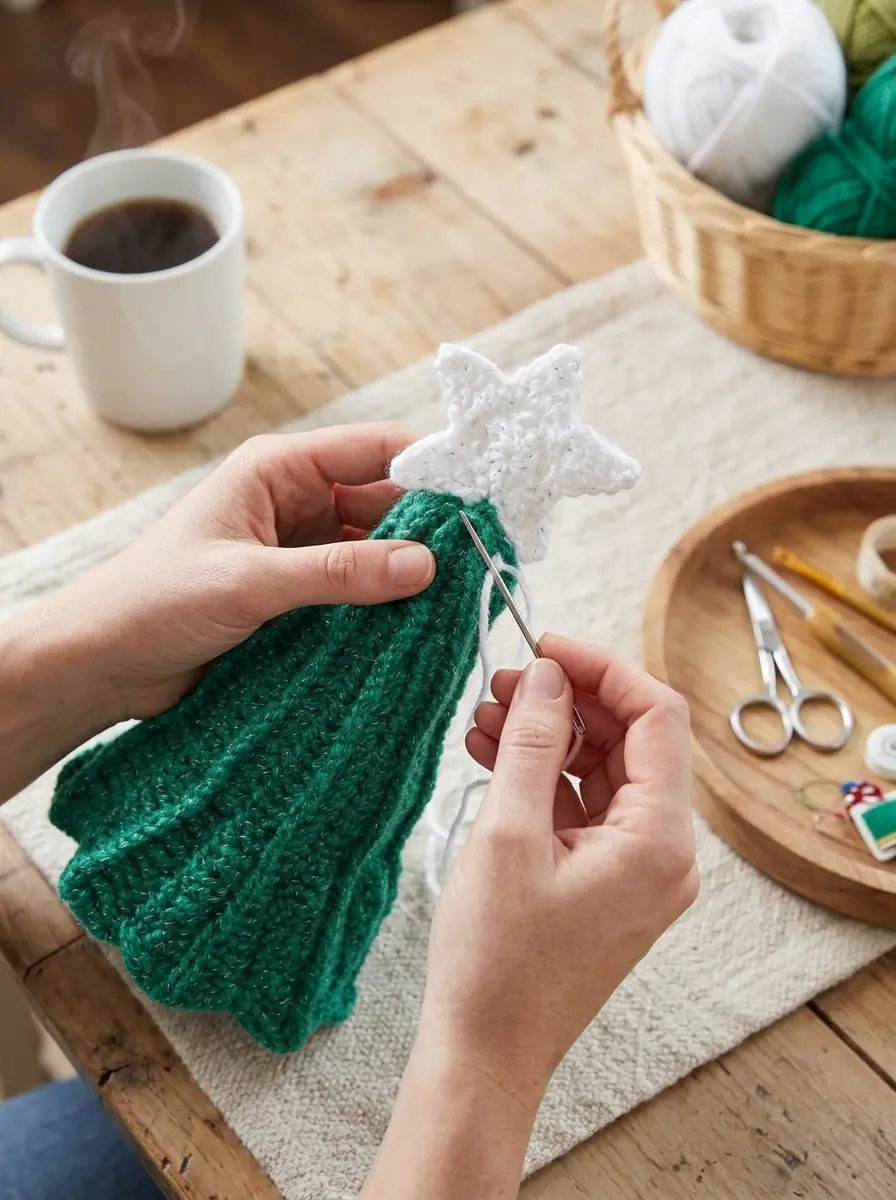
- 2nd Round (Five Star Points): [Ch 5. Work 1 sc in 2nd ch from hook, 1 hdc in next ch, 1 dc in next ch, and 1 tr in next ch (one tapered star point formed along the ch-5). Skip the next dc on the center ring, then work 1 sl st in the next dc to anchor the point] 5 times around the 10-dc ring until all 5 Star Points are complete. Fasten off, leaving a 10-inch (25 cm) sewing tail.
- Mounting the Star Crown: Position the base of the Twinkly Snow White Star directly atop the cinched peak of the Glittery Christmas Emerald Green Tree. Using your yarn needle and the long Contrast A tail, sew securely through the base stitches of the two lower star arms and the center hub into the top crown of the Tree so the star stands vertically like a classic tree topper. Weave in the remaining tail securely.
Official Yarn Care & Holiday Table Maintenance
Because festive bottle toppers sit right at the center of holiday dining tables, keeping the pleated ridges crisp and spotless is simple when you follow official acrylic yarn care guidelines:
- Washing: Hand wash gently or machine wash cold on a delicate cycle (30°C / 86°F max) inside a mesh laundry bag using mild liquid detergent.
- Drying: Gently squeeze out excess moisture in a clean towel without wringing. Stand the damp tree topper upright over an empty glass bottle or rolled towel cone to air dry so the 9 vertical ridges and five-point star dry in their exact three-dimensional shape.
- Ironing & Pressing: Do not iron or press. Direct heat from an iron will flatten the raised front-loop/back-loop ridges and permanently damage acrylic and metallic-flecked fibers.
- Seasonal Storage: Nest multiple bottle toppers lightly over tissue-paper cones inside a lidded storage bin so the star crowns stay upright year after year.
✨ PATTERN HELP & TIPS ✨
Got Questions?
Frequently Asked Questions
Click on any question below to reveal the answer
Why is this Christmas tree bottle topper crocheted sideways instead of in rounds from the top down?
Working sideways in graduated stitch heights (from slip stitches and single crochets at the peak down to trebles and double trebles at the hem) allows all rows to run vertically. Combined with front-loop-only stitching and surface single crochet ridges, those vertical lines act like architectural ribs that hold the cone upright over a bottle without needing wire or plastic canvas inserts.
How do I work the Beginning Treble 5 Together (Beg Tr5tog) cleanly at the start of every even row?
At the start of Row 2 (and every even-numbered row), Row 1 has just flared out by placing 4 trebles and 1 double treble into the final stitch. Beginning Row 2 with a Ch 5 followed by 4 incomplete trebles drawn together across the next 4 stitches immediately gathers that 5-stitch corner flare back down to 1 stitch, creating a scalloped pine-bough wave along the bottom edge of each wedge.
What bottle sizes fit underneath an 18-inch circumference x 10-inch tall topper?
The 10-inch height and 18-inch flared lower skirt are proportioned to fit standard 750 ml wine bottles, sparkling apple cider bottles, champagne bottles, and tall gourmet olive oil or maple syrup bottles, leaving just the lower glass base visible for stability on the table.
Can I use the leftover yarn from one skein to make a matching second bottle topper?
Yes! A single 3.5-ounce (100 g / 240 yd) ball of Medium #4 worsted yarn contains enough yardage to complete two full 9-wedge Tree bodies, and you only need 10 yards (9 m) of contrast yarn per Star topper—making this one of the most economical last-minute holiday hostess gifts you can crochet.
PREVIOUS PATTERN
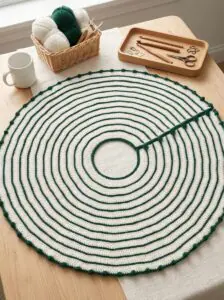
Circular Pinstripe Crochet Christmas Tree Skirt With Bobble Trim
NEXT PATTERN
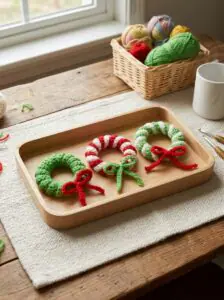
Twisted Double-Coil Spiral Crochet Christmas Wreath Ornament With Bow
✨ KEEP CROCHETING ✨
You May Also Love
LEAVE A COMMENT
Have a question about a stitch or want to share how your project turned out? Drop a comment below — I read and reply to every maker!