
 Crochet Hats, Scarves & Wearables
*This post may contain affiliate links to support the cost of this blog. At no cost to you, I may make a small commission if you purchase through these links. Read our Privacy Policy HERE
When chilly winds arrive and you want warmth around your ears without flattening your hair under a full winter hat, a plush twisted ear-warmer is the ultimate cold-weather accessory. This Cozy Twisted Crochet Headband Pattern works up as a simple flat ribbed rectangle using super bulky yarn and a single one-row repeat—then transforms into a boutique-style faux-mobius twist at the very end using a clever four-layer fold and a single whipstitch seam.
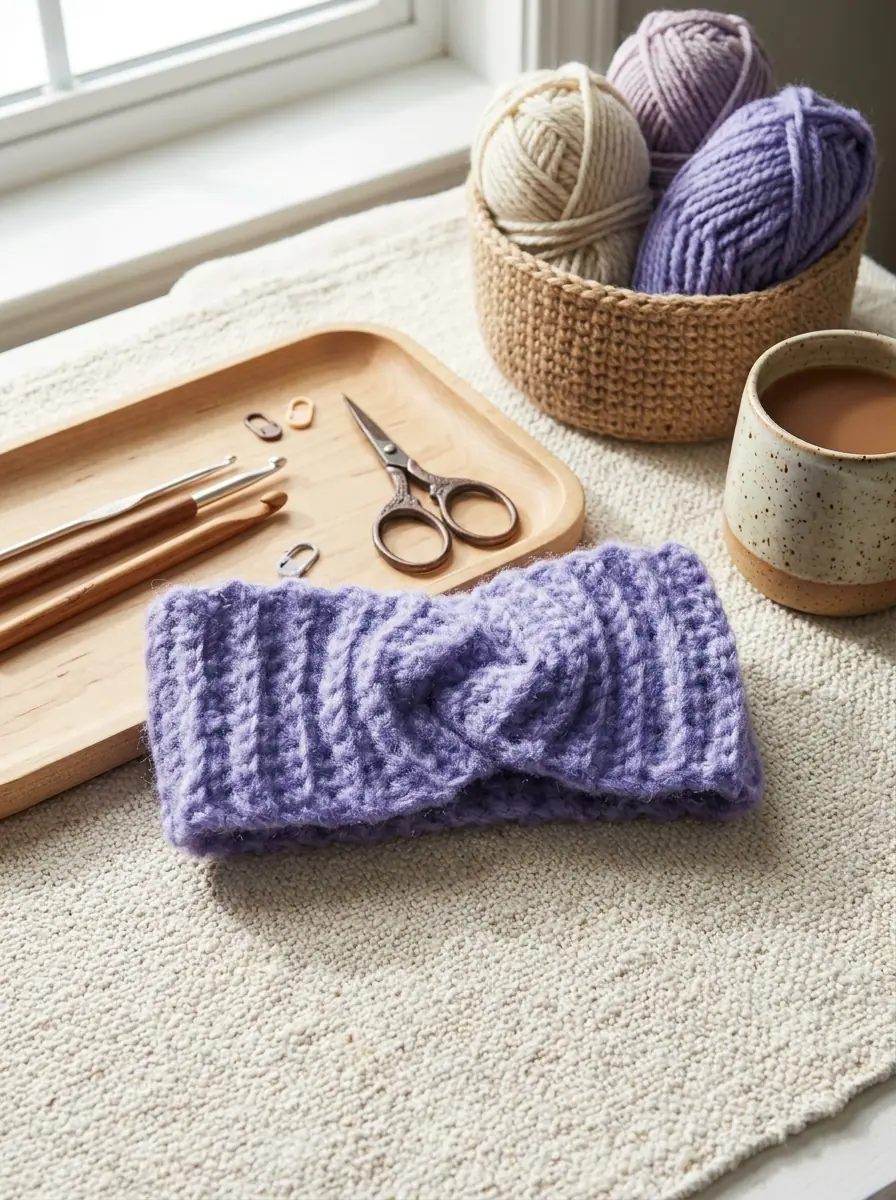
Because every row after the foundation chain is worked in single crochet through the back loops only, the fabric naturally forms deep vertical knit-look ribs with generous horizontal stretch. Even if you are brand new to crochet, you only need to master chaining, single crochet, and identifying the back loop of a stitch to finish this headband in a single afternoon.
Pattern Overview
- Skill Level: Beginner (Worked flat in turned back-loop-only single crochet rows)
- Finished Size: One size to fit Adult — Approx. 4¾” [12 cm] wide x 18″ [45.5 cm] flat strip length before seaming
- Yarn Weight: Super Bulky #6
- Recommended Hook: Size U.S. K/10½ (6.5 mm) crochet hook, or size needed to obtain gauge
- Gauge: 11 single crochet (sc) and 13 rows = 4″ [10 cm]
- Pattern Yield: 1 ball of Patons® Norse™ makes 1 adult-size Cozy Twisted Crochet Headband with yarn to spare.
Table of Contents
- Yarn and Materials Needed
- Crochet Stitches and Abbreviations (US Terms)
- Step 1: Crocheting the Ribbed Headband Strip
- Frequently Asked Questions
- Step 2: Folding and Interlocking the Ends (The “C” Fold)
- Step 3: Whipstitching the 4-Layer Seam and Finishing
- Official Yarn Care Instructions
- Save This Crochet Pattern to Pinterest
Yarn and Materials Needed
Super bulky roving-style yarn with a brushed halo gives this headband cloud-like softness against your forehead and ears while keeping the 13-stitch rows moving quickly on a 6.5 mm hook. Because the stitch count stays at 13 single crochets on every single row, one 100-gram ball provides more than enough yardage to complete the headband and seam the twist.
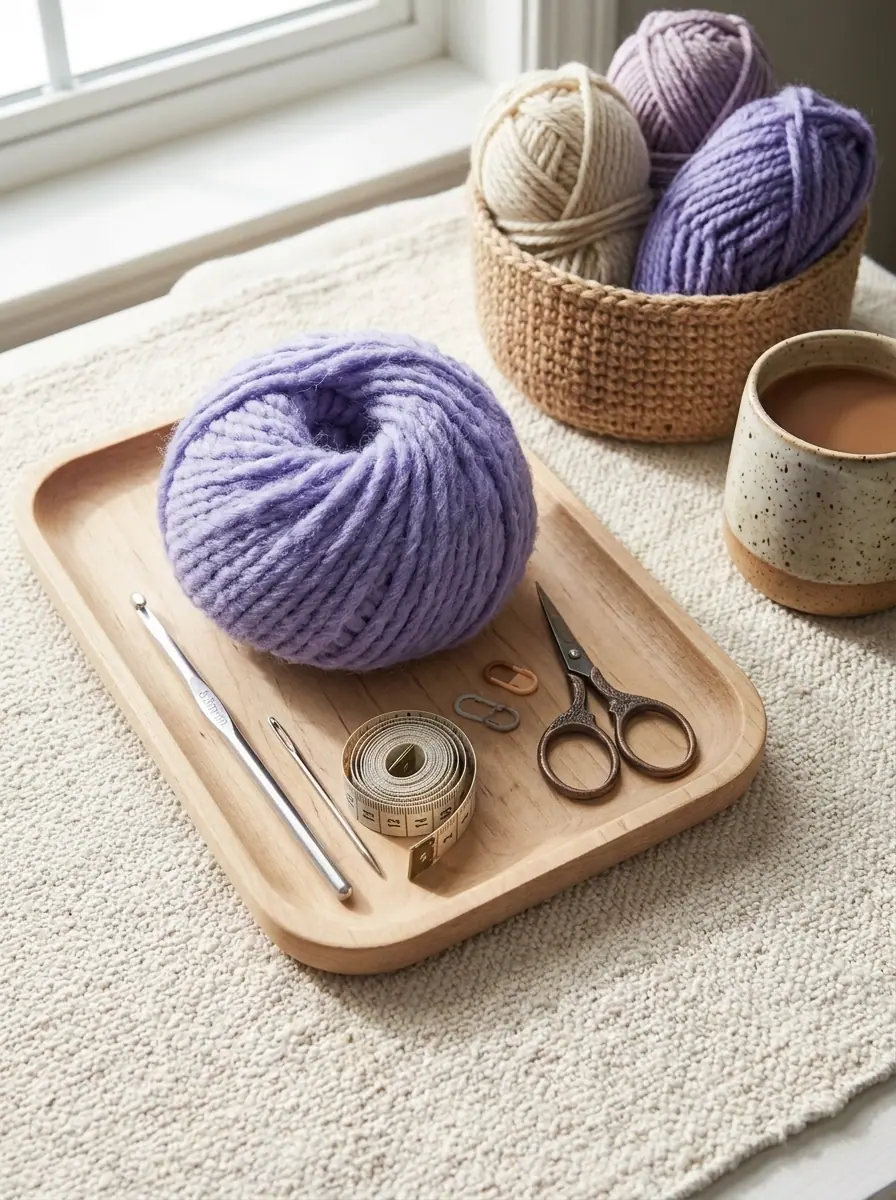
Yarn: Patons® Norse™ (3.5 oz / 100 g; 211 yds / 193 m; Super Bulky #6) — Periwinkle (91016) — 1 ball.
Crochet Hook: Size U.S. K/10½ (6.5 mm) Susan Bates® Silvalume® crochet hook, or size needed to obtain gauge.
Notions: Blunt-tipped yarn needle (for whipstitching the 4-layer twisted seam), soft measuring tape, and small crafting scissors.
Crochet Stitches and Abbreviations (US Terms)
This pattern is written in standard US crochet terminology. Review the abbreviations below before casting on your starting chain:
| Abbreviation | Meaning & Stitch Definition |
|---|---|
| Approx / Beg / Cont | Approximate(ly) / Beginning / Continue |
| Ch | Chain(s) |
| Pat / Rep | Pattern / Repeat |
| RS / WS | Right side / Wrong side |
| Sc | Single crochet |
| St(s) / Tog | Stitch(es) / Together |
| Back Loops Only | Insert hook under only the back loop (the loop farthest away from you at the top V of the stitch) rather than under both top loops. |
✨ FREE CROCHET EBOOK ✨
Master Gauge & Blocking
Get Our Free Crochet Ebook!
Download The Ultimate Stitch, Gauge & Blocking Guide — packed with printable stitch charts, tension secrets, and step-by-step tutorials delivered straight to your inbox.
🔒 100% Free Instant PDF Download • Unsubscribe anytime
Step 1: Crocheting the Ribbed Headband Strip
The entire body of the headband is worked flat as a long rectangle measuring approximately 4¾” [12 cm] wide by 18″ [45.5 cm] long. You will work the foundation row across your starting chain, and then repeat a single back-loop-only row until your strip reaches full length.
Beginner Tip for Straight Edges: Keep your stitch count at exactly 13 single crochets on every row. The turning
Ch 1 at the start of each row does not count as a stitch, so always insert your hook into the very first stitch right at the base of the turning chain, and do not forget to work your 13th stitch into the back loop of the final stitch at the far end of the row.
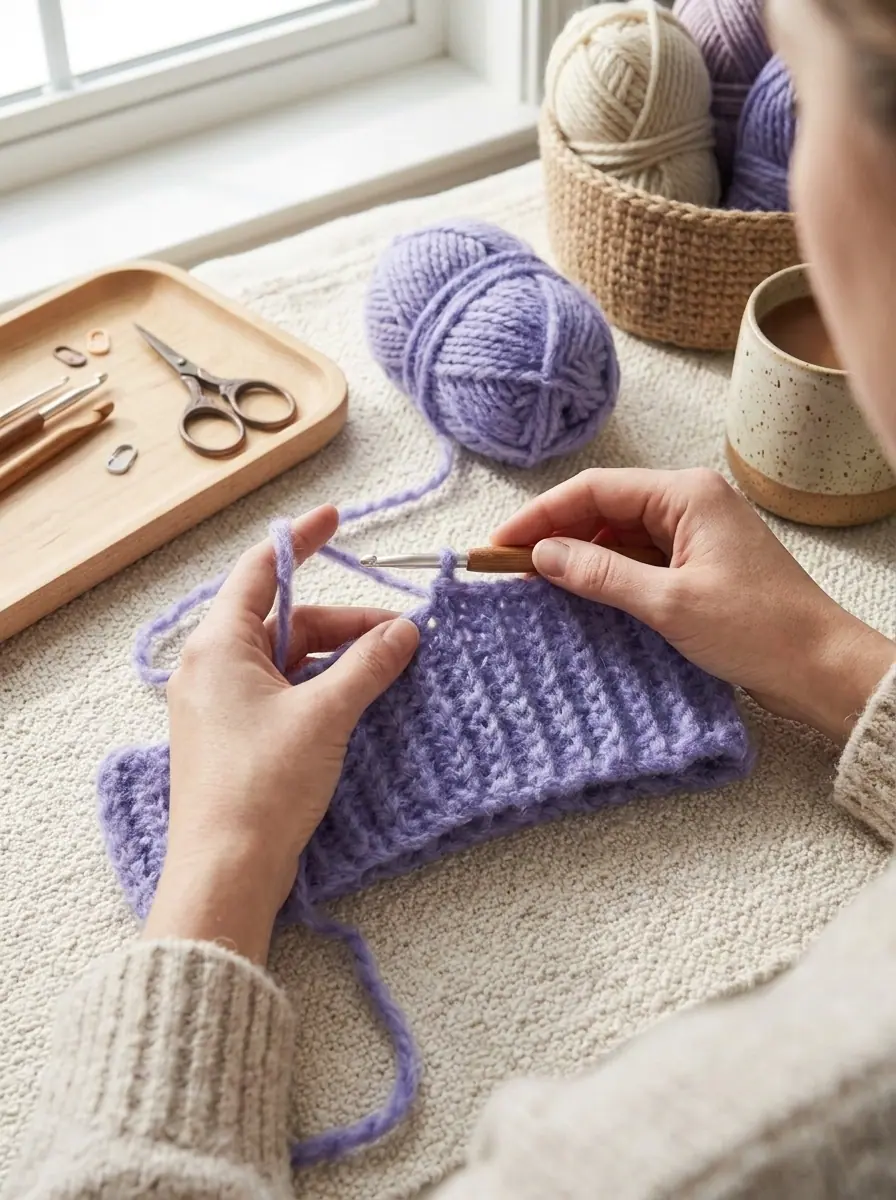
Starting Chain: Chain (Ch) 14.
Foundation row: (Right Side — RS). Work 1 single crochet (sc) in 2nd ch from hook. Work 1 sc in each ch to end of chain. Turn. (13 sc)
1st row (Rib Pattern Row): Ch 1. Working in back loops only, 1 sc in each sc to end of row. Turn. (13 sc)
Continue Rib Pattern: Repeat (Rep) last row (1st row) for Rib Pattern (Pat) until work from beginning (beg) measures 18″ [45.5 cm], ending on a Wrong Side (WS) row. Fasten off, leaving a long yarn tail (approx. 18″ to 20″) for seaming the ends together.
✨ PATTERN HELP & TIPS ✨
Got Questions?
Frequently Asked Questions
Click on any question below to reveal the answer
How do I adjust the headband circumference for kids or larger sizes?
Because the strip is worked flat in rows of back-loop single crochet, simply work fewer or more rows until the unstretched strip measures 1.5 to 2 inches less than the wearer’s head circumference.
Why does my twist seam look bulky on the inside?
Make sure all four folded C-shape layers are lined up flush along one raw edge before whipstitching, and use a single strand of yarn with firm, even stitches through all four thicknesses.
Which yarn keeps ears warmest without itching?
A soft wool-acrylic roving blend or anti-pilling bulky acrylic gives stretchy memory and warmth against the forehead without scratchiness.
Would you like to save this pattern?
Enter your email below and we will send this free crochet pattern directly to your inbox so you never lose it!
Your privacy is protected. Unsubscribe with 1-click anytime.
Step 2: Folding and Interlocking the Ends (The “C” Fold)
You do not twist the strip while crocheting—instead, the signature front knot is created entirely by how you fold and interlock the two short edges before sewing.
- Lay Flat: Lay your finished 18″ [45.5 cm] Headband strip flat on your work surface with the Right Side (RS) facing up.
- Bring Ends to Center: Bring up each short edge so they meet in the middle.
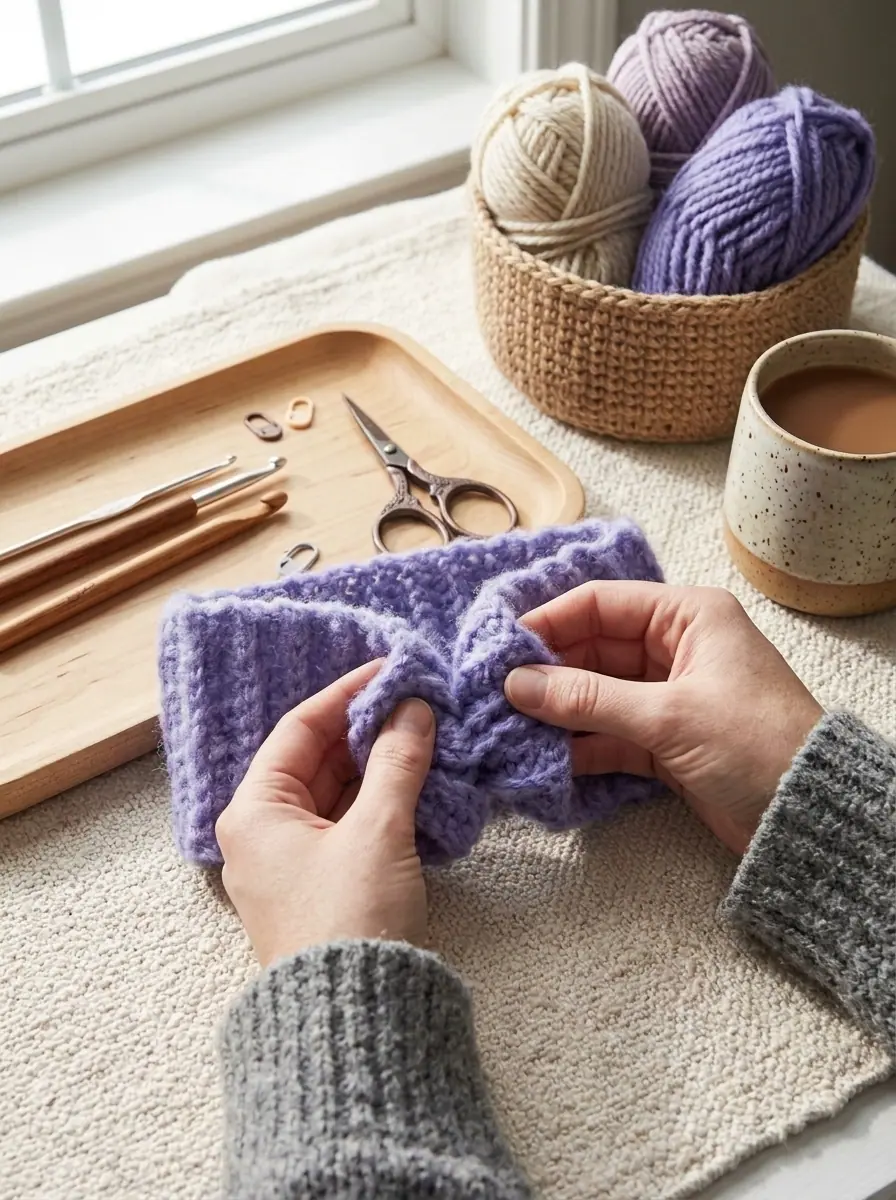
- Form Interlocking “C” Shapes: Fold the first short edge in half widthwise to form a “C” shape, and fold the second short edge in half widthwise to form a backwards “C” shape.
- Interlock All 4 Layers: Slide the two folded “C” ends into each other so the four layers alternate like a sandwich (Layer 1 from Left End, Layer 2 from Right End, Layer 3 from Left End, Layer 4 from Right End), lining up all four raw edges evenly across the top.
Step 3: Whipstitching the 4-Layer Seam and Finishing
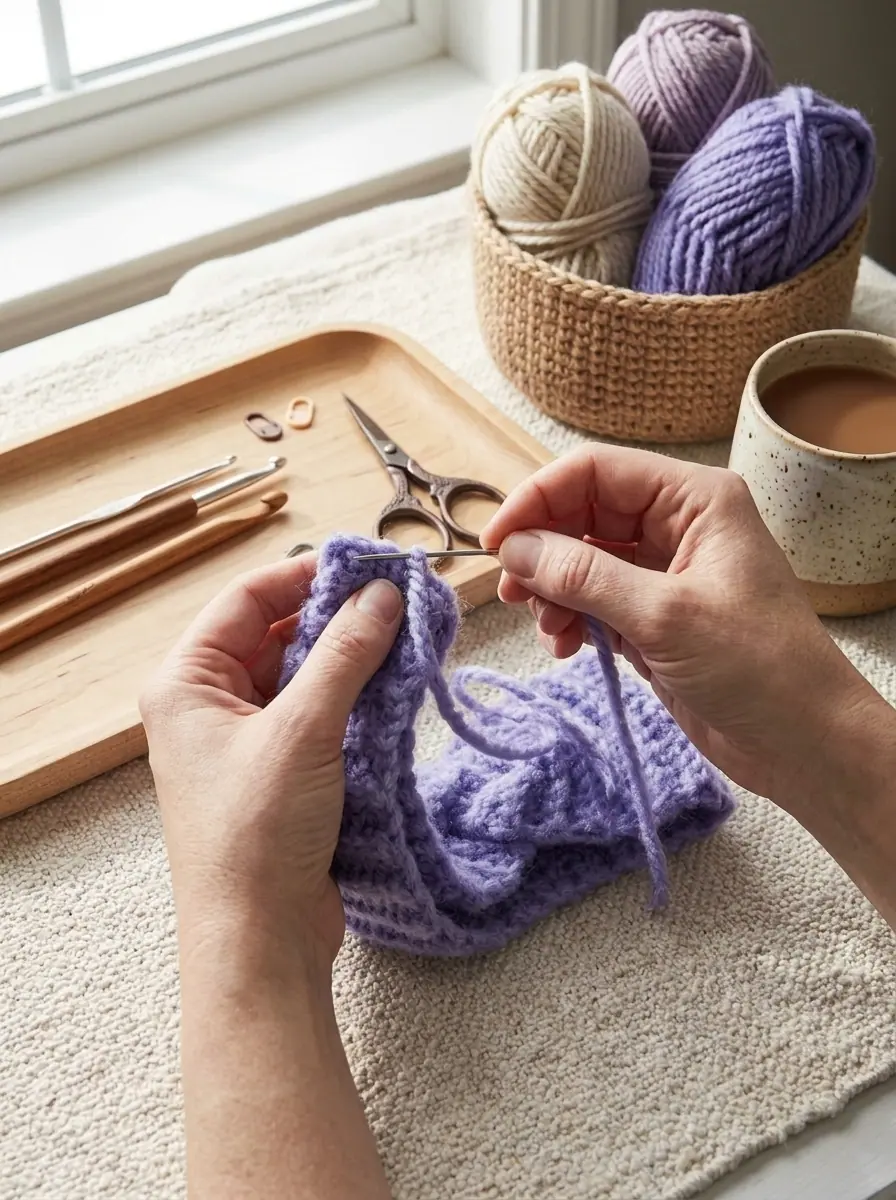
Once all four folded layers are lined up evenly, thread your long yarn tail onto your blunt yarn needle and sew the ends together:
- Whipstitch Through All 4 Layers: Insert your yarn needle straight through all four thicknesses from front to back across the entire 2⅜” folded width. Make sure every stitch catches both the outer and inner folded layers so the center twist cannot pull apart when stretched.
- Fasten Off & Weave In Ends: Pull the seam snug, knot securely on the inside of the seam, and weave your yarn tails neatly through the inside ribs.
- Turn Right-Side Out: Flip the headband right-side out so the raw whipstitched seam disappears completely inside the sculpted front twist!
Official Yarn Care Instructions
To keep the lofty brushed halo of Patons® Norse™ soft and pill-free season after season, follow the official Yarnspirations care instructions:
- Machine Wash Cold: Machine wash in cold water on the Gentle Cycle.
- Lay Flat to Dry: Reshape the center twist gently with your hands and lay flat to dry (do not tumble dry).
- No Bleach or Ironing: Do not bleach and do not iron or press.
Save This Crochet Pattern to Pinterest
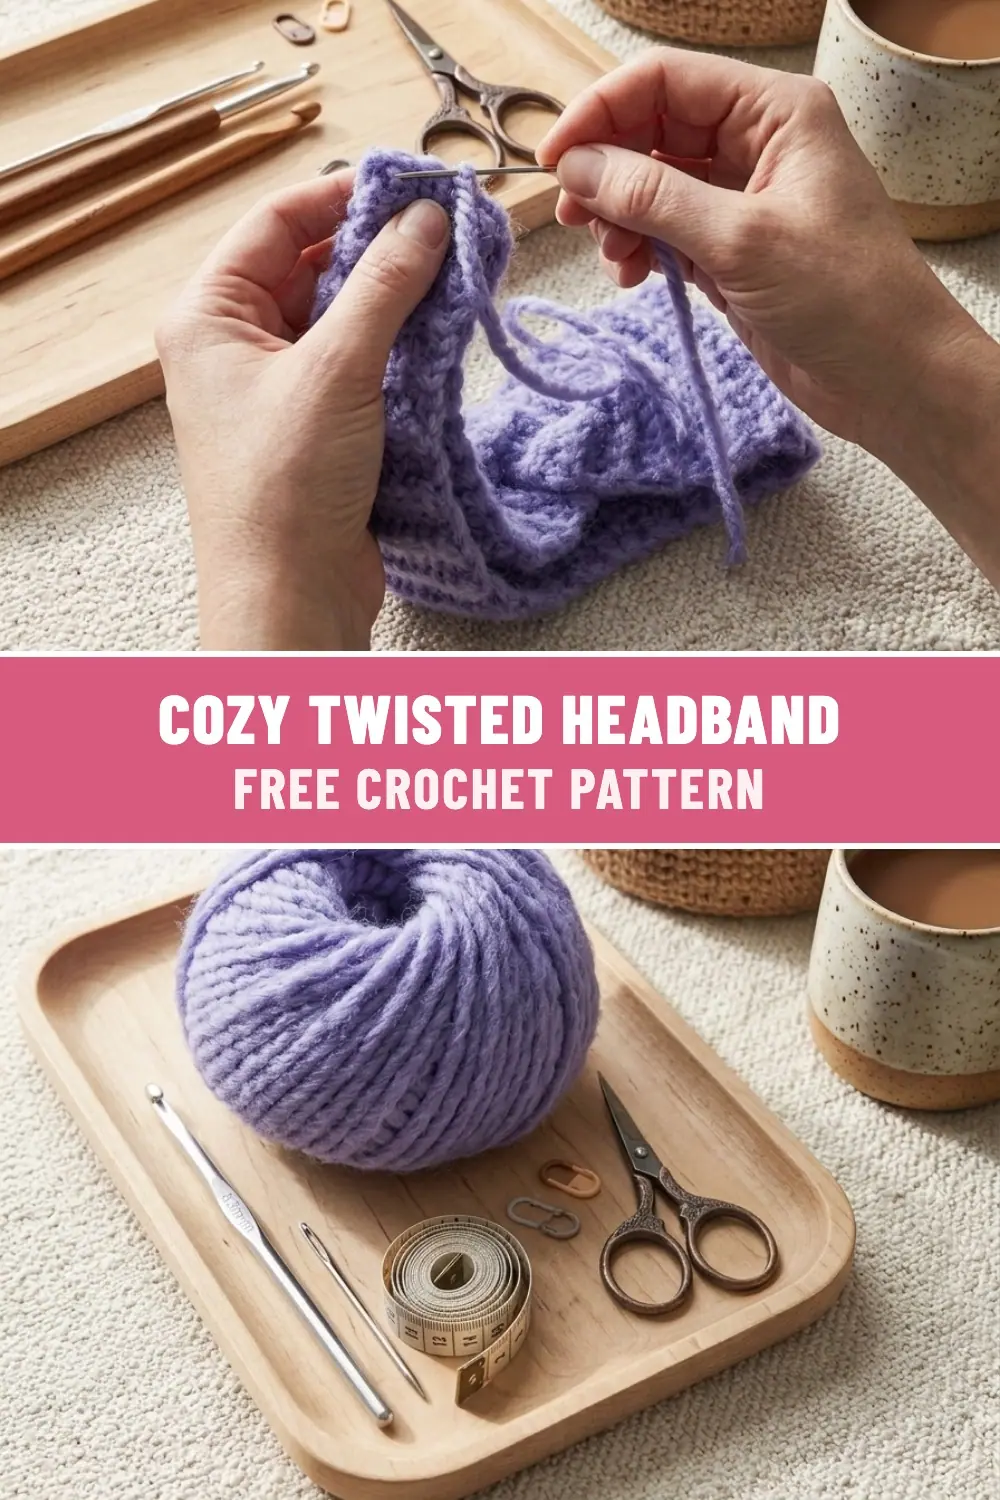
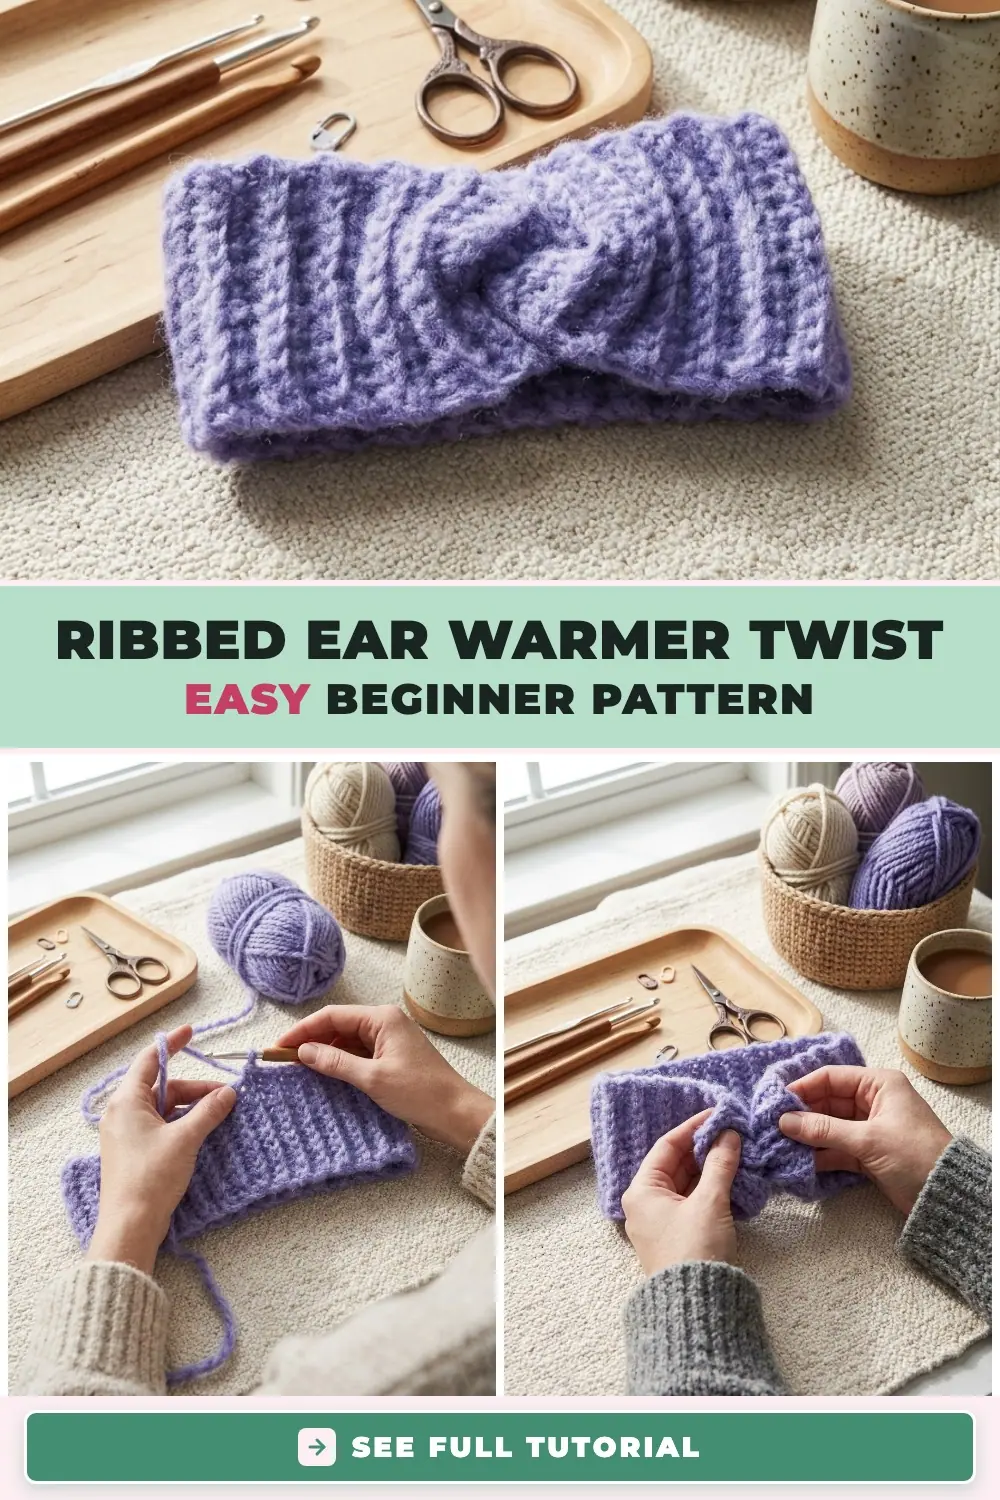
Want to make this cozy ear-warmer for winter gifts or market prep? Pin one of the collages below to your crochet board on Pinterest so you always have this free pattern handy!
PREVIOUS PATTERN
Ribbed Rustic Autumn Crochet Pumpkins With Cinnamon-Stick Stems
NEXT PATTERN
Sturdy Chunky-Cord Crochet Storage Basket With Built-In Handles
✨ KEEP CROCHETING ✨
You May Also Love
LEAVE A COMMENT
Have a question about a stitch or want to share how your project turned out? Drop a comment below — I read and reply to every maker!