
 Seasonal & Holiday Crochet
*This post may contain affiliate links to support the cost of this blog. At no cost to you, I may make a small commission if you purchase through these links. Read our Privacy Policy HERE
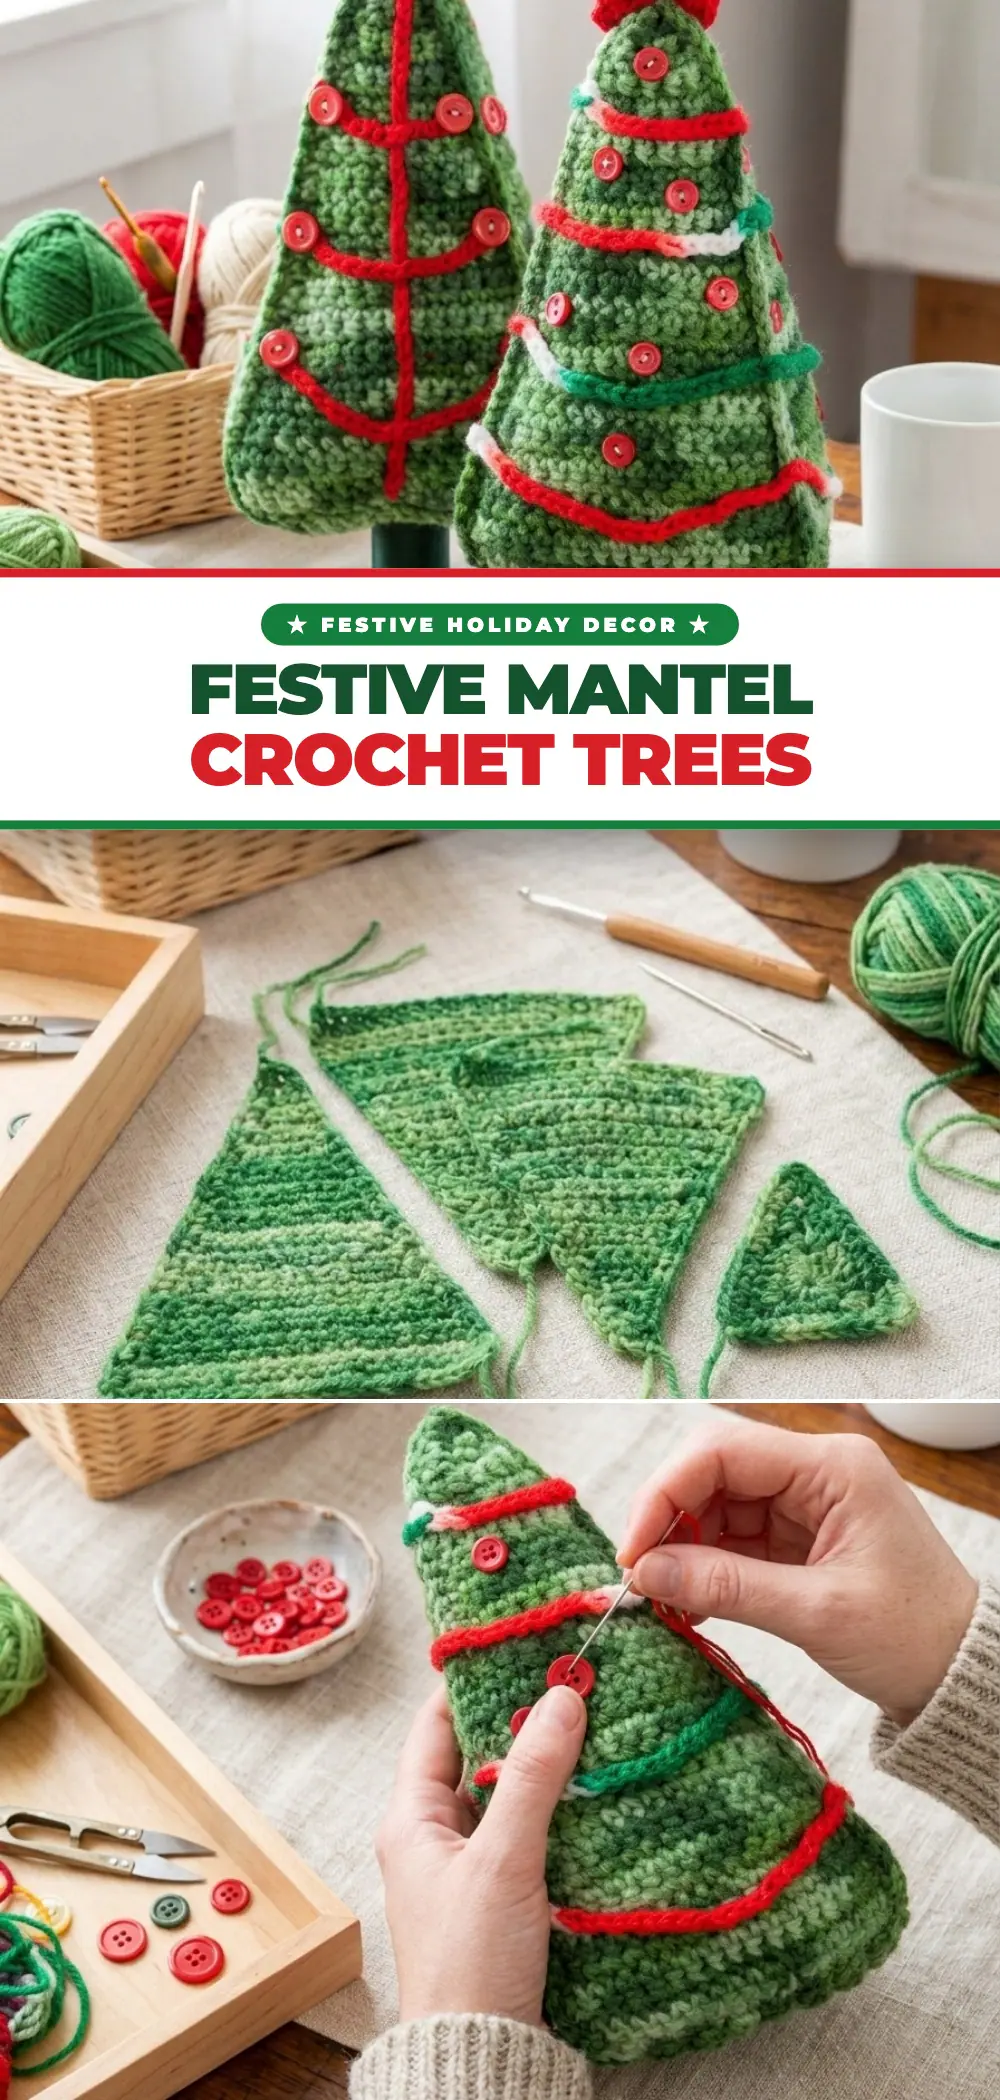
Every November I start hunting for crochet Christmas ideas that feel handmade and a little nostalgic, not mass-produced. The Red Heart Crochet Christmas Tree Duo hit that sweet spot the moment I saw it: two plump, three-sided trees worked in variegated green single crochet, one crowned with a bright red star and the other with a button-centered circle, each standing on a real wooden thread spool. They measure 8½ inches tall with a 5½-inch base, so they fit on a mantel, a windowsill, a bookshelf, or even the corner of your desk at work.
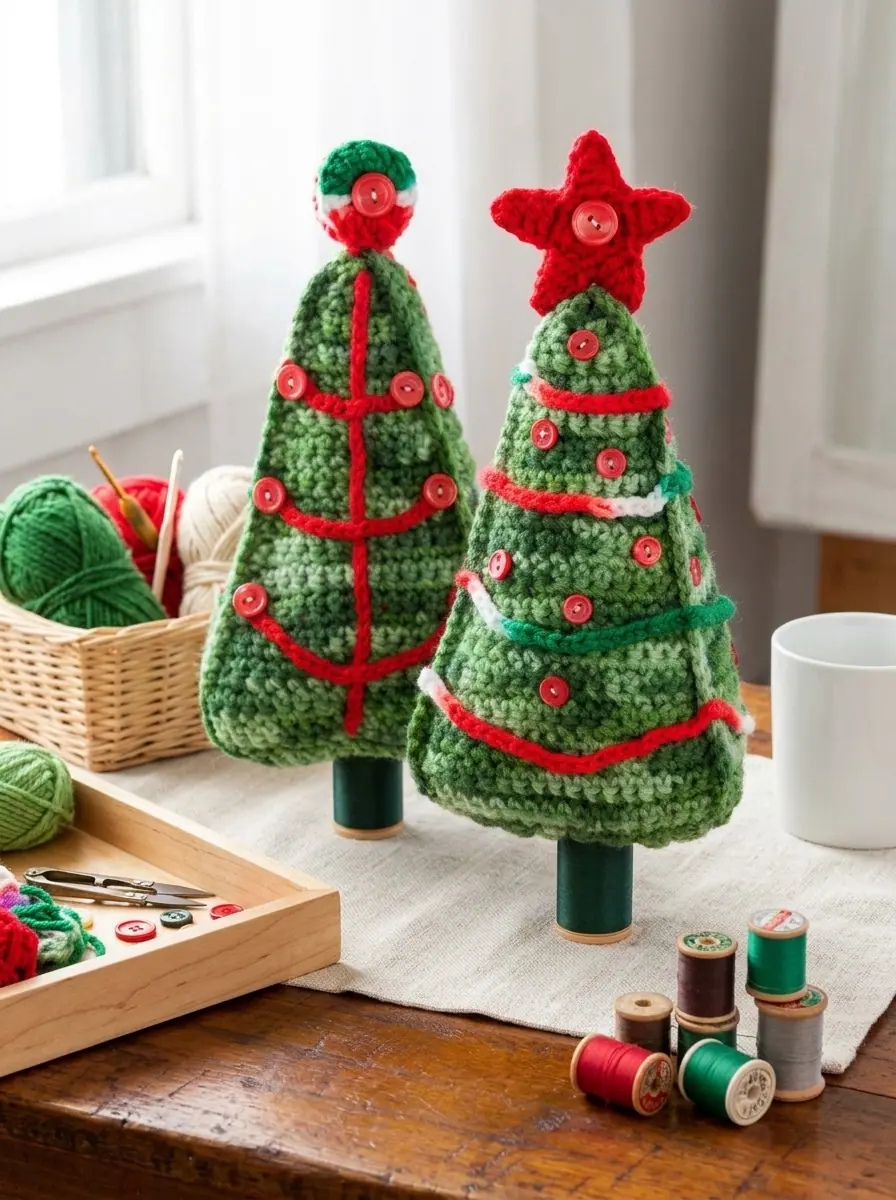
What I love most about this design is how much charm comes from very simple building blocks. Each tree is just three identical triangles and one smaller triangle for the bottom, all worked flat in rows of single crochet. The personality comes afterwards: crocheted chain garlands, rows of little red buttons, and a thread spool trunk glued onto a wooden dowel. If you have a button jar and a few old spools sitting in a drawer, this is the project that finally gives them a job.
Pattern Overview
- Pattern Name: Red Heart Crochet Christmas Tree Duo, designed by Sharon Mann (Design Ref: RHC0518-022348M)
- Skill Level: Intermediate (simple stitches, but careful seaming and finishing)
- Finished Size: Each tree is 8½” [21.5 cm] tall; the base is 5½” [14 cm] across
- Yarn: Red Heart Super Saver, Medium Weight #4: 1 skein each of Green Tones (A), Mistletoe (B) and Cherry Red (C)
- Hook: 5 mm [U.S. H-8]
- Gauge: 16 sts and 16 rows in single crochet = 4″ [10 cm]
- Stitches Used: chain, slip stitch, single crochet, half double crochet, double crochet
Table of Contents
Why These Trees Belong on Your List of Crochet Christmas Ideas
Holiday decor projects often fall into two camps: tiny ornaments that disappear on a big tree, or ambitious blankets that will not be finished until February. These trees sit right in the middle. They are big enough to make a real visual statement on a shelf, yet small enough that you can crochet all the panels for one tree in a couple of evenings.
- Only one stitch for the body: every tree panel is plain single crochet with increases at the edges. Once the first panel is done, the other two practically crochet themselves.
- Two looks from one pattern: Tree 1 is the classic garland tree with a star; Tree 2 has a more graphic look, with a red center stem and branches that form a triangle on each side.
- A great stash and notion buster: one skein of each color is plenty, and the decorations use buttons, sewing thread and spools you may already own.
- They stand up on their own: because the body is stuffed and three-sided, the trees stay upright on the spool trunk instead of flopping over like a flat ornament.
Maker Tip: Variegated yarn like Green Tones can pool into stripes on narrow rows. That is part of the charm here, but if you want the three sides of a tree to look alike, start each panel at the same point in the color repeat.
Materials & Tools
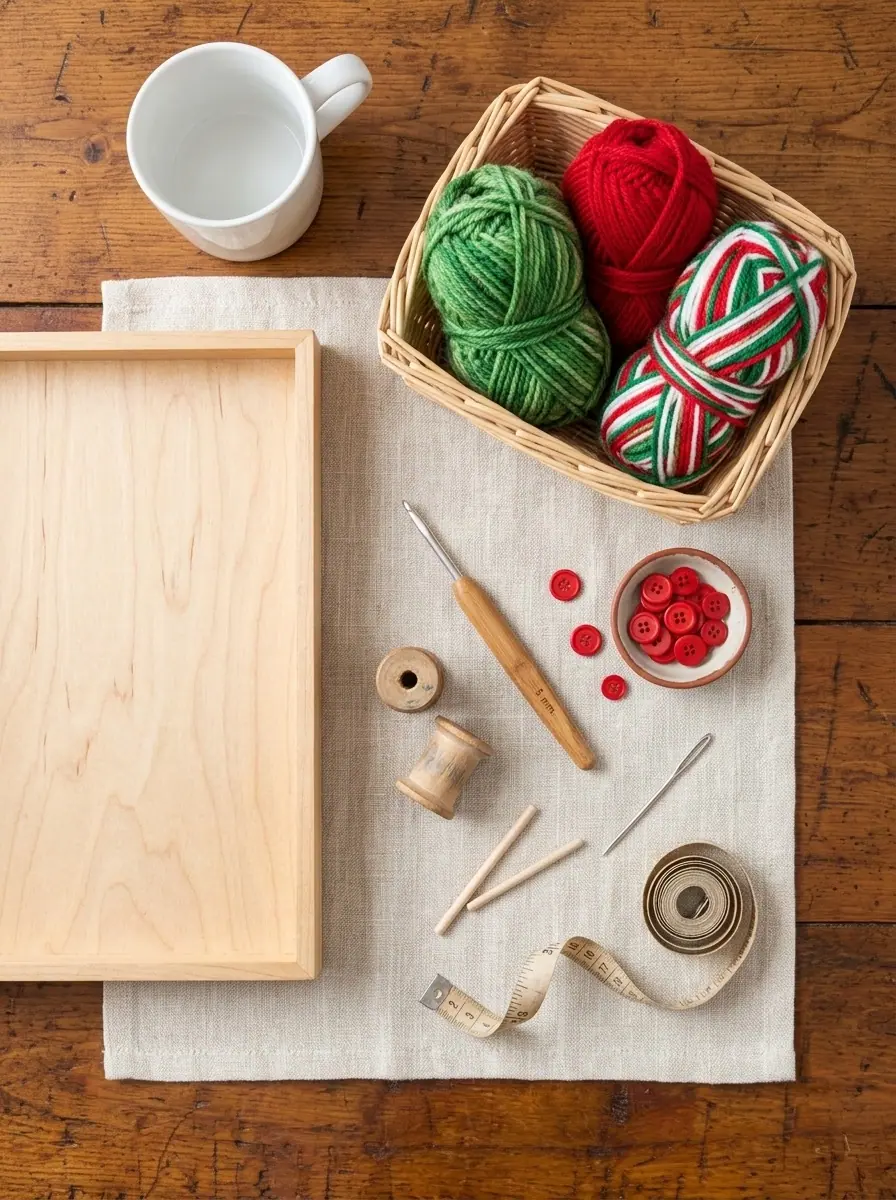
Here is everything listed in the official pattern, plus the one item it uses but does not list: a handful of fiberfill stuffing for the inside of each tree.
Yarn: Red Heart Super Saver (solid colors 7 oz/198 g, 364 yds/333 m; multicolor and print skeins 5 oz/141 g, 244 yds/223 m). You need 1 skein each of Green Tones (A), Mistletoe (B) and Cherry Red (C).
Hook and needle: 5 mm [U.S. H-8] crochet hook and a yarn needle.
Buttons for Tree 1: 21 to 24 red buttons of 7/16″ for the garlands, plus 2 red buttons of ¾” for the star.
Buttons for Tree 2: 18 red buttons of 9/16″ for the branch tips, plus 2 red buttons of ¾” for the circle.
Trunks: 2 spools of cotton machine quilting thread (the sample uses color 8975), and 2 wood dowels of ⅛” x 7½” or one pair of wooden chopsticks.
Finishing: sewing needle, red sewing thread, tacky glue and fiberfill stuffing.
Gauge, Size & Abbreviations
Gauge matters a little more than usual on a stuffed piece. If your stitches are loose, the stuffing will show through the fabric. Aim for 16 single crochet and 16 rows to 4 inches, and go down a hook size if your swatch feels open or floppy. The pattern says you can use any hook size that gives you this gauge.
| Piece | Rows or Rounds | Stitches at the Widest Point | Notes |
|---|---|---|---|
| Tree Side (make 3 per tree) | 32 rows | 17 sc | Worked from the point at the bottom of the chain upward |
| Tree Bottom (1 per tree) | 16 rows | 17 sc | Smaller triangle that closes the base |
| Star (make 2, Tree 1) | 2 rounds | 5 points | Two layers sewn together |
| Circle (make 2, Tree 2) | 2 rounds | 12 dc | Two layers sewn together |
- A, B, C: Color A (Green Tones), Color B (Mistletoe), Color C (Cherry Red)
- ch: chain
- sc: single crochet
- hdc: half double crochet
- dc: double crochet
- sl st: slip stitch
- [ ]: work the instructions inside the brackets as many times as stated
✨ FREE CROCHET EBOOK ✨
Master Gauge & Blocking
Get Our Free Crochet Ebook!
Download The Ultimate Stitch, Gauge & Blocking Guide — packed with printable stitch charts, tension secrets, and step-by-step tutorials delivered straight to your inbox.
🔒 100% Free Instant PDF Download • Unsubscribe anytime
Step-by-Step Instructions
Step 1: Crochet the Tree Sides (make 3 for each tree)
Each side starts at a single point and grows wider every fourth row, which gives the tree its gentle triangle shape. Make 3 sides for each tree, so 6 sides in total for the duo.
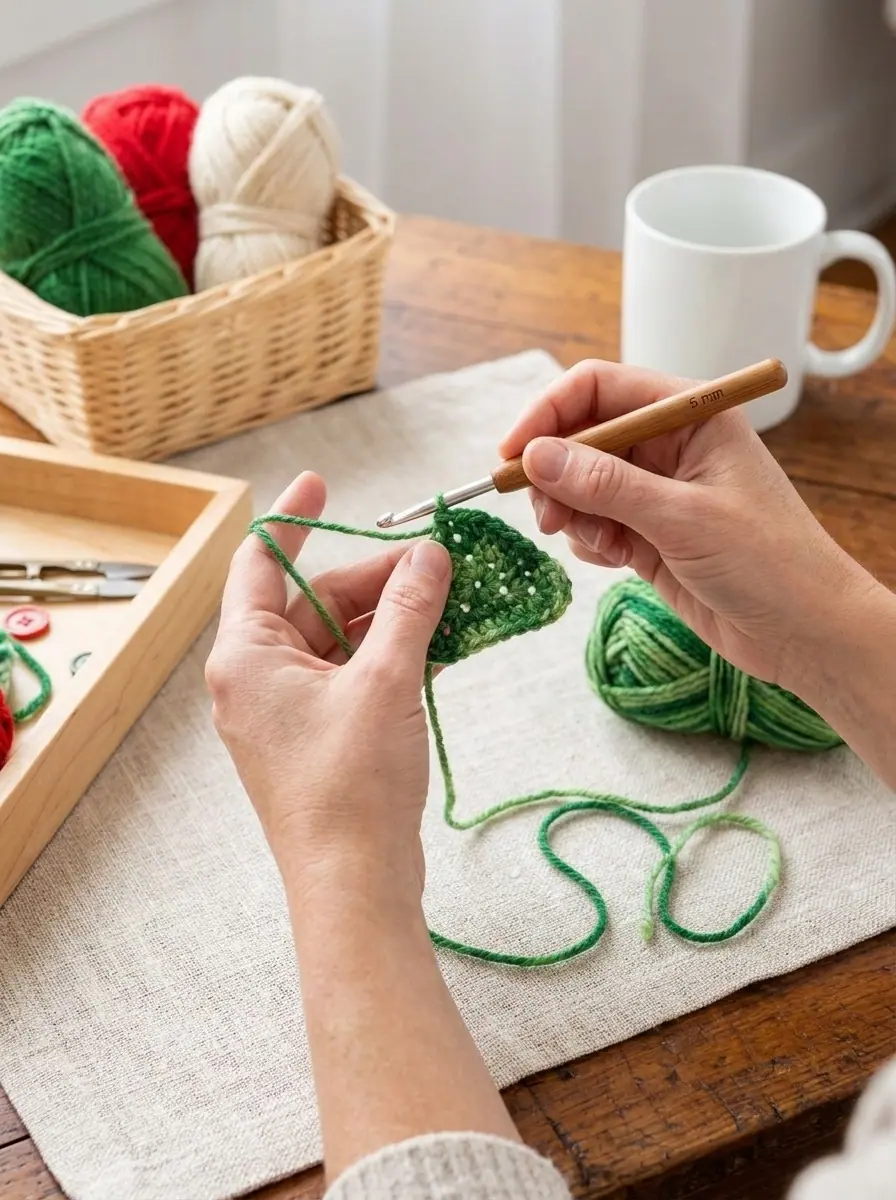
- Start: With A, ch 2.
- Row 1: 3 sc in the 2nd ch from the hook; turn. (3 sc)
- Row 2: Ch 1, sc in each st across; turn.
- Row 3: Ch 1, 2 sc in the first st, sc in the next sc, 2 sc in the last st; turn. (5 sc)
- Rows 4 to 6: Ch 1, sc in each st across; turn.
- Row 7: Ch 1, 2 sc in the first st, sc in each st across to the last st, 2 sc in the last st; turn. (7 sc)
- Rows 8 to 27: Repeat Rows 4 to 7 five more times. Each repeat adds 2 stitches, so you finish Row 27 with 17 sc.
- Rows 28 to 32: Repeat Row 4 (sc in each st across, no increases). Fasten off.
Maker Tip: Clip a stitch marker into the first stitch of every increase row. When you count your panel later, the markers show at a glance whether you did all five repeats.
Step 2: Crochet the Tree Bottom (1 for each tree)
The bottom is a smaller triangle that increases on every other row instead of every fourth row, so it reaches the same 17 stitches in only 16 rows.
- Start: With A, ch 2.
- Row 1: 3 sc in the 2nd ch from the hook; turn. (3 sc)
- Row 2: Ch 1, sc in each st across; turn.
- Row 3: Ch 1, 2 sc in the first st, sc in each st across to the last st, 2 sc in the last st; turn. (5 sc)
- Row 4: Ch 1, sc in each st across; turn.
- Rows 5 to 16: Repeat Rows 3 and 4 six times. You end with 17 sc. Fasten off, leaving a long tail for sewing.
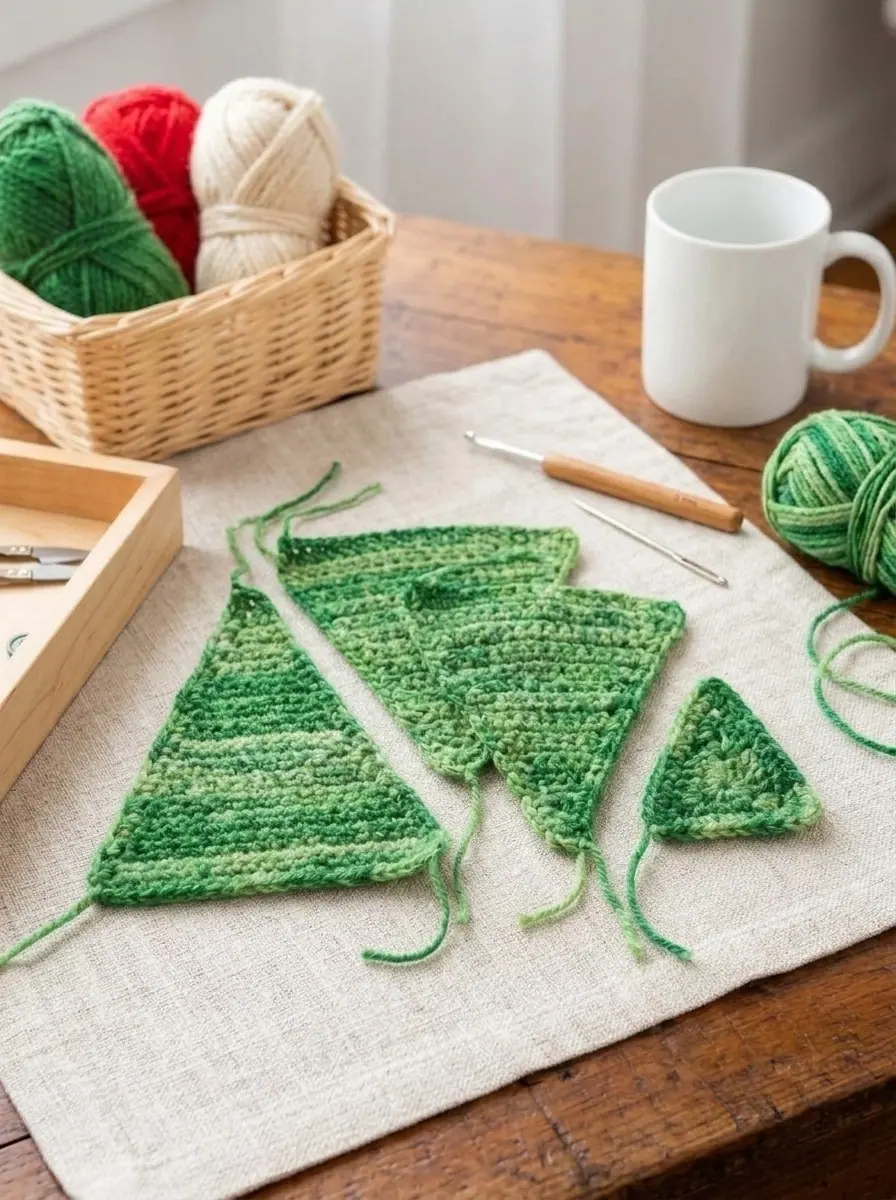
Step 3: Assemble and Stuff the Tree
- With wrong sides facing, sew the bottom edge of each of the 3 tree sides to one edge of the tree bottom, using the long tail you left on the bottom piece.
- With the right side facing, single crochet two of the tree sides together along their long edge.
- Add stuffing, then single crochet the last two sides together, adding more stuffing as you go so the tip is firm too.
- Weave in all ends.
Stuff a little more firmly than you think you need. A well-filled tree keeps its sharp edges and gives the dowel something solid to grip later.
Would you like to save this pattern?
Enter your email and we will send you a link to this Christmas Tree Duo tutorial, so it is ready when the holiday crafting mood strikes.
Step 4: Decorate Tree 1 (Star and Garlands)
Star (make 2):
- With C, ch 4, sl st in the first ch to form a ring.
- Round 1: Ch 1, work 10 sc in the ring; join with a sl st in the first sc. (10 sc)
- Round 2: Ch 1, sc in the first sc. [Ch 5, sc in the 2nd ch from the hook, hdc in the next ch, dc in each of the next 2 ch, skip the next sc of Round 1, sc in the next sc] 5 times, but on the last repeat stop after skipping the sc and do not work the final sc. Join with a sl st in the first sc. (5 points) Fasten off, leaving a sewing length.
- With right sides facing out, sew the two stars together, matching the stitches. Sew the star to the top of the tree. With the sewing needle and red thread, sew one ¾” button to the center of each side of the star. Weave in ends.
Garland: With B, make 4 chains of different lengths to wrap around the tree. Fasten off each one, leaving a sewing length. Starting at the bottom or the top, place the garlands about 1½” apart and sew them in place. Then sew the 7/16″ buttons between the garlands on every side of the tree.
Step 5: Decorate Tree 2 (Circle, Stems and Branches)
Circle (make 2):
- With B, ch 2.
- Round 1: 6 sc in the 2nd ch from the hook; join with a sl st in the first sc. (6 sc)
- Round 2: Ch 3 (counts as dc), dc in the first sc, 2 dc in each sc around; join with a sl st in the top of the beginning ch-3. (12 dc) Fasten off, leaving a sewing length.
- With right sides facing out, sew the two circles together, matching the stitches. Sew the circle to the top of the tree and sew one ¾” button to the center of each side. Weave in ends.
Center stem (make 3): With C, ch 33. Fasten off, leaving a sewing length.
Branches (make 3 of each length): With C, ch 15 for Branch 1, ch 19 for Branch 2 and ch 23 for Branch 3. Fasten off each one, leaving a sewing length.
Sew one stem down the center of each side of the tree. Sew the branches to the stem so they form a triangle shape, shortest at the top and longest at the bottom. Finish by sewing one 9/16″ button at the end of each branch.
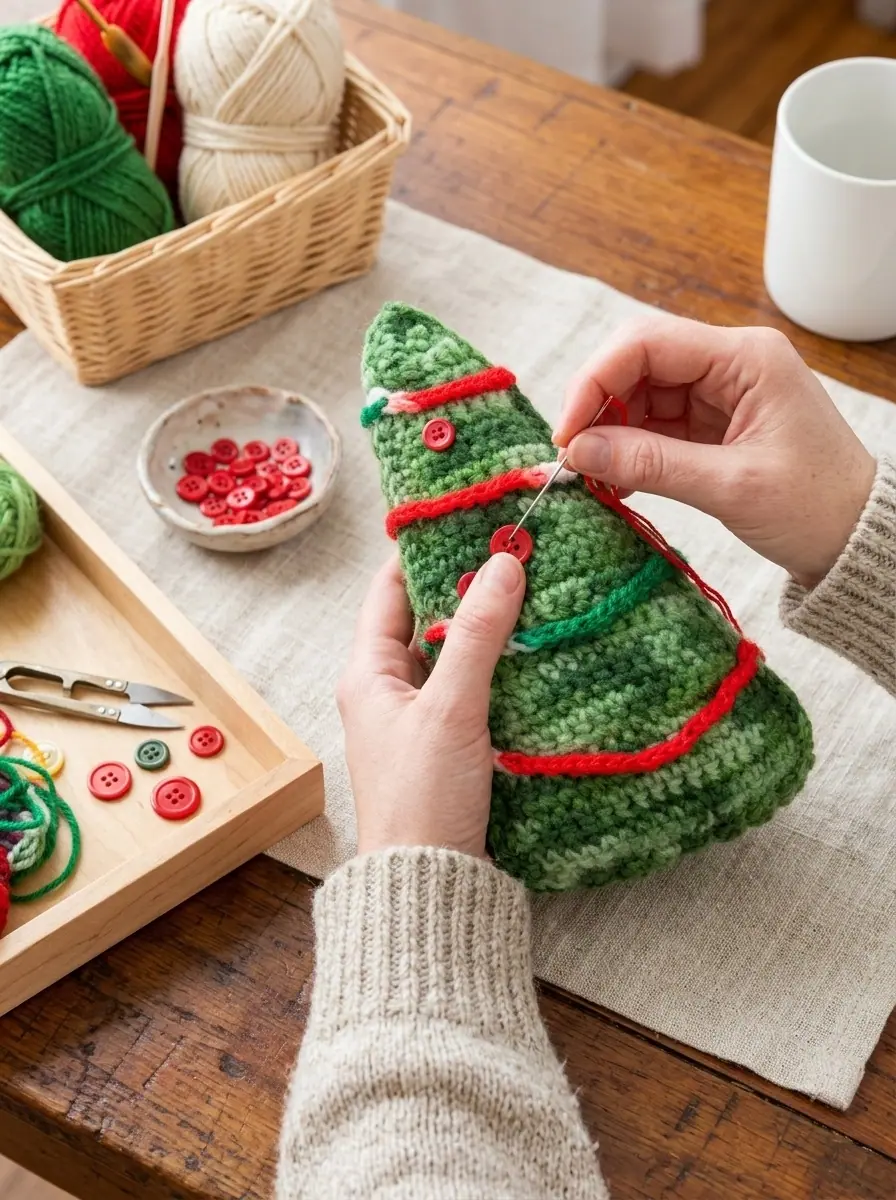
Step 6: Add the Spool Trunk (both trees)
- Insert one wood dowel into a thread spool.
- Add glue to the top of the spool.
- Push the other end of the dowel into the center of the tree bottom and press the spool against the tree until the glue holds.
Maker Tip: Let the glue dry overnight with the tree standing upright. If the tree leans, wedge a little extra stuffing around the dowel inside the base before the glue sets.
Yarn Care & Keeping Your Trees Fresh
The official care directions for Red Heart Super Saver are: machine wash in warm water on a gentle cycle, tumble dry on low, do not bleach and do not iron. The yarn can also be dry-cleaned.
Those directions are for the yarn itself. Once your trees have glued spool trunks, buttons and stuffing, I would not put them in the machine. Spot clean with a damp cloth and a drop of mild soap, then let them air dry standing up. Between seasons, store them in a box with tissue paper so the stars and circles do not get squashed.
More Cozy Crochet Patterns to Try Next
- Red Heart Christmas at Granny’s Blanket: a festive granny-style throw to go with your new trees.
- Bernat Waffle Crochet Dishcloth: a quick textured cotton square that makes a lovely little holiday gift.
✨ PATTERN HELP & TIPS ✨
Got Questions?
Frequently Asked Questions
Click on any question below to reveal the answer
Can I make the trees taller or shorter?
Yes. Each repeat of Rows 4 to 7 adds two stitches and four rows to the sides. Add one or two repeats for a taller, wider tree, or remove some for a smaller one. Just remember to add or remove the same number of increase rows on the bottom (Rows 3 and 4) so the sides and the bottom still match at the base.
Are these trees safe for young children?
Buttons are a choking hazard for babies and toddlers. If little hands will reach the trees, replace the buttons with small crocheted bobbles or French knots in red yarn, and skip the dowel and spool.
What can I use if I do not have thread spools?
Any short, sturdy cylinder works: a wooden candle cup, a cork, a short piece of wooden dowel painted brown, or a small wooden bead stack. The spool mainly lifts the tree so it looks like it has a trunk.
Pin These Crochet Christmas Trees for Later!
Save one of the pins below to your holiday crochet board so you can find this Christmas Tree Duo pattern again when you are ready to decorate:
PREVIOUS PATTERN
Textured Primrose Stitch Square Cotton Crochet Kitchen Dishcloth
NEXT PATTERN
Layered Daisy Petal Round Cotton Crochet Kitchen Dishcloth
✨ KEEP CROCHETING ✨
You May Also Love
LEAVE A COMMENT
Have a question about a stitch or want to share how your project turned out? Drop a comment below — I read and reply to every maker!