
 Crochet Sweaters & Cardigans
*This post may contain affiliate links to support the cost of this blog. At no cost to you, I may make a small commission if you purchase through these links. Read our Privacy Policy HERE
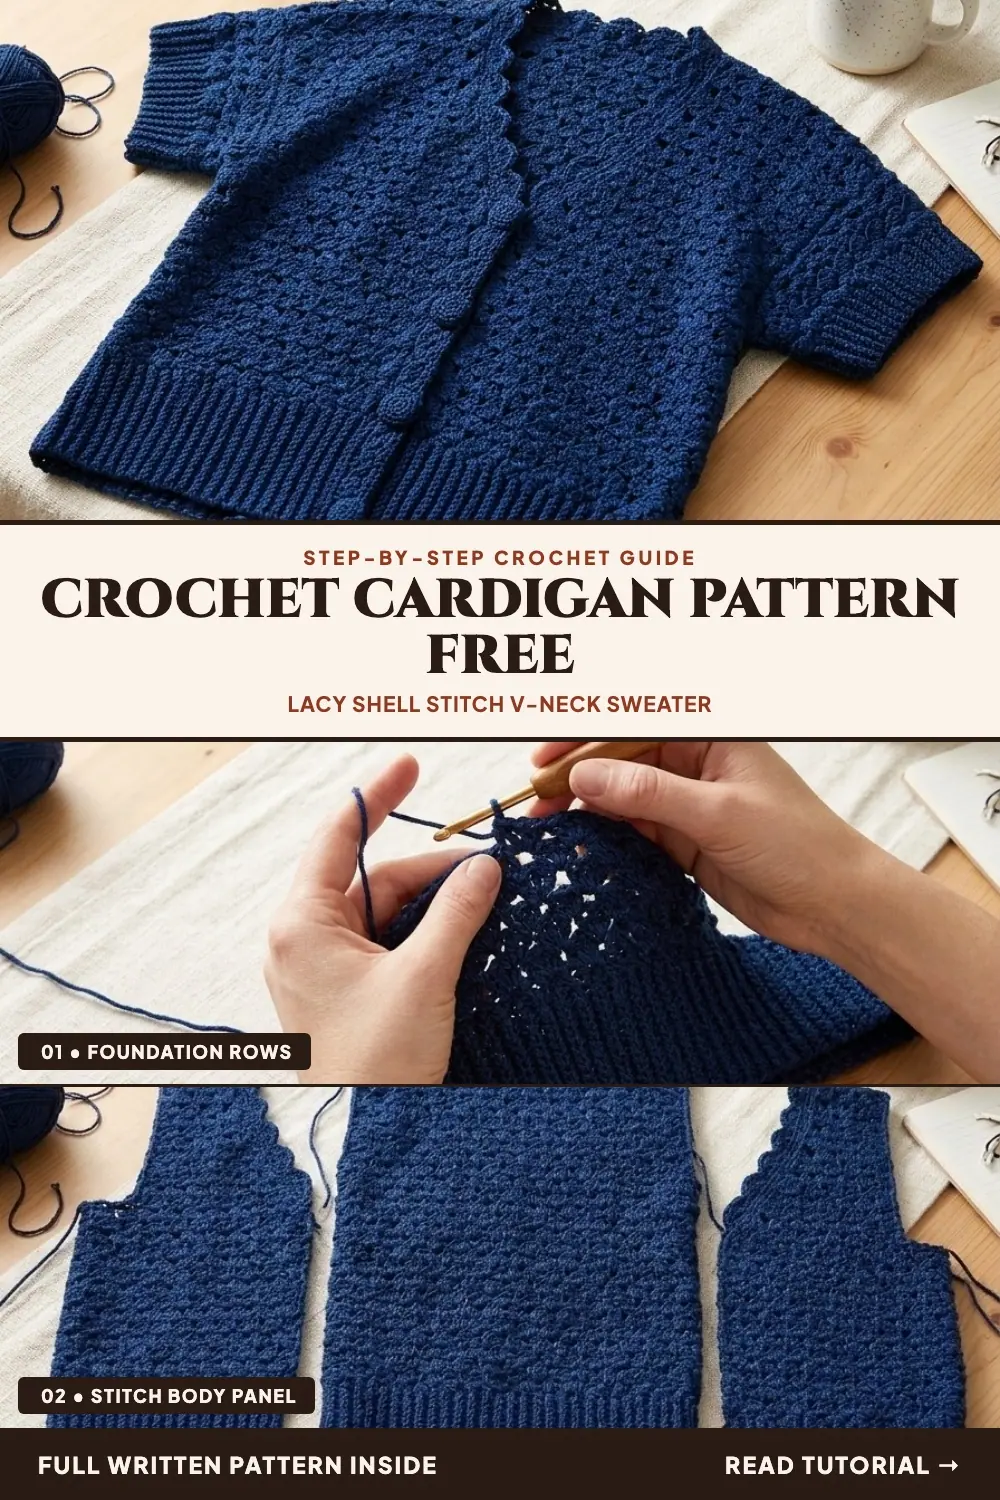
When you are searching for a crochet cardigan pattern free of heavy bulk that transitions effortlessly from breezy spring mornings to air-conditioned summer evenings, the Patons Grace Scallop-Edged Crochet Cardigan is a true wardrobe staple. Designed by Nicole Winer in six inclusive women's sizes from XS/S through 4/5XL, this short-sleeve V-neck sweater combines a diagonal 1-row-repeat leaning shell stitch with back-loop ribbing, a treble-crochet scalloped front border, and custom crochet-covered buttons.
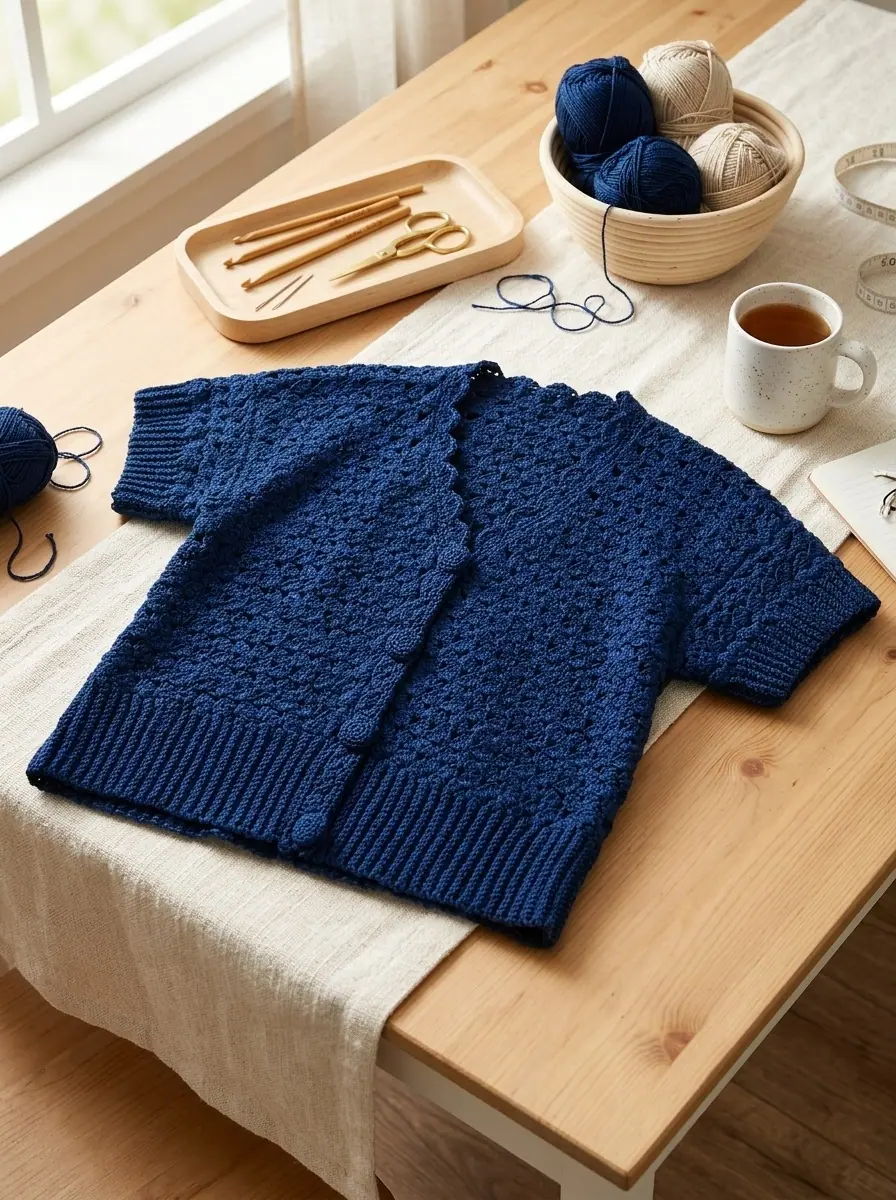
Stitched in 100% mercerized cotton Patons Grace with a U.S. F/5 (3.75 mm) crochet hook, the fabric has a refined, silky luster and crisp stitch definition that elevates handmade crochet into boutique knitwear. Each panel begins with a stretchy sctbl (single crochet through the back loop) ribbed band worked sideways, and then builds upward in a rhythmic leaning shell stitch where four double crochets fan out from the side of each single crochet anchor stitch.
Pattern Overview
- Pattern Name: Patons Grace Scallop-Edged Crochet Cardigan (Design Ref: PAC0129-032561M)
- Primary Keyword Focus: Crochet Cardigan Pattern Free
- Skill Level: Intermediate (1-Row Repeat Shell Body + Simple V-Neck Decreases)
- Available Sizes: XS/S (38" finished bust), M (42" finished bust), L (46" finished bust), XL (50" finished bust), 2/3XL (58" finished bust), 4/5XL (66" finished bust)
- Recommended Yarn: Patons Grace (Light Weight #3 DK / Sport; 100% Mercerized Cotton; 1.75 oz / 50 g; 136 yds / 125 m per ball) in Navy (62008) — 10 (11, 11, 12, 13, 14) balls
- Crochet Hook: Size U.S. F/5 (3.75 mm) crochet hook (or size needed to obtain gauge)
- Official Gauges: 21 sc and 24 rows = 4 inches [10 cm]; 5 shells and 6 rows = 4 inches [10 cm] in Shell Pattern
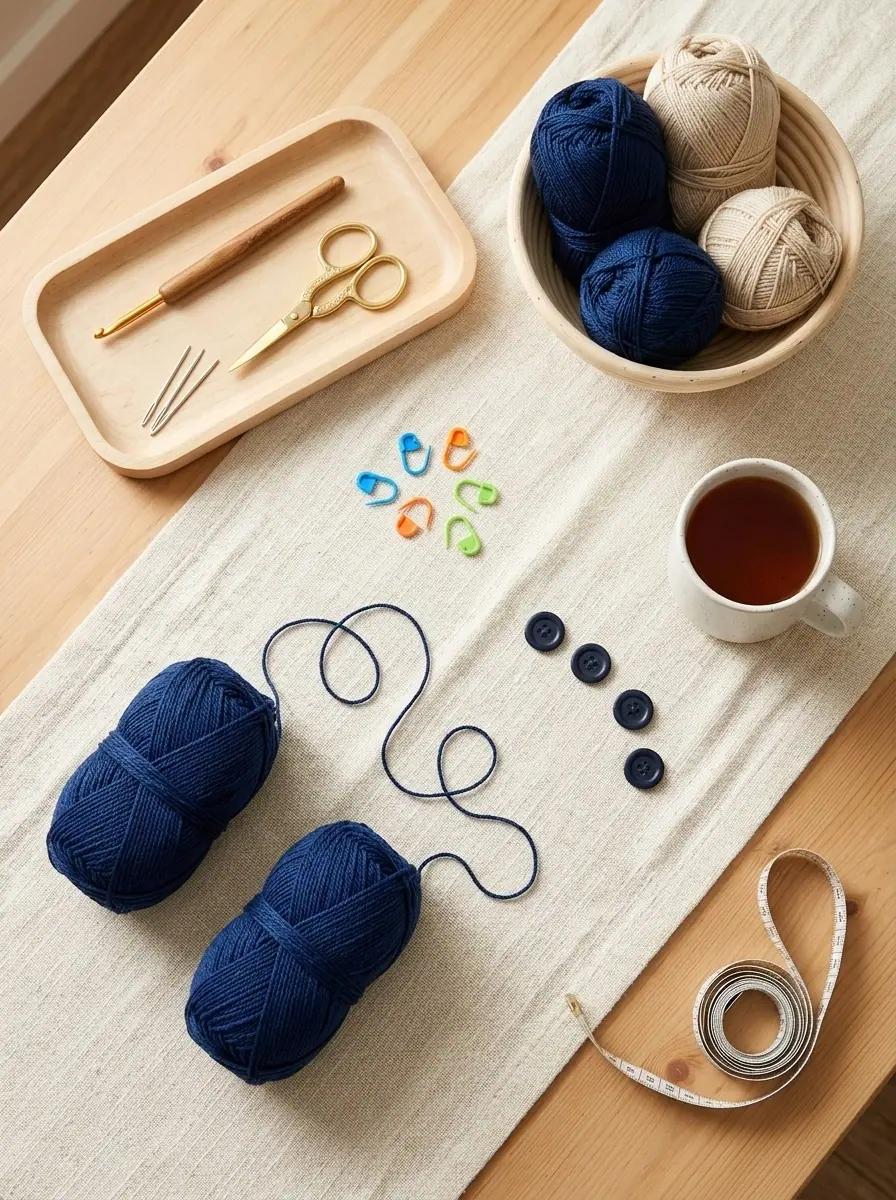
- Notions Needed: 4 buttons (1 inch [2.5 cm] diameter) to cover with crocheted button covers, locking stitch markers, blunt tapestry needle, scissors
- Construction Highlights: Bottom-up Back, reversible Left/Right Fronts, and short Sleeves starting with sideways back-loop ribbing; square inset armholes; 7-treble scalloped front edging with built-in ch-6 button loops; handmade crochet-covered buttons
Table of Contents
- Why This Mercerized Cotton Shell Cardigan Works So Well
- Materials & Tools Breakdown
- Size Chart, Finished Bust & Dual Gauge Guide
- Abbreviations & Stitch Guide (U.S. Terms)
- Step-by-Step Tutorial: How to Crochet the Patons Grace Scallop-Edged Cardigan
- Yarn Care & Blocking Guide for 100% Mercerized Cotton
- More Crochet Sweaters & Layering Pieces You Will Love
- Frequently Asked Questions
- Pin This Scallop-Edged Crochet Cardigan Pattern for Later!
Why This Mercerized Cotton Shell Cardigan Works So Well
Many makers hunt for a crochet cardigan pattern free tutorial that looks tailored and lightweight rather than boxy or overly thick. Here is why the Patons Grace Scallop-Edged Crochet Cardigan earns a permanent spot in your handmade closet:
- Addictive 1-row shell repeat: Once you work the setup row along the top edge of the ribbing, Row 2 of the shell pattern repeats continuously for the entire body and sleeves. Every shell (
1 sc in top of ch-2, ch 2, 4 dc into the side of the sc just made) locks into the crest of the shell below. - Reversible front panels: Because the shell pattern looks identical on both the Right Side and Wrong Side, you crochet two identical Front panels (
Make 2 alike) and simply flip one over to serve as the Left Front and the other as the Right Front—eliminating mirror-image shaping confusion! - No-sag mercerized cotton structure: Patons Grace is spun from 100% combed, mercerized cotton that resists pilling, holds its stitch geometry through warm weather, and highlights the 7-treble fan scallops along the neckline.
- Custom crochet-covered buttons: Instead of hunting for navy buttons that match your dye lot, you crochet four 5-round single crochet caps that wrap snugly around standard 1-inch button forms for a couture finish.
Maker Tip: On Row 2 of the shell pattern, notice that after working
1 sc in top of ch-2, ch 2, you work the 4 dc around the side post of the single crochet you just made rather than into the stitches of the row below! Working those 4 dc into the side of your fresh sc is what tips each fan diagonally into a classic tulip/brick shell stitch.
Materials & Tools Breakdown
Yarn: Patons Grace (100% Mercerized Cotton; 1.75 oz / 50 g; 136 yds / 125 m per ball) in shade Navy (62008): 10 (11, 11, 12, 13, 14) balls depending on size.
Crochet Hook: Size U.S. F/5 (3.75 mm) crochet hook (or hook size required to match the 5-shell gauge).
Buttons & Notions: Four 1-inch [2.5 cm] diameter flat buttons (to insert inside the crocheted covers), locking stitch markers for marking the 2-inch [5 cm] square armhole indents on the sleeves, a tapestry yarn needle, and a tape measure.
Size Chart, Finished Bust & Dual Gauge Guide
This pattern is graded across six women's sizes with approximately 4 to 6 inches of comfortable positive ease built into the finished bust measurement. Instructions are written for size XS/S first, with sizes (M, L, XL, 2/3XL, 4/5XL) in parentheses:
| Size | To Fit Bust | Finished Bust | Back Width | Total Length | Patons Grace Balls |
|---|---|---|---|---|---|
| XS/S | 28–34" [71–86.5 cm] | 38" [96.5 cm] | 19" [48 cm] | 18.5" [47 cm] | 10 balls |
| M | 36–38" [91.5–96.5 cm] | 42" [106.5 cm] | 21" [53.5 cm] | 19.25" [49 cm] | 11 balls |
| L | 40–42" [101.5–106.5 cm] | 46" [117 cm] | 23" [58.5 cm] | 19.25" [49 cm] | 11 balls |
| XL | 44–46" [112–117 cm] | 50" [127 cm] | 25" [63.5 cm] | 19.5" [49.5 cm] | 12 balls |
| 2/3XL | 48–54" [122–137 cm] | 58" [147.5 cm] | 29" [73.5 cm] | 20" [51 cm] | 13 balls |
| 4/5XL | 56–62" [142–157.5 cm] | 66" [167.5 cm] | 33" [84 cm] | 21" [53.5 cm] | 14 balls |
Checking Both Official Gauges: With your U.S. F/5 (3.75 mm) hook, verify both textures before starting:
- Single Crochet Gauge: 21 sc and 24 rows = 4 inches [10 cm].
- Leaning Shell Pattern Gauge: 5 Shells and 6 rows = 4 inches [10 cm] in pattern.
Abbreviations & Stitch Guide (U.S. Terms)
- Approx: Approximately
- Ch: Chain(s)
- Dc: Double crochet
- Rep: Repeat
- RS / WS: Right Side / Wrong Side
- Sc: Single crochet
- Sctbl: Single crochet through back loop only
- Shell Dec (Shell Decrease at V-Neck): [Skip next 4 dc, draw up a loop in top of next ch-2] twice, yoh and draw through all 3 loops on hook (1 shell decreased).
- Sl st: Slip stitch
- St(s): Stitch(es)
- Tr: Treble crochet
- Yoh: Yarn over hook
✨ FREE CROCHET EBOOK ✨
Master Gauge & Blocking
Get Our Free Crochet Ebook!
Download The Ultimate Stitch, Gauge & Blocking Guide — packed with printable stitch charts, tension secrets, and step-by-step tutorials delivered straight to your inbox.
🔒 100% Free Instant PDF Download • Unsubscribe anytime
Step-by-Step Tutorial: How to Crochet the Patons Grace Scallop-Edged Cardigan
Stage 1: Crocheting the Back Panel & Square Armholes
Begin at the bottom waist ribbing using your U.S. F/5 (3.75 mm) hook:
- Back Ribbing Foundation: Ch 21.
- Row 1 (RS): Work 1 sc in 2nd ch from hook and 1 sc in each ch across to end of chain. Turn. (20 sc — forms a 3.75-inch tall waistband)
- Row 2: Ch 1. Work 1 sctbl in each sc to end of row. Turn.
- Ribbing Length: Repeat Row 2 until the ribbing strip measures 19 (21, 23, 25, 29, 33)" [48 (53.5, 58.5, 63.5, 73.5, 84) cm] when slightly stretched, ending on a WS row. Do not fasten off.
- Transition Row (RS): Rotate the ribbing strip 90 degrees to work along its long top edge. Ch 1, and work 97 (109, 117, 129, 149, 173) sc evenly spaced across the side edge of the ribbing. Turn.
- Shell Pattern Row 1 (WS): Ch 1. Work 1 sc in first sc. [Ch 2, work 4 dc in the same sc as that last sc, skip next 3 sc, work 1 sc in next sc] repeat across to the end of the row. Turn. (24 [27, 29, 32, 37, 43] Shells)
- Shell Pattern Row 2 (Main 1-Row Repeat): Ch 5, and work 4 dc in the 4th ch from hook. [Skip next 4 dc, work 1 sc in top of next ch-2, ch 2, work 4 dc into the side post of the sc just worked] repeat across to the last 4 dc. Skip the last 4 dc, and work 1 sc in the top of the final ch-2. Turn.
- Even Body Length: Repeat Shell Pattern Row 2 until the Back piece measures 11" [28 cm] from the bottom edge of the ribbing, ending on a WS row.
- Shape Square Armholes:
- Armhole Row 1 (RS): Ch 5, work 4 dc in 4th ch from hook. [Skip next 4 dc, work 1 sc in top of ch-2, ch 2, work 4 dc into side of sc just worked] repeat across to the last 8 dc (leaving the last shell unworked). Skip next 4 dc, work 1 sc in top of ch-2. Turn, leaving the remaining 4 dc and ch-2 unworked for the first armhole indent.
- Armhole Row 2 (WS): Work exact same way as Armhole Row 1 across to the last 8 dc, skipping the final shell at the opposite edge to match. Turn. (22 [25, 27, 30, 35, 41] Shells remain)
- Armhole Row 3: Ch 5, work 4 dc in 4th ch from hook. [Skip next 4 dc, work 1 sc in top of ch-2, ch 2, work 4 dc into side of sc just worked] repeat across to the last 4 dc. Skip last 4 dc, work 1 sc in top of ch-2. Turn.
- Upper Back Length: Repeat Armhole Row 3 even until the armhole measures 7.5 (8.25, 8.25, 8.75, 9, 10.5)" [19 (21, 21, 22, 23, 26.5) cm] tall, ending on a WS row. Fasten off.
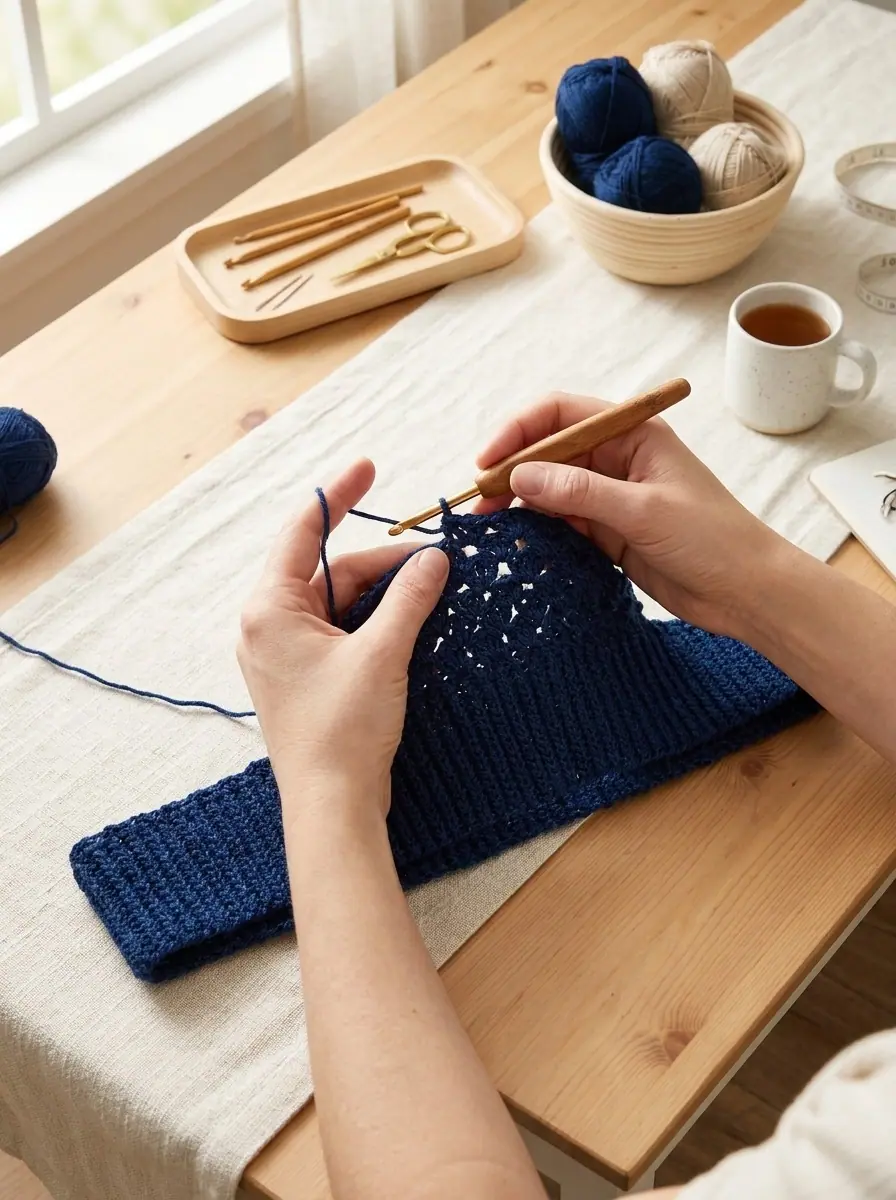
Stage 2: Reversible Left & Right Front Panels (Make 2 Alike)
Because the shell fabric is reversible, crochet two identical Front panels (Make 2 alike). One will be oriented with the armhole on the left (Left Front) and the other flipped so the armhole is on the right (Right Front):
- Front Ribbing: Ch 21 and work Rows 1 and 2 of the sctbl ribbing exactly as for the Back until the strip measures 8 (9, 10, 11, 13, 15)" [20.5 (23, 25.5, 28, 33, 38) cm] slightly stretched, ending on a WS row. Do not fasten off.
- Transition Row (RS): Ch 1. Work 41 (49, 49, 53, 69, 77) sc evenly across the long side edge of the ribbing. Turn.
- Front Shell Body:
- Row 1 (WS): Ch 1, 1 sc in first sc. [Ch 2, 4 dc in same sc as last sc, skip next 3 sc, 1 sc in next sc] repeat to end of row. Turn. (10 [12, 12, 13, 17, 19] Shells)
- Row 2: Ch 5, 4 dc in 4th ch from hook. [Skip next 4 dc, 1 sc in top of ch-2, ch 2, 4 dc into side of sc just worked] repeat to last 4 dc. Skip last 4 dc, 1 sc in top of ch-2. Turn.
- Even Front Length: Repeat Row 2 until the Front panel measures 11" [28 cm] from the bottom edge, ending on a WS row.
- Shape Square Armhole & V-Neck Simultaneously:
- Shaping Row 1 (Armhole Bind-Off): Ch 5, 4 dc in 4th ch from hook. [Skip next 4 dc, 1 sc in top of ch-2, ch 2, 4 dc into side of sc just worked] repeat across to the last 8 dc. Skip next 4 dc, 1 sc in top of ch-2. Turn, leaving the last shell unworked at the armhole edge. (9 [11, 11, 12, 16, 18] Shells)
- Shaping Row 2 (V-Neck Shell Decrease): Ch 5, 4 dc in 4th ch from hook. [Skip next 4 dc, 1 sc in top of ch-2, ch 2, 4 dc into side of sc just worked] repeat across to the last 2 shells at the neck edge. Work a Shell Dec over the last 2 shells:
[skip next 4 dc, draw up a loop in top of ch-2] twice, yoh and draw through all 3 loops on hook. Turn. (8 [10, 10, 11, 15, 17] Shells) - Shaping Row 3 (Even Row): Ch 5, 4 dc in 4th ch from hook. [Skip next 4 dc, 1 sc in top of ch-2, ch 2, 4 dc into side of sc just worked] repeat to last 4 dc. Skip next 4 dc, 1 sc in top of ch-2. Turn.
- Shaping Interval: Repeat Shaping Row 3 a further 2 (2, 0, 0, 0, 0) times. Then repeat the sequence from Shaping Row 2 through the end of the Shaping Row 3 repeats a further 2 (2, 3, 3, 5, 6) times until 6 (7, 7, 8, 10, 11) Shells remain at the shoulder after the final decrease row.
- Shoulder Height: Work even in the shell pattern on those 6 (7, 7, 8, 10, 11) Shells until the armhole measures the exact same height as the Back armhole, ending on a WS row. Fasten off.
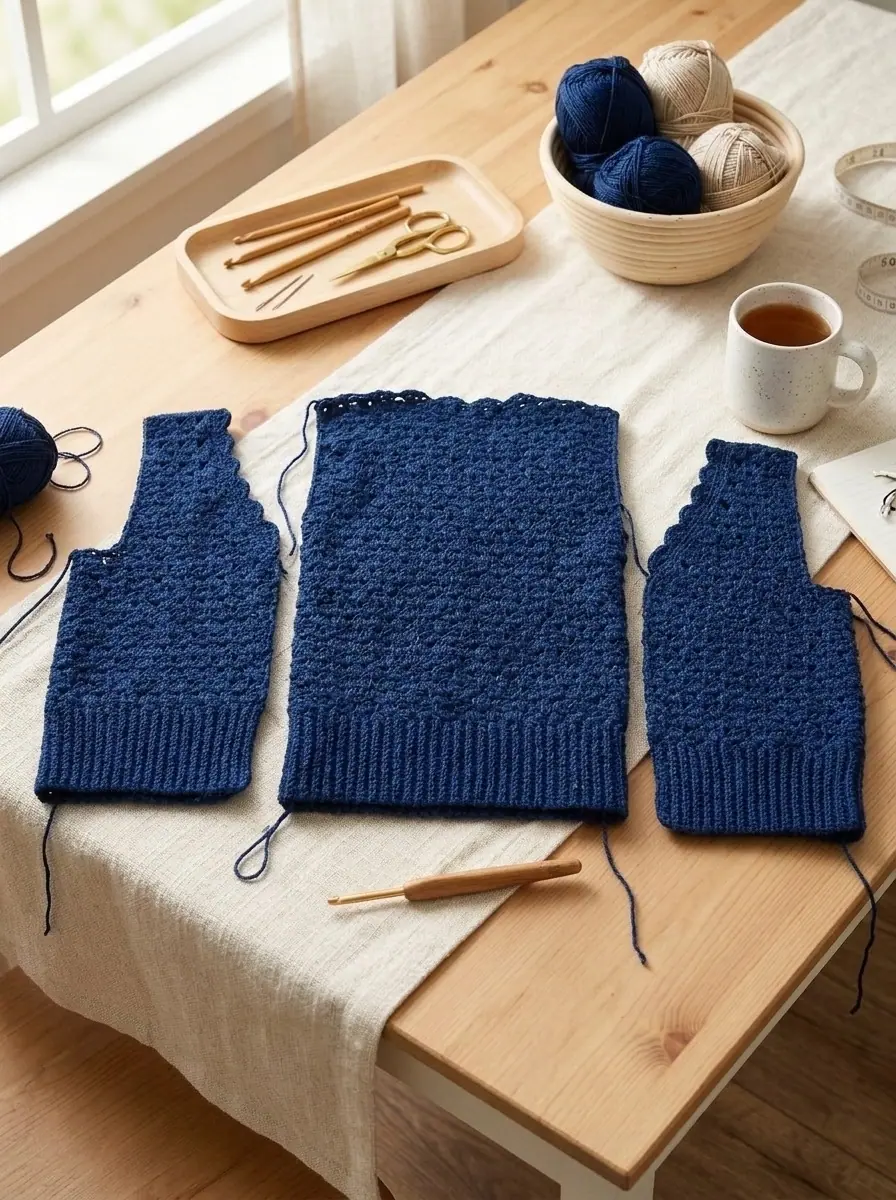
Stage 3: Short Ribbed Sleeves (Make 2)
Each short sleeve starts with a narrower 10-stitch sctbl cuff strip:
- Sleeve Cuff Ribbing: Ch 11.
- Row 1 (RS): Work 1 sc in 2nd ch from hook and 1 sc in each ch across. Turn. (10 sc — approx. 2 inches tall)
- Row 2: Ch 1. Work 1 sctbl in each sc to end of row. Turn.
- Cuff Width: Repeat Row 2 until the ribbing strip measures 15 (16.5, 16.5, 17.5, 18, 20)" [38 (42, 42, 44.5, 45.5, 51) cm] slightly stretched, ending on a WS row. Do not fasten off.
- Transition Row (RS): Ch 1. Work 77 (85, 85, 93, 97, 105) sc evenly across the long side edge of the cuff ribbing. Turn.
- Sleeve Shell Rows:
- Row 1 (WS): Ch 1, 1 sc in first sc. [Ch 2, 4 dc in same sc as last sc, skip next 3 sc, 1 sc in next sc] repeat to end of row. Turn. (19 [21, 21, 23, 24, 26] Shells)
- Row 2: Ch 5, 4 dc in 4th ch from hook. [Skip next 4 dc, 1 sc in top of ch-2, ch 2, 4 dc into side of sc just worked] repeat to last 4 dc. Skip last 4 dc, 1 sc in top of ch-2. Turn.
- Sleeve Length: Repeat Row 2 until the entire Sleeve measures 4 (4, 4, 5, 5, 5)" [10 (10, 10, 12.5, 12.5, 12.5) cm] from the bottom of the cuff, ending on a WS row. Fasten off.
- Armhole Markers: Place a locking stitch marker on each side edge of the Sleeve 2" [5 cm] down from the top bind-off edge.
Stage 4: Assembly, 7-Treble Scalloped Button-Loop Border & Crochet-Covered Buttons
Assemble your cardigan panels and crown the front opening and neckline with the signature treble scallop edging:
- Seaming Shoulders, Sleeves & Sides:
- Sew the Front and Back shoulder seams cleanly using mattress stitch or whipstitch.
- Pin each Sleeve into its armhole, matching the center top of the sleeve to the shoulder seam and sewing the 2-inch [5 cm] side edges above your markers to the unworked 1-shell armhole indents of the Front and Back.
- Sew the continuous side and underarm sleeve seams neatly.
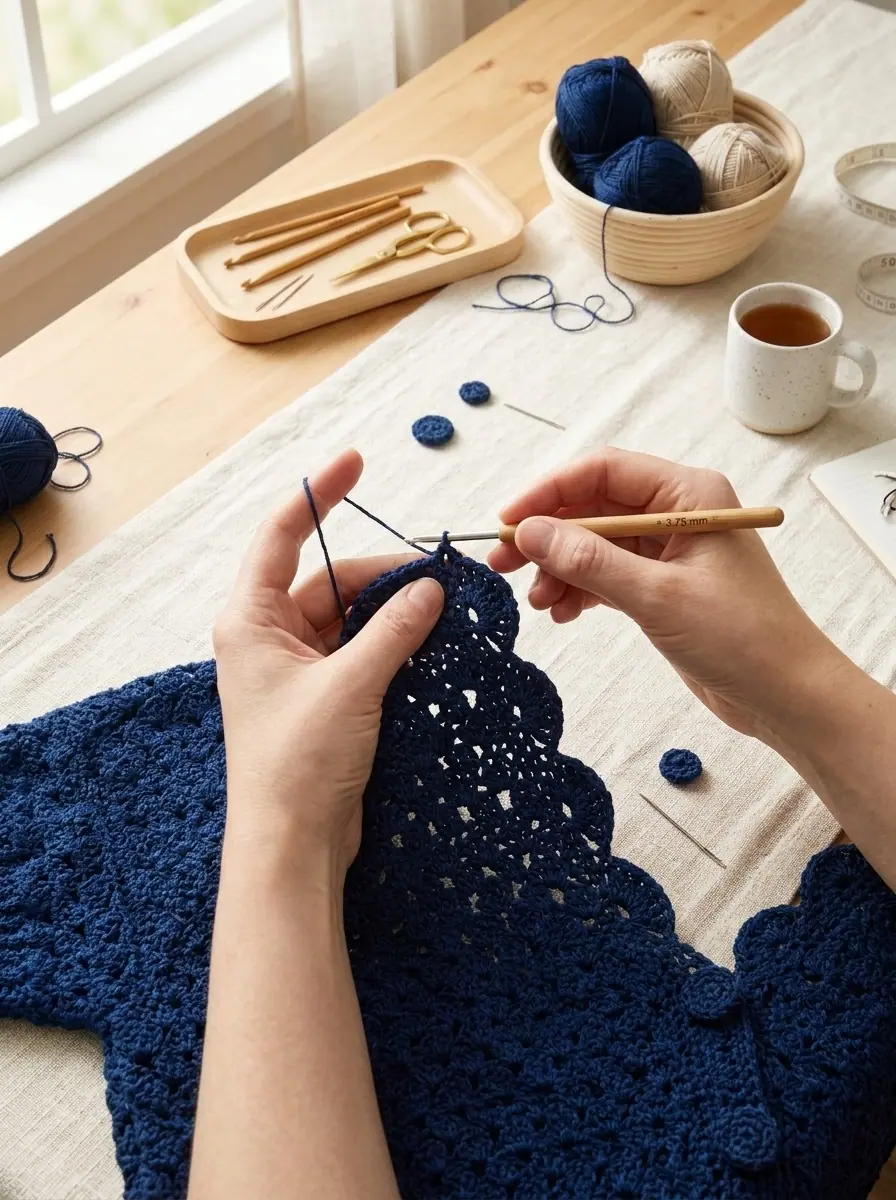
- Scalloped Front & Neck Edging (2 Rows):
- Edging Row 1 (RS): With Right Side facing, join Navy yarn with a sl st at the bottom corner of the Right Front. Ch 1, and work single crochet evenly around the entire front and neck opening as follows: 56 sc evenly up the straight Right Front edge to the V-neck slope, 42 (44, 46, 50, 54, 58) sc up the Right V-neck slope to the shoulder seam, 21 (36, 42, 47, 51, 61) sc across the Back neck edge, 42 (44, 46, 50, 54, 58) sc down the Left V-neck slope, and 56 sc down the straight Left Front edge. Turn. (217 [235, 247, 259, 271, 289] sc total)
- Edging Row 2 (WS — Scallops + 4 Button Loops on Left Front): Ch 1. Work 1 sc in the first sc at the bottom of the Left Front. Button-Loop & Scallop Section: [Skip next 2 sc, work (sl st, ch 6, sl st) all into the next sc to form a Button Loop, skip next 2 sc, work 1 sc in next sc, skip next 2 sc, work 7 tr (7 treble crochet fan) in next sc, skip next 2 sc, work 1 sc in next sc] repeat that complete sequence 4 times in total up the lower Left Front edge (4 button loops and 4 scallops made). Continuous Scallop Section: [Skip next 2 sc, work 7 tr in next sc, skip next 2 sc, work 1 sc in next sc] repeat all the way up the Left V-neck, around the Back neck, and down the entire Right Front edge to the bottom corner. Fasten off.
- Crocheted Button Covers (Make 4):
- With Navy yarn and 3.75 mm hook, ch 2.
- Round 1: Work 6 sc in 2nd ch from hook. Join with a sl st to first sc. (6 sc)
- Round 2: Ch 1. Work 2 sc in each sc around. Join with a sl st to first sc. (12 sc)
- Rounds 3 to 5: Ch 1. Work 1 sc in each sc around. Join with a sl st to first sc. Fasten off at the end of Round 5, leaving a long 12-inch yarn tail.
- Encasing the Buttons: Slip a 1-inch [2.5 cm] button inside the crocheted cup, weave the long tail through the outer loops of Round 5 with your tapestry needle, cinch tightly across the back of the button to enclose it, and secure with two knots. Sew the 4 covered buttons along the Right Front edge opposite the four ch-6 button loops.
Yarn Care & Blocking Guide for 100% Mercerized Cotton
To keep the mercerized sheen and lacy shell drape of your Patons Grace Scallop-Edged Crochet Cardigan looking boutique-fresh:
- Washing: Hand wash gently in cool water with a mild detergent for delicates. Do not wring or twist wet cotton knitwear.
- Blocking & Drying: Gently press excess water out rolled inside a clean bath towel, then lay the cardigan flat on foam blocking mats. Pin each 7-treble scallop fan open along the V-neck and front placket and allow to air-dry completely away from direct heat.
More Crochet Sweaters & Layering Pieces You Will Love
- Bernat Crochet Baby Stripes Sweater: a seamless top-down yoke cardigan worked in colorful self-striping baby yarn.
- Caron Crochet Harlequin Shawl: a lacy geometric shawl wrap for effortless spring and fall layering.
✨ PATTERN HELP & TIPS ✨
Got Questions?
Frequently Asked Questions
Click on any question below to reveal the answer
Why are both Front panels worked identically instead of Left and Right?
Because Row 2 of the shell stitch creates an identical fabric texture on both sides, you simply crochet two identical Front panels and turn one panel over before seaming the shoulders. That way, one panel naturally has its V-neck on the right and armhole on the left, while the other has its V-neck on the left and armhole on the right!
Can I lengthen the body or sleeves of this cardigan?
Yes! To make the cardigan longer through the torso, work extra repeats of Shell Pattern Row 2 on the Back and both Fronts before starting the square armhole shaping (every 6 rows adds 4 inches of length). You can also add extra shell rows to the Sleeves before fastening off.
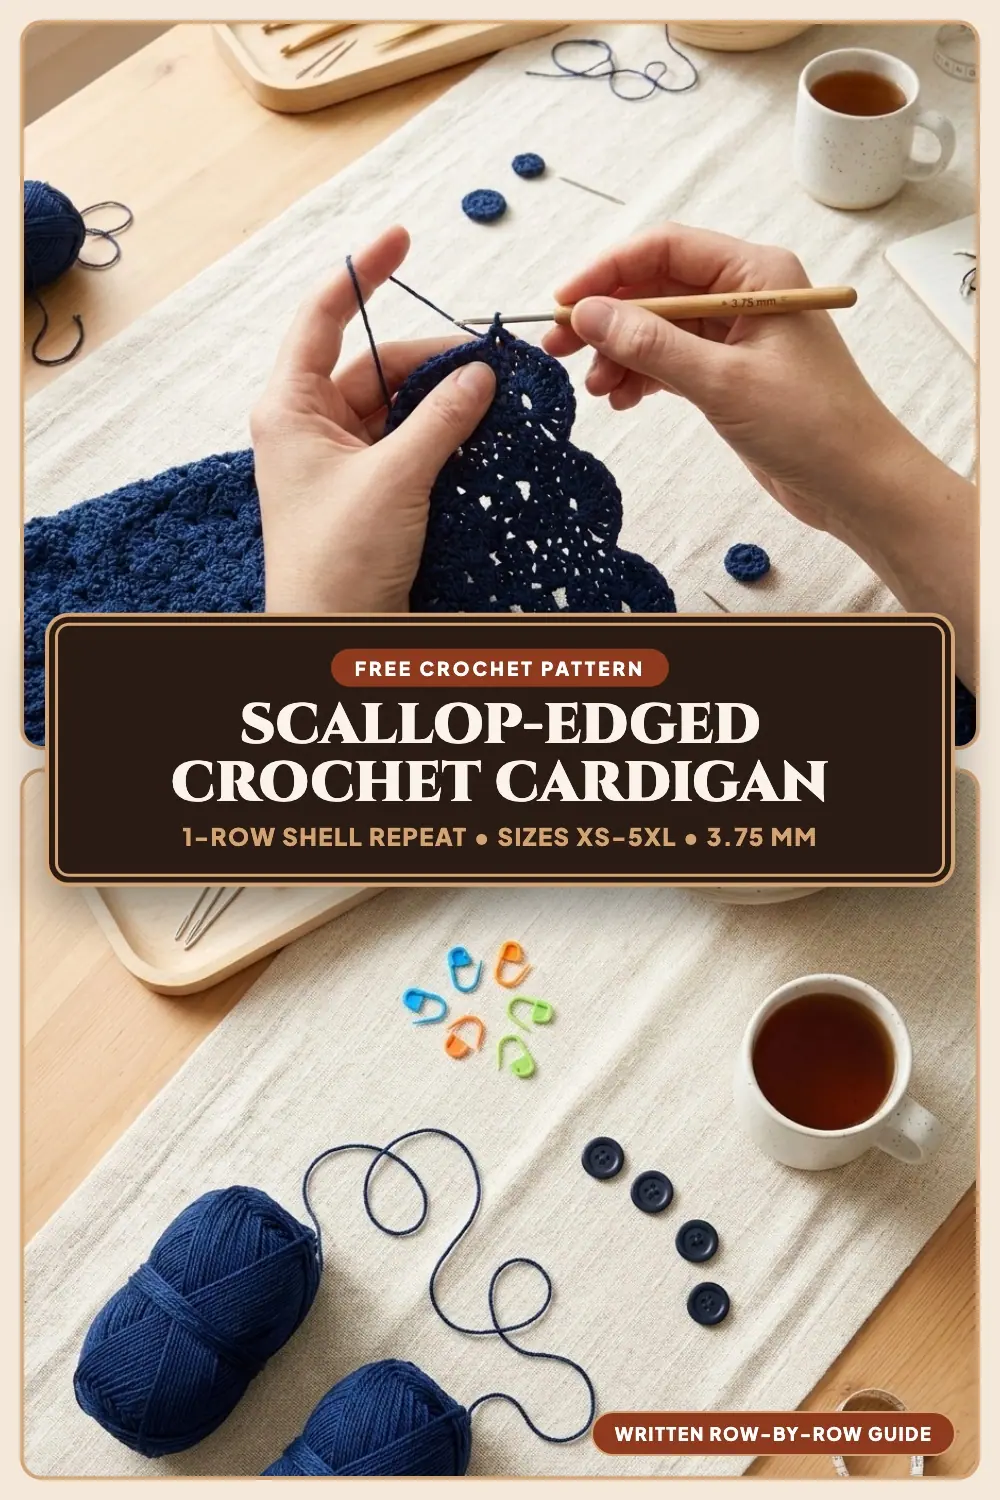
Pin This Scallop-Edged Crochet Cardigan Pattern for Later!
Save one of the pins below to your Crochet Sweaters & Cardigans board on Pinterest so you have this free mercerized cotton cardigan pattern ready whenever inspiration strikes:
PREVIOUS PATTERN
Top-Down Striped Raglan Crochet Baby Cardigan With Button Band
NEXT PATTERN
Field of Flowers 3D Floral Granny Square Crochet Baby Blanket
✨ KEEP CROCHETING ✨
You May Also Love
LEAVE A COMMENT
Have a question about a stitch or want to share how your project turned out? Drop a comment below — I read and reply to every maker!