
 Crochet Sweaters & Cardigans
*This post may contain affiliate links to support the cost of this blog. At no cost to you, I may make a small commission if you purchase through these links. Read our Privacy Policy HERE
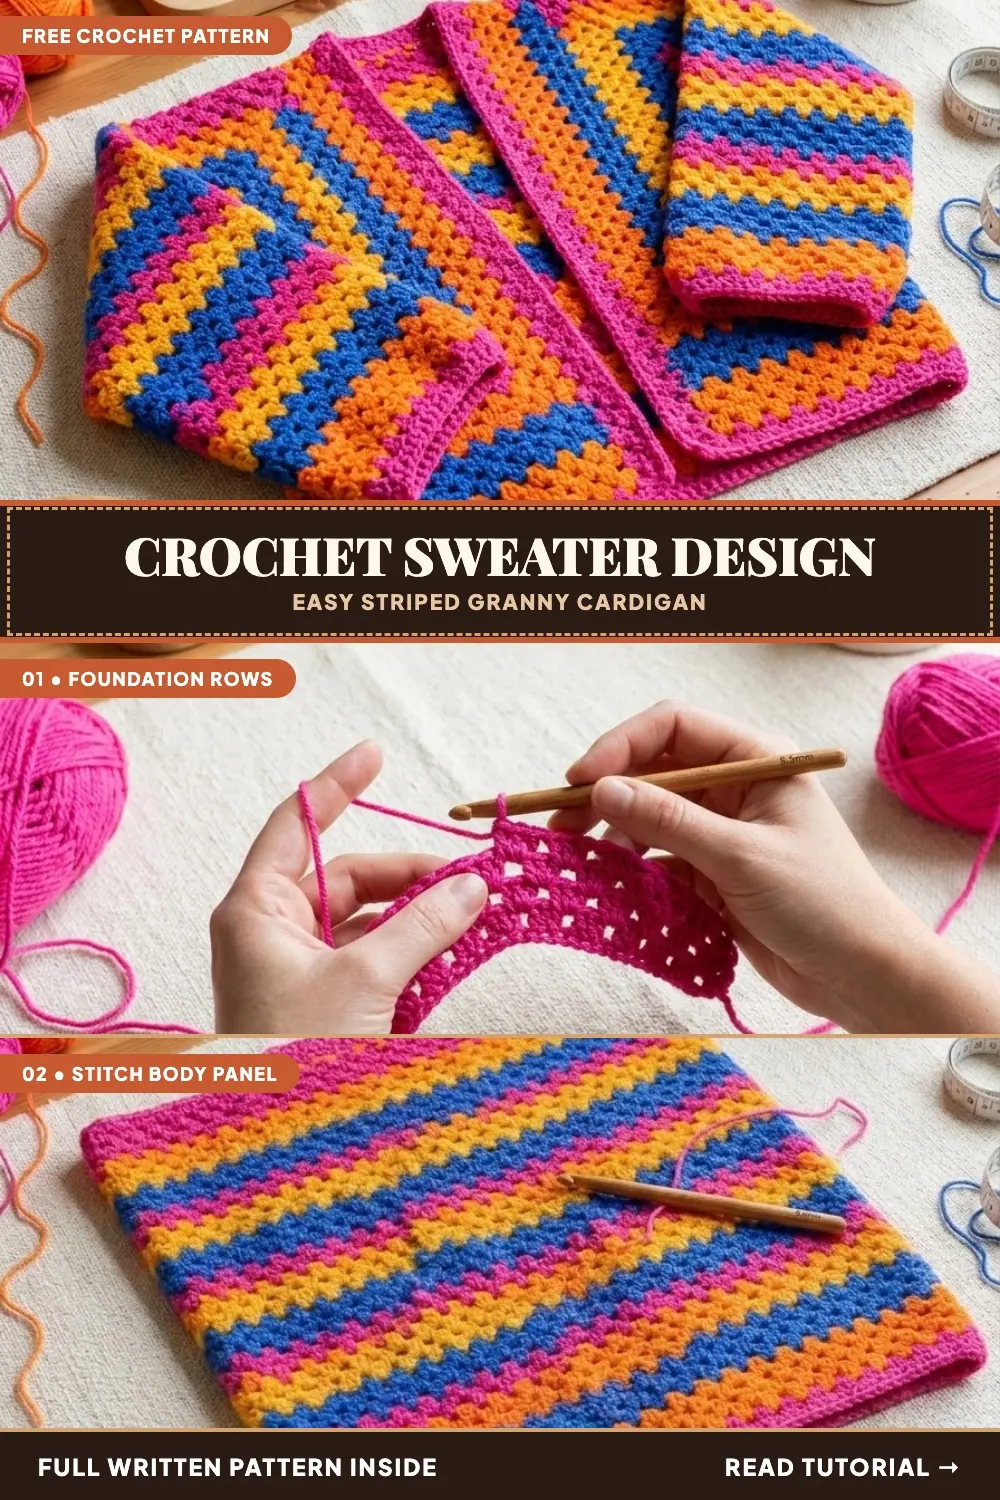
If you have been dreaming of making your very first handmade garment but felt intimidated by complicated sweater shaping and tight gauge calculations, the Red Heart Bright Stripes Crochet Sweater is your golden ticket. Designed with a deliciously relaxed, boxy silhouette, this beginner-friendly crochet cardigan celebrates classic granny stitch clusters in high-energy, mood-boosting color stripes. Combining shocking pink, juicy pumpkin orange, sunshine yellow, and royal blue, it delivers instant dopamine dressing you will want to live in all season long.
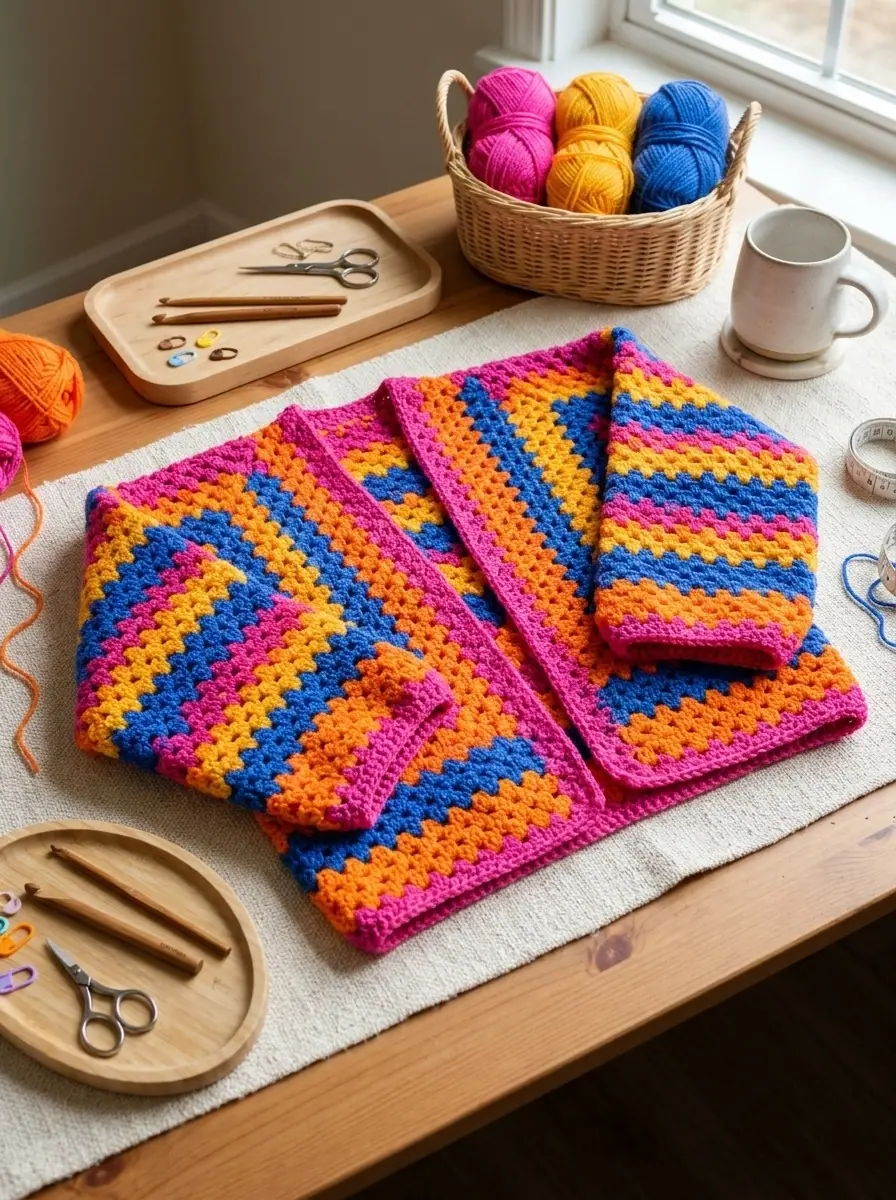
The beauty of this crochet sweater design lies in its pure simplicity. Instead of curved armholes, set-in sleeve caps, or tricky neck decreases, the construction uses simple rectangular panels worked from the bottom up. If you can make a chain, single crochet, and work the iconic 3-double-crochet granny cluster, you possess every skill needed to complete this cozy cardigan. The generous ease ensures a forgiving, ultra-flattering drape that looks effortless paired with high-waisted denim or thrown over a simple slip dress.
Pattern Overview
- Pattern Name: Red Heart Bright Stripes Crochet Sweater (Design Ref: RHC0129-035552M)
- Skill Level: Beginner / Easy
- Available Sizes: XS/S (40″ bust), M (44″ bust), L (48″ bust), XL (52″ bust), 2/3XL (56″ bust), 4/5XL (62″ bust) with 4 to 8 inches of relaxed positive ease
- Yarn: Red Heart Super Saver (Worsted Weight #4; 100% acrylic; 7 oz / 198 g; 364 yds / 333 m per skein)
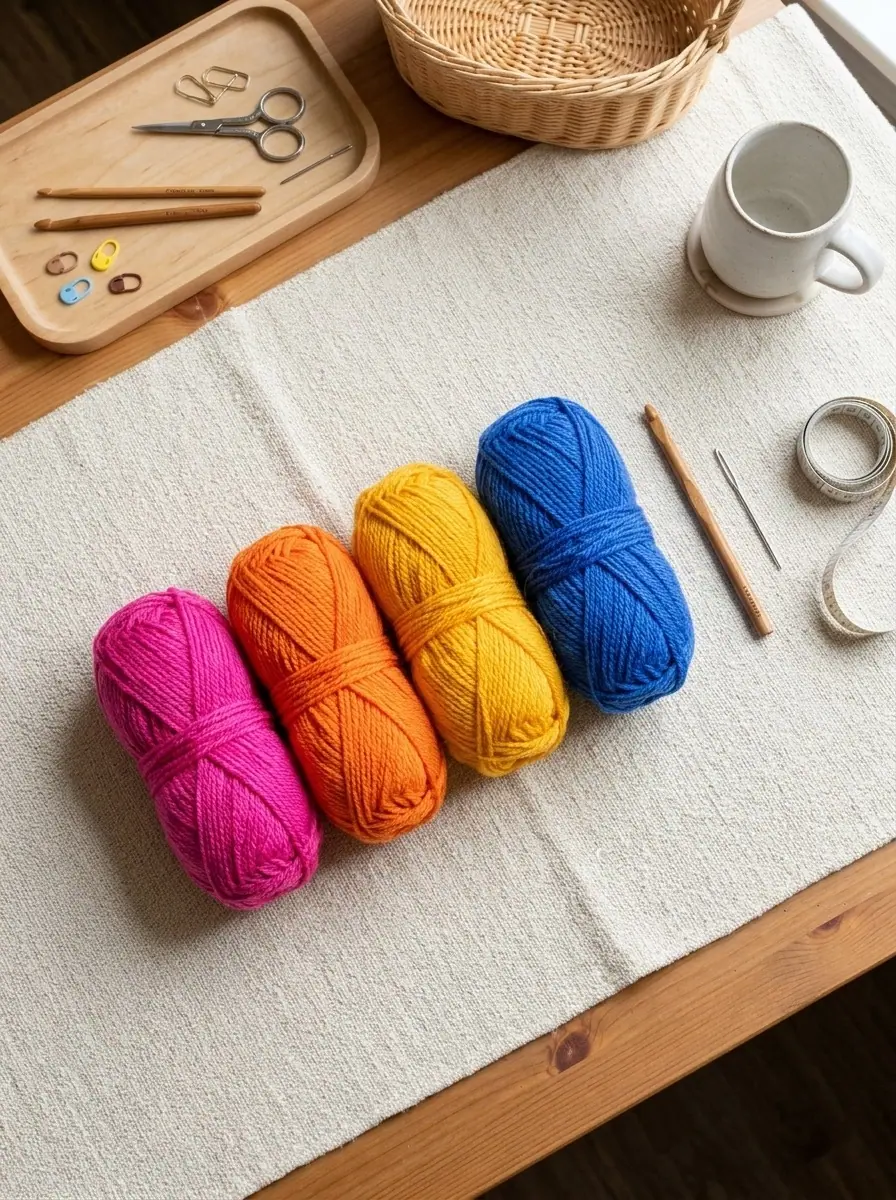
- Color Palette: Contrast A (Shocking Pink), Contrast B (Pumpkin), Contrast C (Bright Yellow), Contrast D (Royal Blue)
- Crochet Hook: Size U.S. I/9 (5.5 mm) crochet hook (or size needed to obtain gauge)
- Notions Needed: Locking stitch markers, steel yarn tapestry needle, flexible tape measure, scissors
- Gauge: 12 stitches (4 granny clusters) and 7 rows = 4 inches [10 cm] in granny stitch pattern with 5.5 mm hook
- Construction Highlights: Flat rectangular front and back panels, drop-shoulder armholes, tapered granny sleeves, continuous seam finishing
Table of Contents
- Why the Granny Stitch Makes the Perfect Beginner Crochet Sweater
- Materials & Tools Breakdown
- Sizing, Gauge & Measurements
- Step-by-Step Instructions
- Yarn Care & Washing Instructions
- More Inspiring Crochet Wardrobe Patterns to Try Next
- Frequently Asked Questions
- Pin This Bright Stripes Crochet Sweater Pattern for Later!
Why the Granny Stitch Makes the Perfect Beginner Crochet Sweater
Many first-time garment makers get overwhelmed by counting hundreds of individual stitch heads. The granny stitch eliminates that fatigue entirely while providing incredible structural benefits.
- Stitch into chain spaces, not tiny loops: Because granny clusters are worked directly into the open chain-1 spaces between the clusters of the previous row, your hook flies effortlessly. You never have to hunt for the top loops of stitches.
- Airy yet warm fabric: The alternating clusters and open spaces create a breathable textile that holds warmth without feeling heavy or stiff, making it an ideal year-round cardigan layer.
- Effortless color changes: Changing yarn shades at the end of a row is clean and seamless. Simply finish your final double crochet with your new color and begin the next row fresh.
- Zero armhole shaping stress: Because this is a drop-shoulder cardigan, the front and back pieces are straight vertical rectangles. You do not have to calculate complex armhole bind-offs or sleeve crown math.
Maker Tip: To keep your side edges completely straight and prevent your panels from pulling inward, always pay close attention to the row ends. Odd-numbered rows begin with a ch-3 (counts as 1 dc) and end with 1 dc in the turning chain. Even-numbered rows begin with ch-3 plus ch 1 (counts as 1 dc, ch 1) and work directly into the first space.
Materials & Tools Breakdown
Main Color (Contrast A): Red Heart Super Saver in Shocking Pink (0718): 2 (2, 2, 3, 3, 3) skeins for bottom trim, body stripes, cuffs, and front band.
Contrast B: Red Heart Super Saver in Pumpkin (0254): 1 (1, 1, 2, 2, 2) skein(s).
Contrast C: Red Heart Super Saver in Bright Yellow (0324): 1 (1, 1, 1, 1, 2) skein(s).
Contrast D: Red Heart Super Saver in Royal (0385): 1 (1, 1, 1, 1, 2) skein(s).
Crochet Hook: Size U.S. I/9 (5.5 mm) crochet hook (or size needed to obtain gauge).
Accessories: Tapestry yarn needle, at least 6 locking stitch markers to secure pieces during seaming, measuring tape.
Sizing, Gauge & Measurements
Choosing the right size is easy with a drop-shoulder cardigan. Measure around the fullest part of your bust, and choose the size that gives you 4 to 8 inches of extra breathing room for that relaxed, modern oversized look.
| Size | To Fit Bust | Finished Chest Circumference | Body Length to Shoulder |
|---|---|---|---|
| XS/S | 28-34″ [71-86.5 cm] | 40″ [101.5 cm] | 23″ [58.5 cm] |
| Medium | 36-38″ [91.5-96.5 cm] | 44″ [112 cm] | 23.5″ [59.5 cm] |
| Large | 40-42″ [101.5-106.5 cm] | 48″ [122 cm] | 24″ [61 cm] |
| XL | 44-46″ [112-117 cm] | 52″ [132 cm] | 24.5″ [62 cm] |
| 2/3XL | 48-54″ [122-137 cm] | 56″ [142 cm] | 25.5″ [65 cm] |
| 4/5XL | 56-62″ [142-157.5 cm] | 62″ [157.5 cm] | 26″ [66 cm] |
Crochet Terms and Abbreviations Used
- Ch: chain
- Dc: double crochet
- Sc: single crochet
- Sl st: slip stitch
- Sp / Sps: space / spaces
- St / Sts: stitch / stitches
- Cluster: group of 3 double crochet worked into the same chain space
- RS / WS: right side / wrong side
- Rem: remain / remaining
✨ FREE CROCHET EBOOK ✨
Master Gauge & Blocking
Get Our Free Crochet Ebook!
Download The Ultimate Stitch, Gauge & Blocking Guide — packed with printable stitch charts, tension secrets, and step-by-step tutorials delivered straight to your inbox.
🔒 100% Free Instant PDF Download • Unsubscribe anytime
Step-by-Step Instructions
Step 1: Crocheting the Back Panel
The back panel is a generous rectangle worked in horizontal color stripes. We begin with a foundation chain that sets up our granny cluster rhythm.
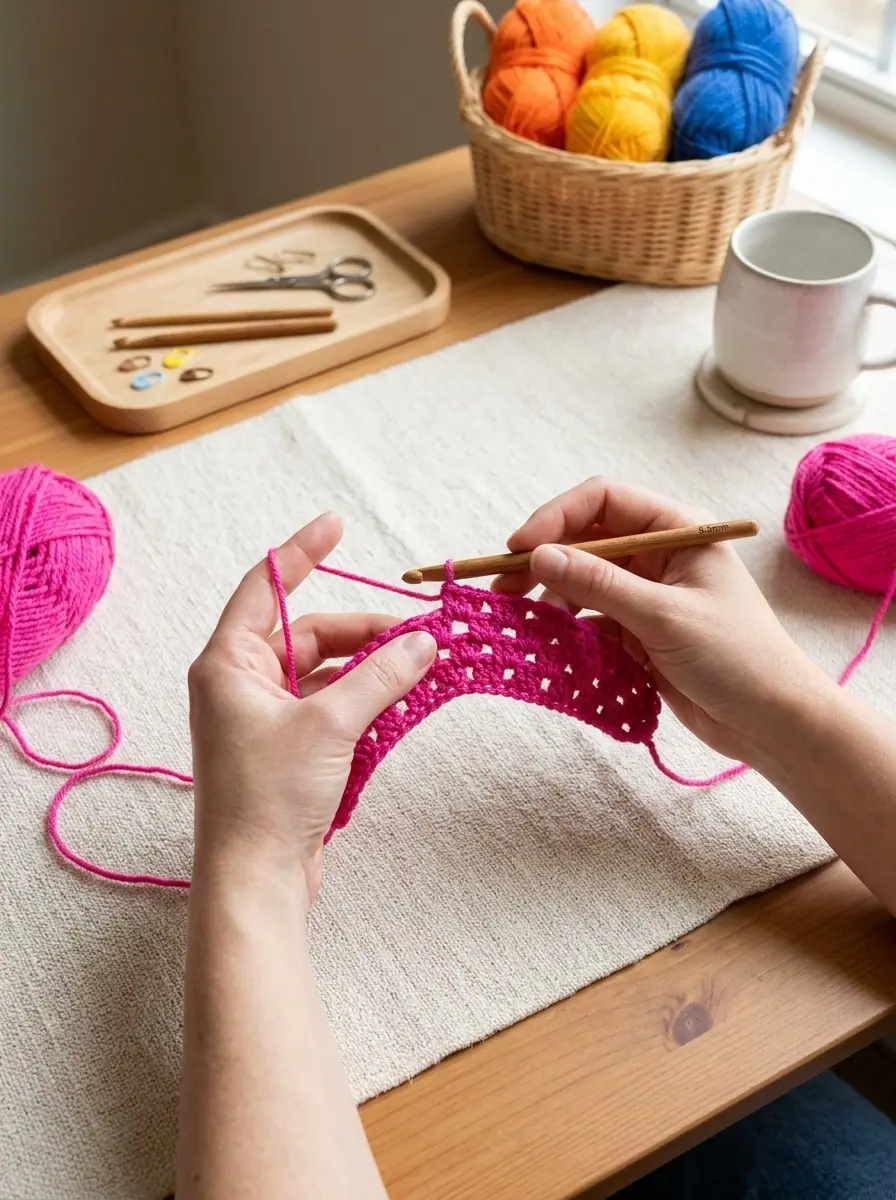
- Foundation Chain: With Contrast A and your 5.5 mm hook, loosely chain 62 (68, 74, 80, 86, 95).
- Row 1 (RS): Work 2 dc in the 4th chain from your hook (beginning skipped ch-3 counts as first dc). [Ch 1, skip next 2 chains, work 3 dc in next chain] repeat across to the final chain. Turn. You will have 20 (22, 24, 26, 28, 31) granny clusters across.
- Row 2 (WS): Ch 3 (counts as 1 dc), ch 1. [Work 3 dc in next ch-1 space, ch 1] repeat across to the turning chain space at the end. Work 1 dc in top of turning ch-3. Turn.
- Row 3: Ch 3 (counts as 1 dc), work 2 dc in first ch-1 space. [Ch 1, work 3 dc in next ch-1 space] repeat across to the final space, working 3 dc in the turning ch space. Turn.
- Stripe Sequence: Work Rows 2 and 3 alternating. Change colors every 4 rows in the following sequence: 4 rows Contrast A (Pink), 4 rows Contrast B (Pumpkin), 4 rows Contrast C (Yellow), 4 rows Contrast D (Royal Blue). Repeat this 16-row stripe sequence until the back panel reaches your target length (approximately 40 to 46 total rows). Fasten off and leave a long tail for seaming.
Step 2: Crocheting the Front Panels
Make two separate front panels (Left Front and Right Front) following the exact same stripe sequence so the bold color bands align horizontally across the cardigan when worn.
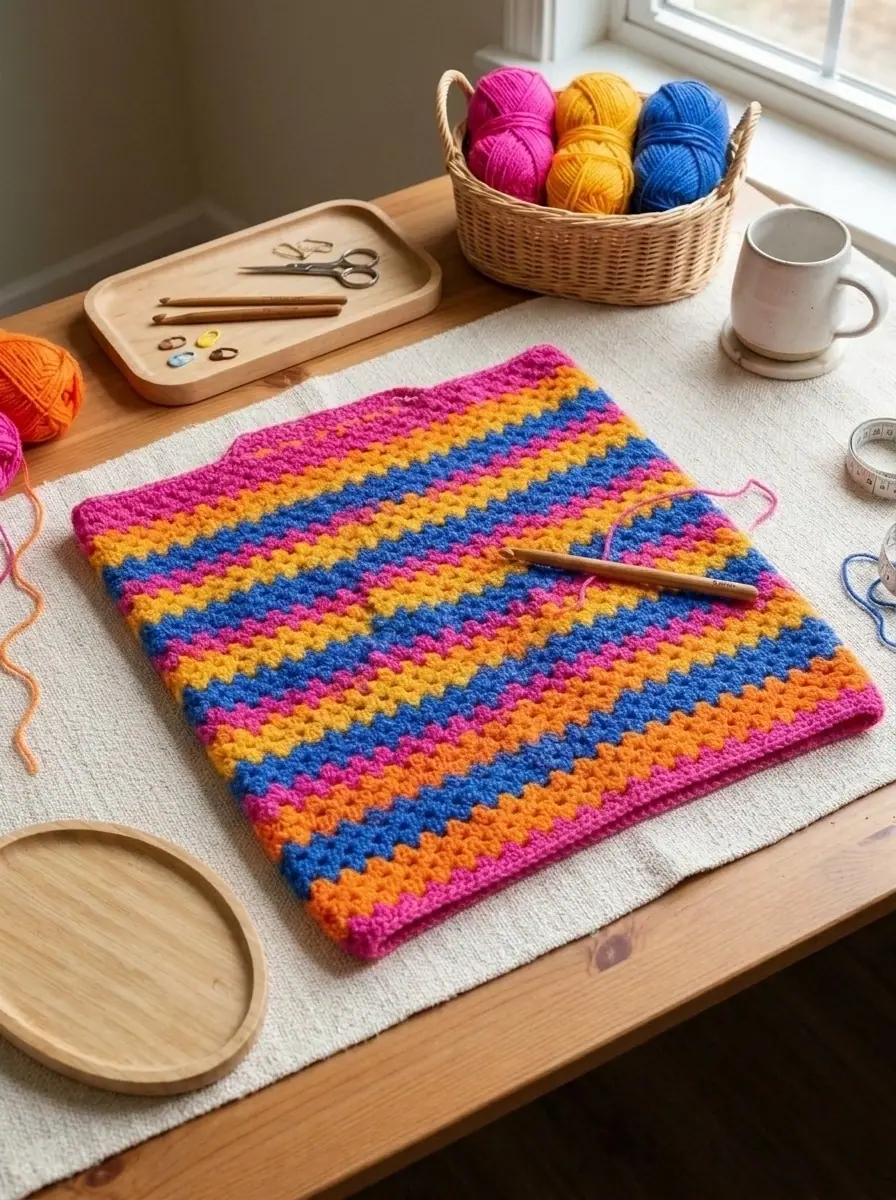
- Foundation Chain: With Contrast A, chain 29 (32, 35, 38, 41, 47).
- Row 1 (RS): Work 2 dc in 4th chain from hook. [Ch 1, skip next 2 chains, work 3 dc in next chain] repeat across. Turn. (9, 10, 11, 12, 13, 15 clusters).
- Rows 2 and 3: Work in established granny cluster pattern, matching the exact color stripe progression of the Back Panel row for row.
- Length Check: Work until the Front Panel has the exact same number of rows as the Back Panel. Fasten off. Repeat for the second Front Panel.
Step 3: Crocheting the Sleeves
The sleeves are worked flat from the lower cuff upward, gradually widening toward the armhole edge.
- Foundation Chain: With Contrast A, chain 32 (35, 35, 38, 38, 41).
- Set-up: Work in established granny cluster pattern for 4 rows with Contrast A (Pink).
- Sleeve Increases: Continue working in stripe sequence. To increase the width gradually, work an extra cluster at the beginning and end of every 6th row by working [3 dc, ch 1, 3 dc] into the outer edge spaces. Repeat until your sleeve width reaches 17 (18, 19, 21, 21, 22) inches at the widest point.
- Sleeve Length: Continue even in stripe sequence until sleeve measures 17.5 (18, 18, 18.5, 18.5, 19) inches from foundation edge. Fasten off. Make second sleeve to match.
Step 4: Assembling and Adding the Finishing Trim
Putting the cardigan together is clean and satisfying. We seam the shoulders first, attach the sleeves flat, and then close the side and underarm seams in one graceful sweep.
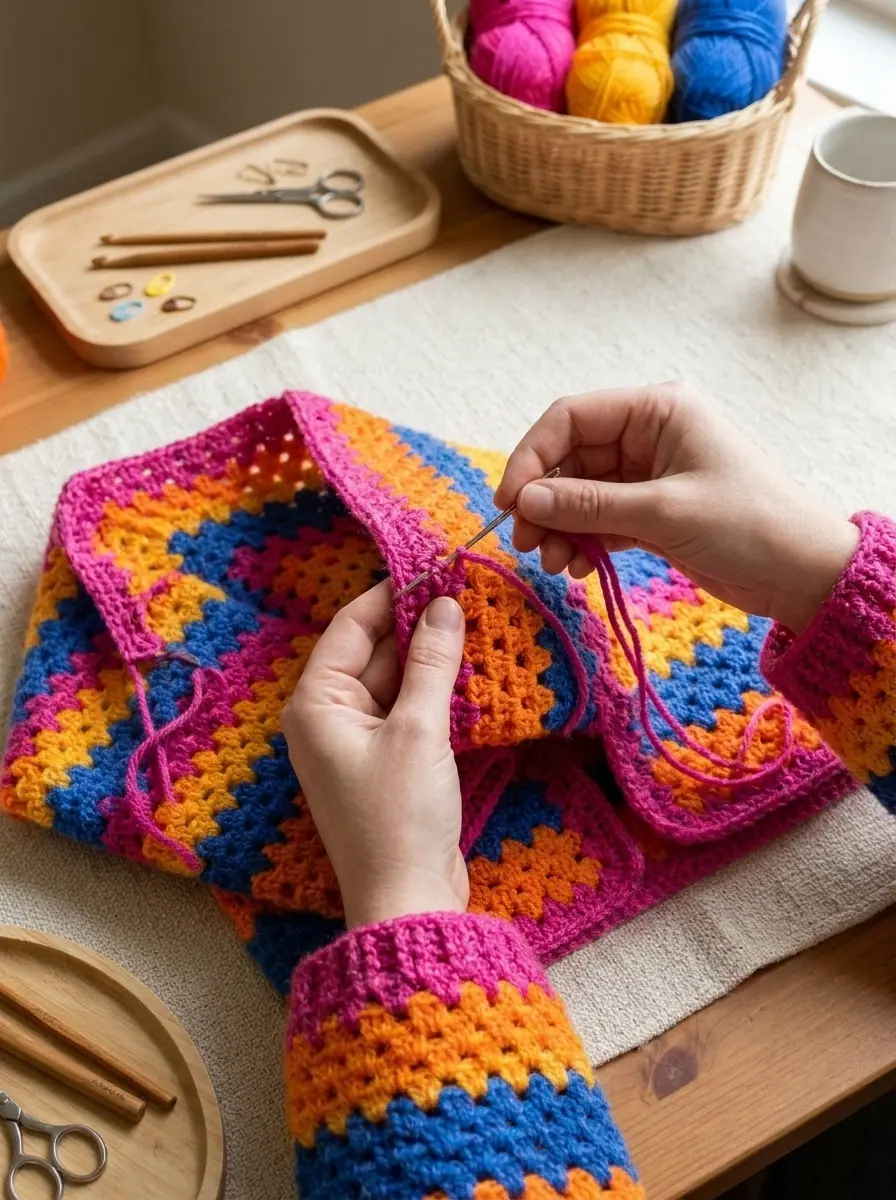
- Shoulder Seams: Lay the Back Panel flat with RS facing up. Place the two Front Panels on top with WS facing up, aligning outer edges. Place stitch markers 4.5 (5, 6, 7.5, 8.5, 10) inches from the outer shoulder edges inward, leaving an 11 to 12 inch opening in the center for the back neck. Using your tapestry needle and Contrast A yarn, sew the shoulder seams securely with a mattress stitch.
- Attaching Sleeves: Open the body flat. Measure 8.5 (9, 9.5, 10.5, 10.5, 11) inches down from the shoulder seam along both the Front and Back side edges, and place markers. Center the top edge of each sleeve between these markers and sew into place with Contrast A.
- Side and Underarm Seams: Fold the cardigan at the shoulders with Right Sides facing together. In one continuous line, sew from the sleeve cuff up through the underarm, and down the side seam to the bottom hem. Repeat for the other side.
- Front Edging and Collar: Turn cardigan Right Side out. With RS facing, join Contrast A with a slip stitch at the bottom right front corner. Work 2 sc around the post of each row end evenly up the right front edge, around the back neck opening, and down the left front edge. Work 2 to 3 rows of single crochet (or half double crochet) around the entire front perimeter to create a clean, sturdy placket band. Fasten off and weave in all yarn tails.
Yarn Care & Washing Instructions
Red Heart Super Saver is celebrated for its incredible wash-and-wear durability, making this handmade cardigan completely machine washable:
- Washing: Machine wash warm on gentle cycle using mild laundry detergent. Turn the cardigan inside out before washing to minimize surface friction fuzz.
- Drying: Tumble dry on delicate low heat setting, or lay flat on a clean dry towel. Avoid high dryer heat to preserve fiber loft and crisp stripe definition.
- Blocking: Acrylic yarn does not require aggressive wet blocking; a light hover with a garment steamer will instantly relax the granny stitches and make the drape buttery soft.
More Inspiring Crochet Wardrobe Patterns to Try Next
- Caron Crochet Harlequin Shawl: a lacy jewel-tone triangle wrap featuring a relaxing three-row rhythm.
- Red Heart Crochet Slippers for the Family: easy single crochet house slippers with optional button straps.
✨ PATTERN HELP & TIPS ✨
Got Questions?
Frequently Asked Questions
Click on any question below to reveal the answer
Is this sweater pattern truly beginner-friendly?
Yes! Because this design uses the classic granny stitch worked into chain-1 spaces, you never have to work into tight stitch loops. The front and back pieces are simple flat rectangles with zero armhole decreases, making it the ideal first crochet sweater project.
Can I customize the stripe colors?
Absolutely. You can choose any four colors that inspire you, or work the entire cardigan in two high-contrast tones, an earthy neutral gradient, or even a single solid shade for a minimalist texture-rich staple.
How do I make the cardigan longer or shorter?
To lengthen the cardigan, simply add more 4-row stripes before attaching the sleeves. Each 4-row stripe adds approximately 2.25 inches of length. Make sure to add the exact same number of rows to both front panels and the back panel.
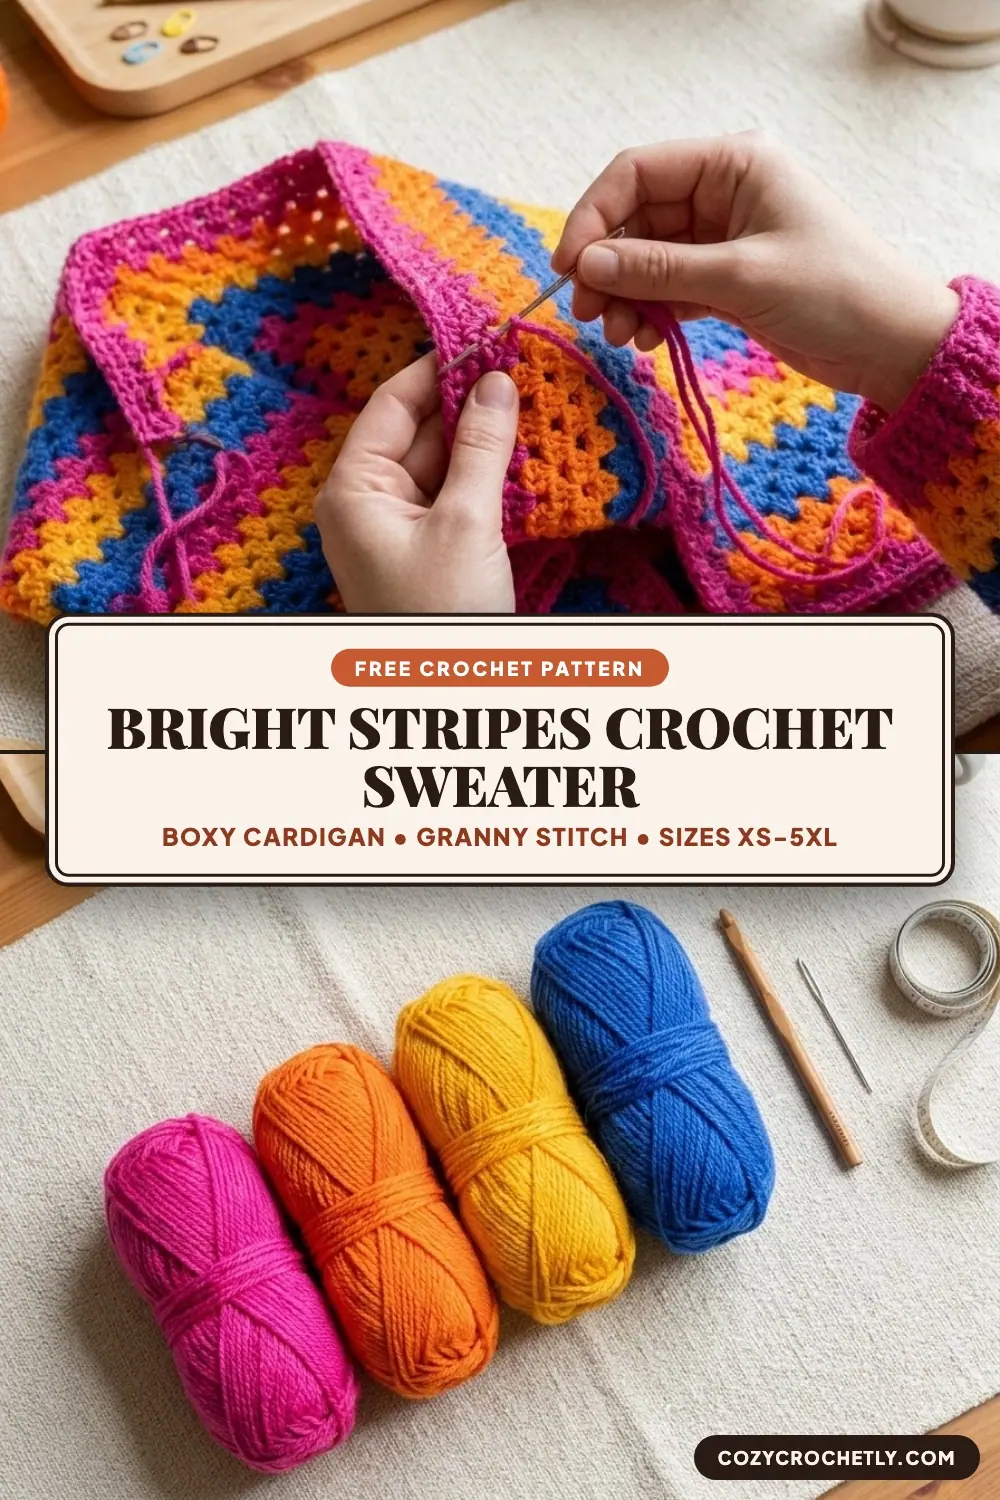
Pin This Bright Stripes Crochet Sweater Pattern for Later!
Save these pins to your favorite crochet sweaters, crochet cardigans, or easy crochet garments board on Pinterest so you have the instructions handy whenever you are ready to start stitching:
PREVIOUS PATTERN
Tapestry Colorwork Geometric Crochet Shoulder Tote Bag
NEXT PATTERN
Striped Open-Mesh Cotton Crochet Market Tote and Shopping Bag
✨ KEEP CROCHETING ✨
You May Also Love
LEAVE A COMMENT
Have a question about a stitch or want to share how your project turned out? Drop a comment below — I read and reply to every maker!